Tag: food styling

  • Gin and tonic ice lollies.

    Gin and tonic ice lollies.


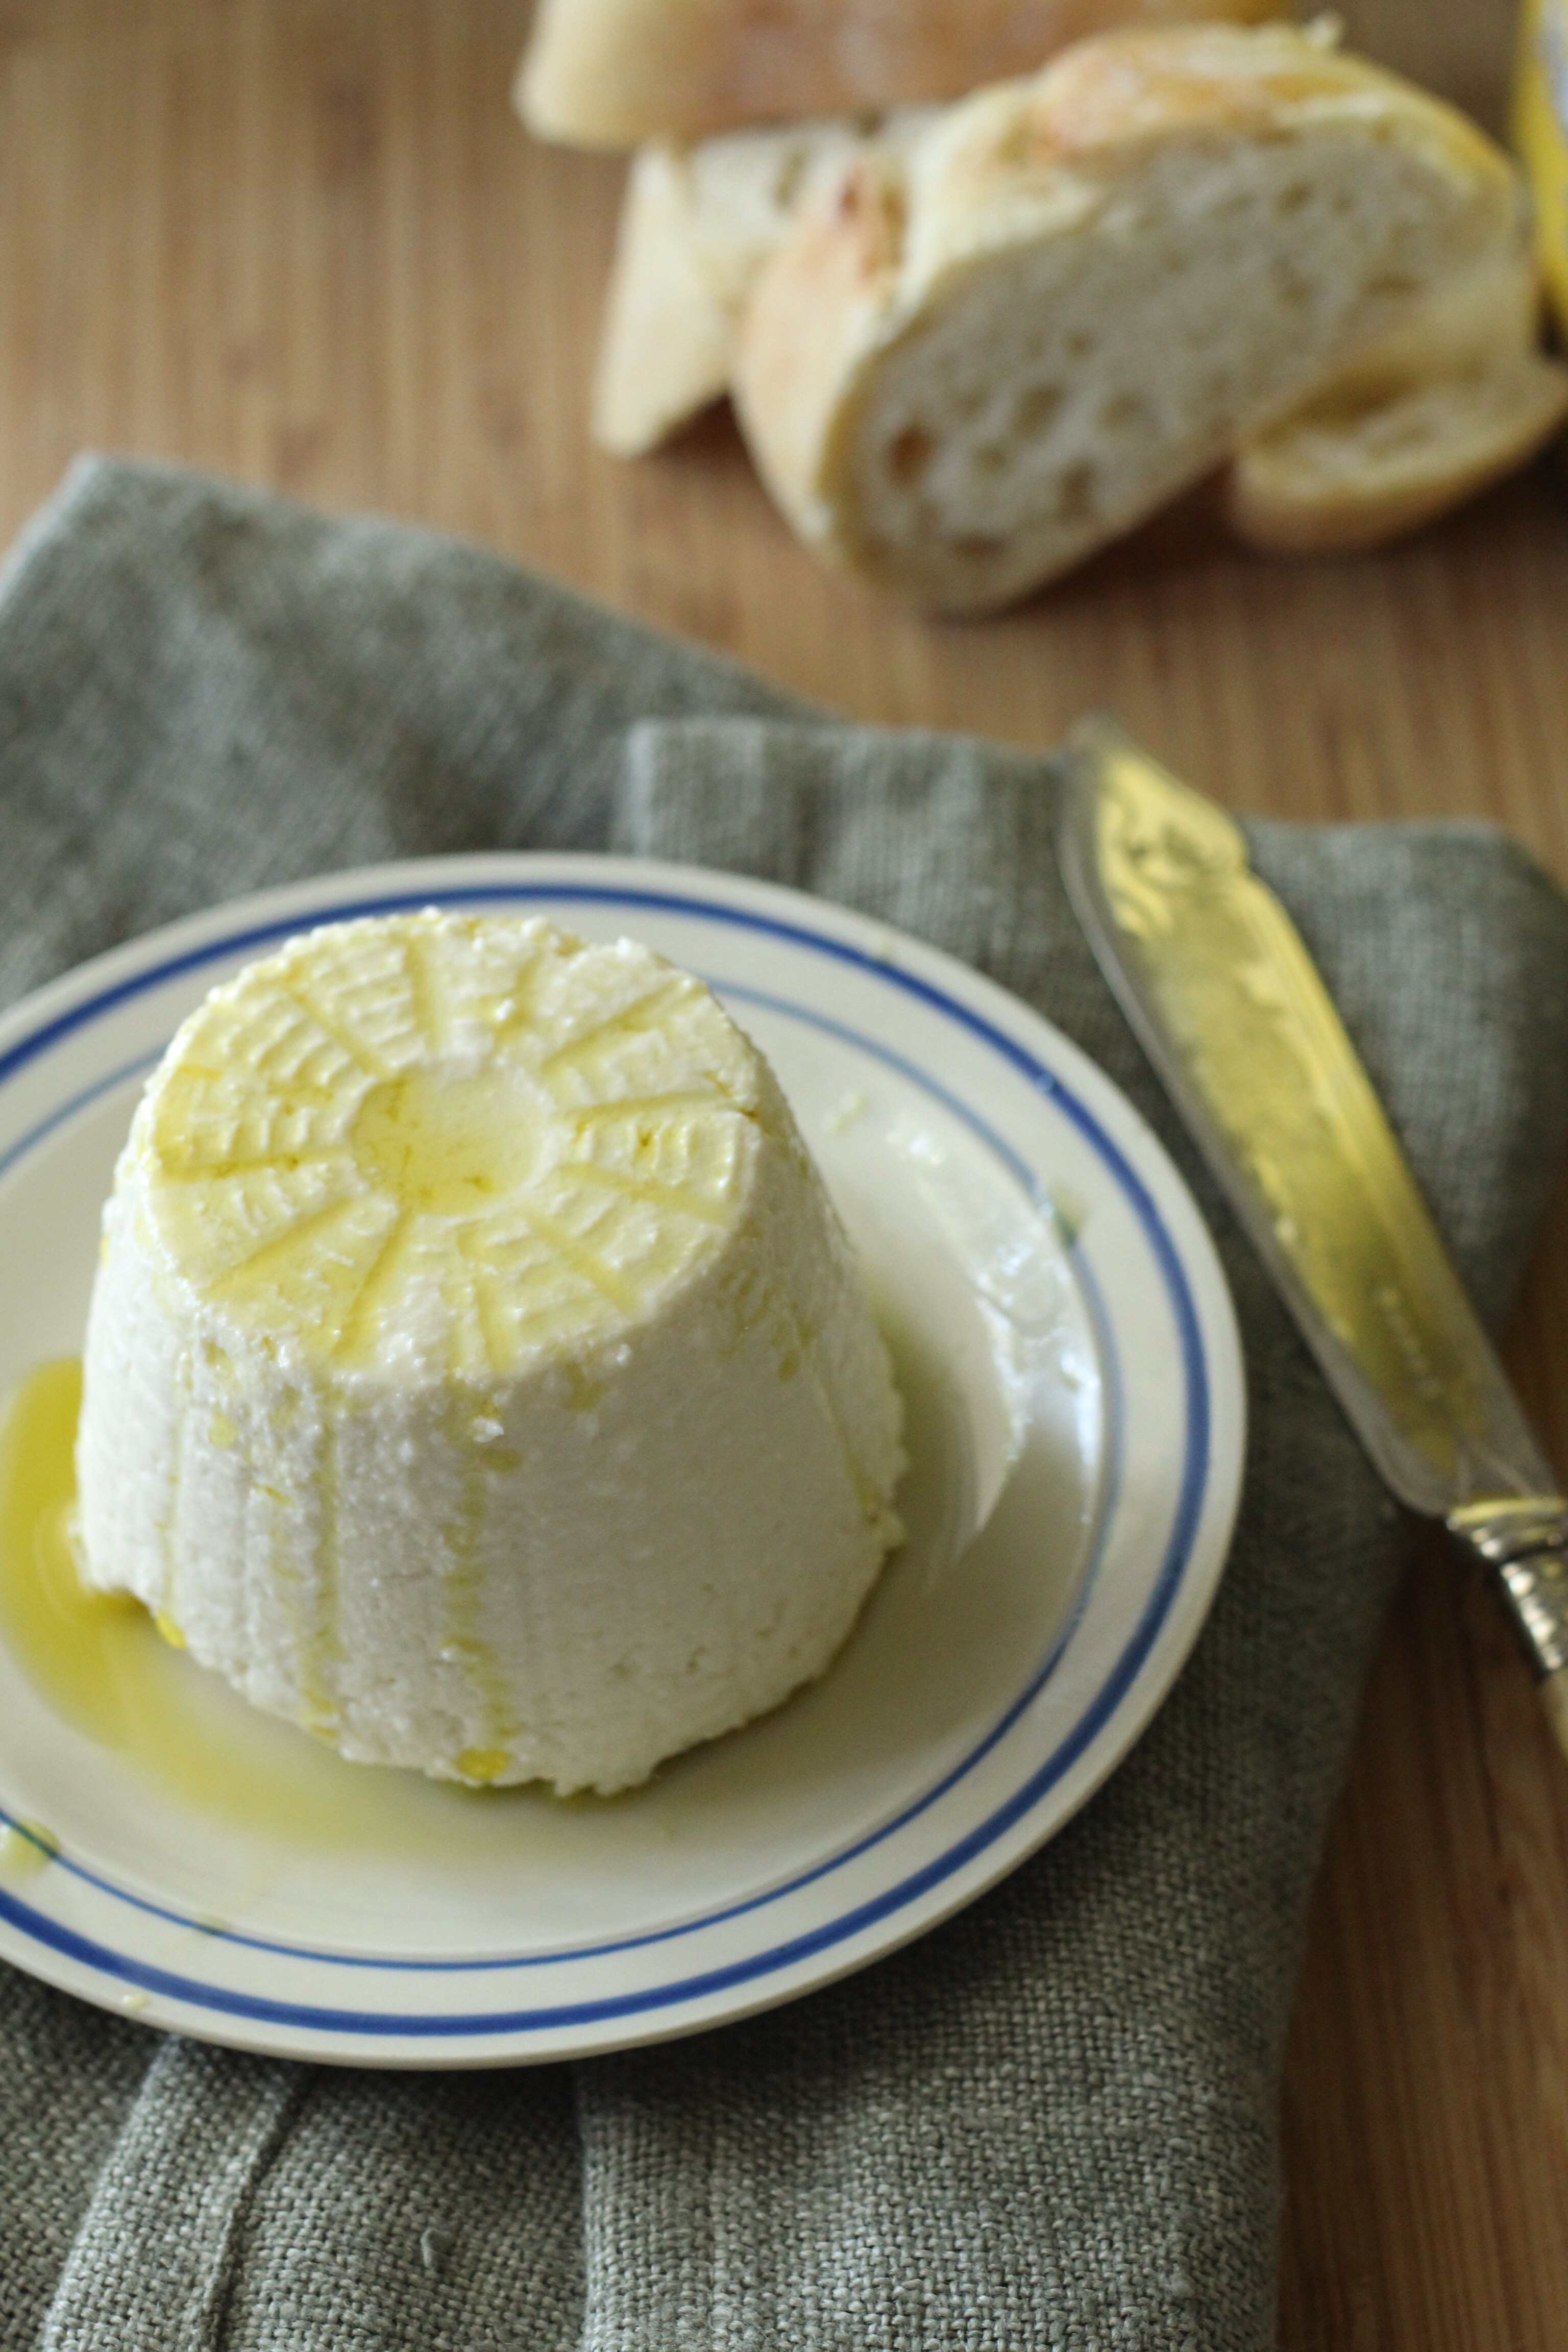
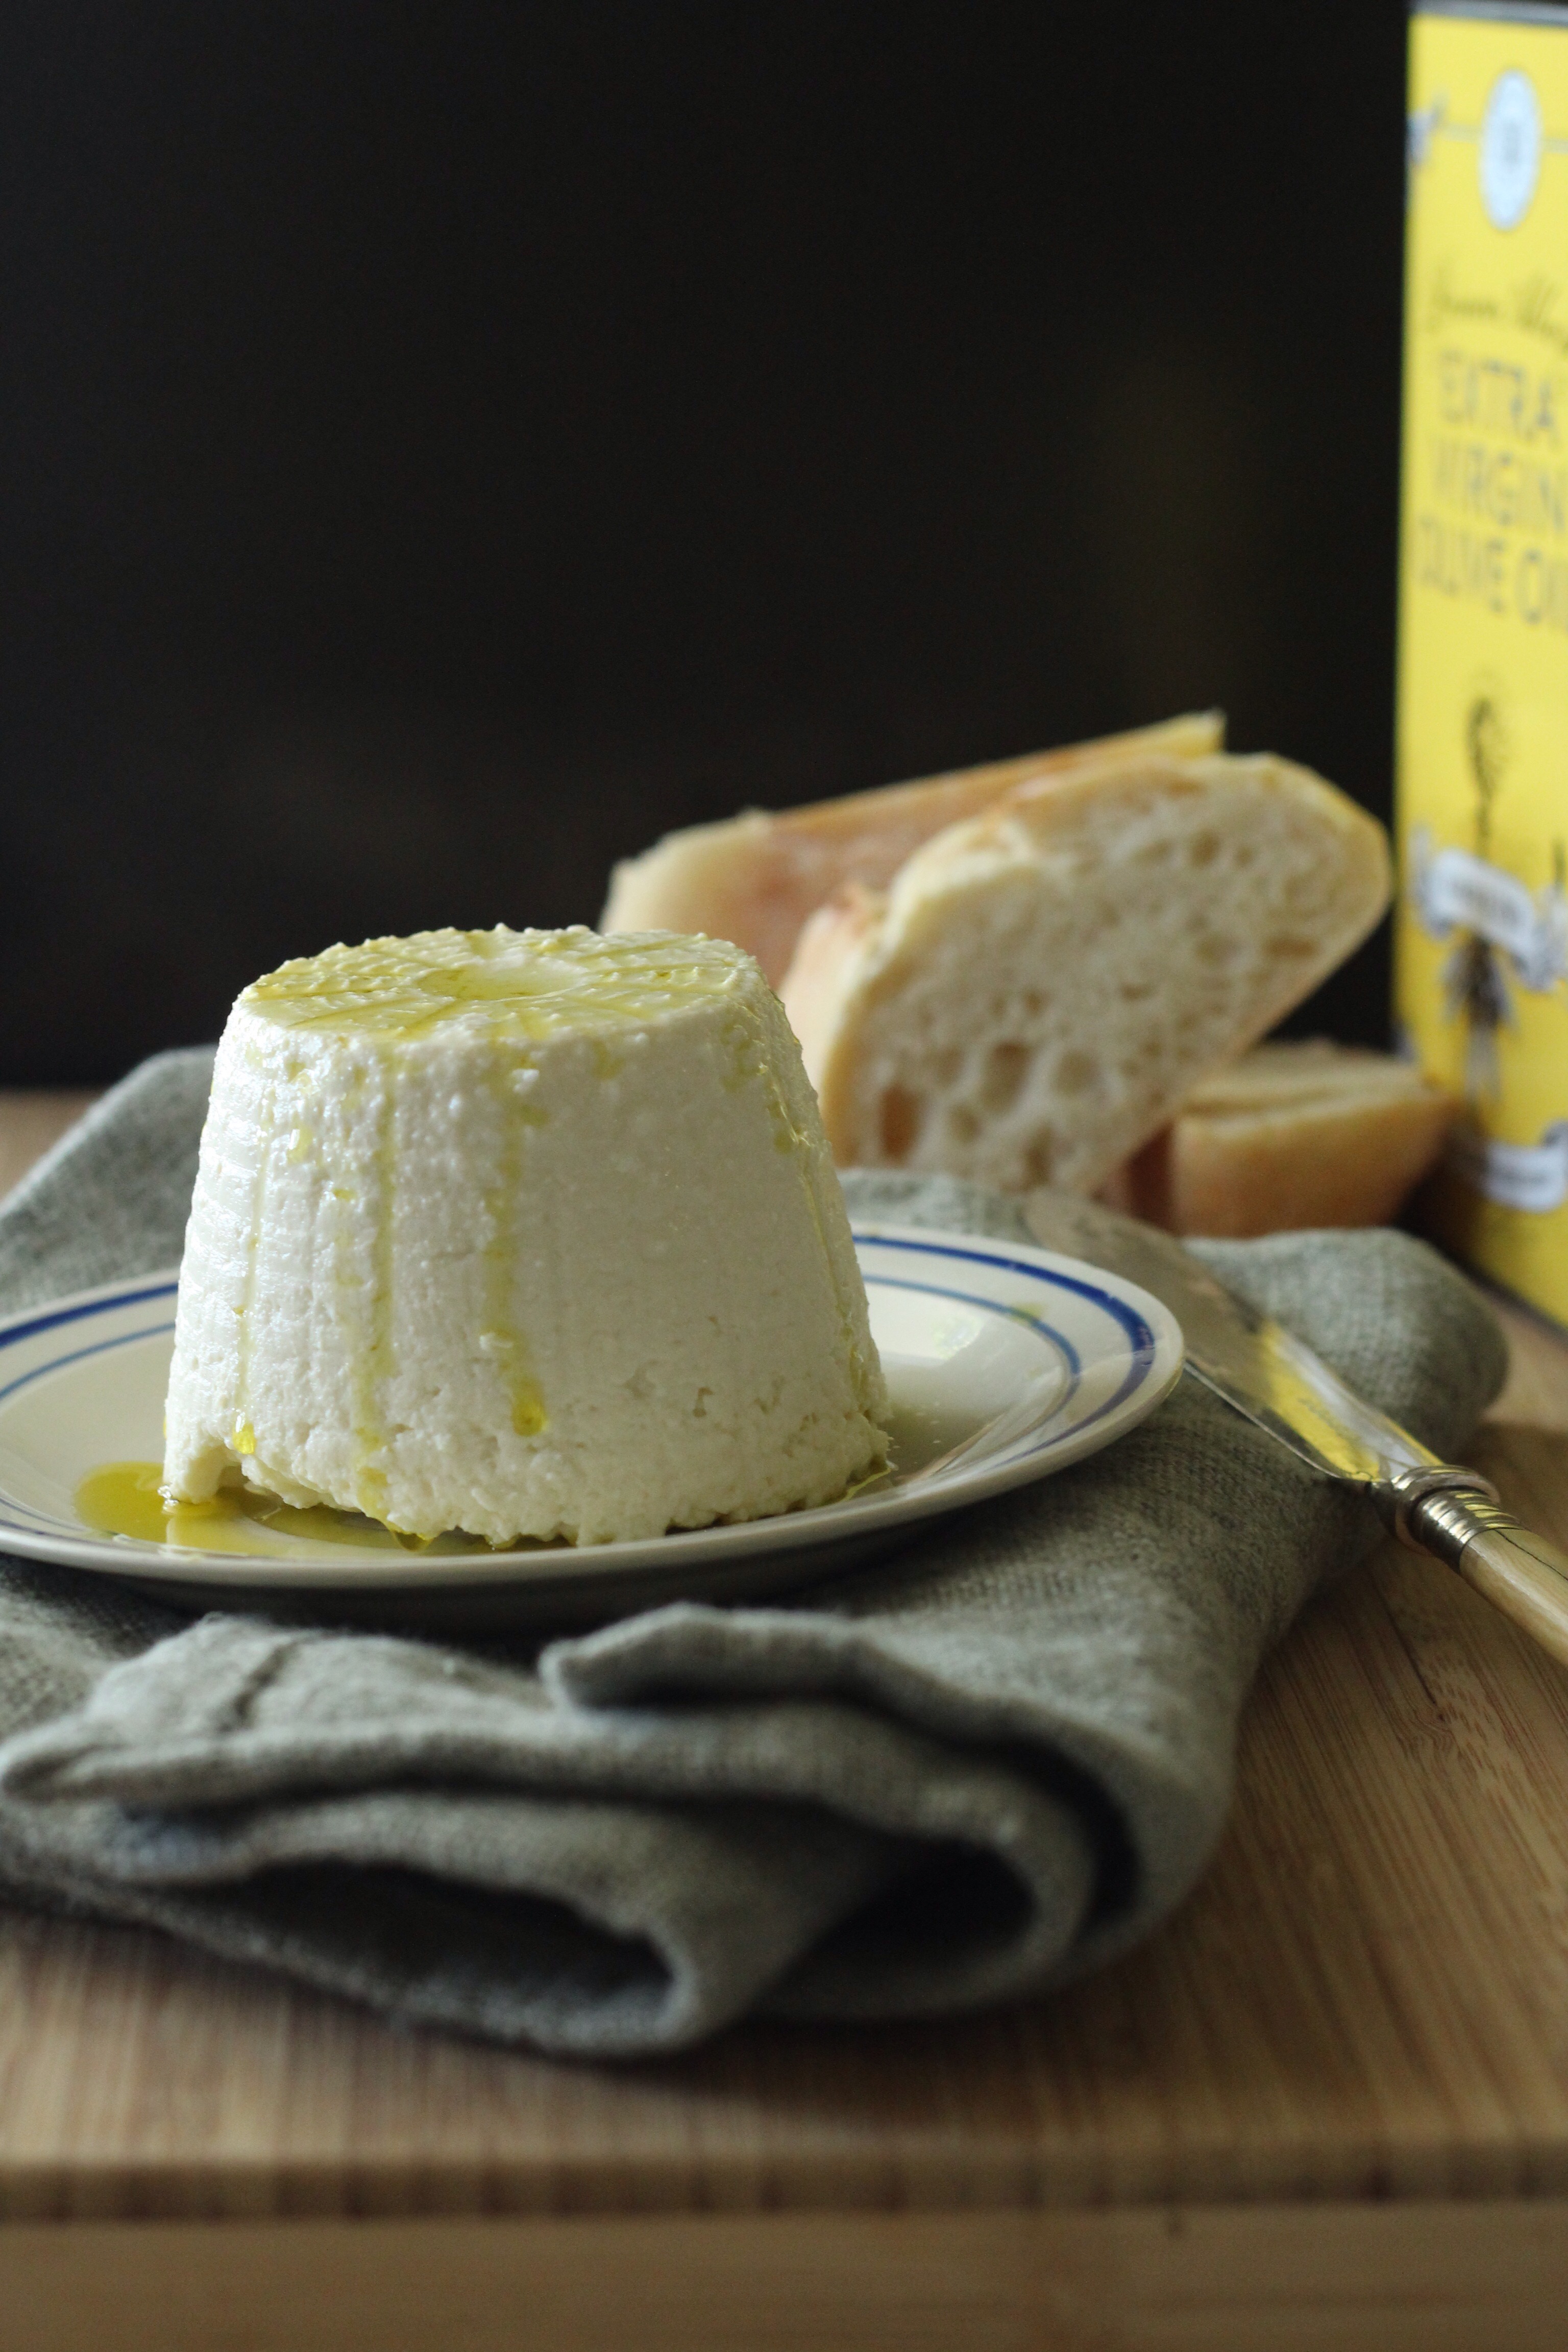
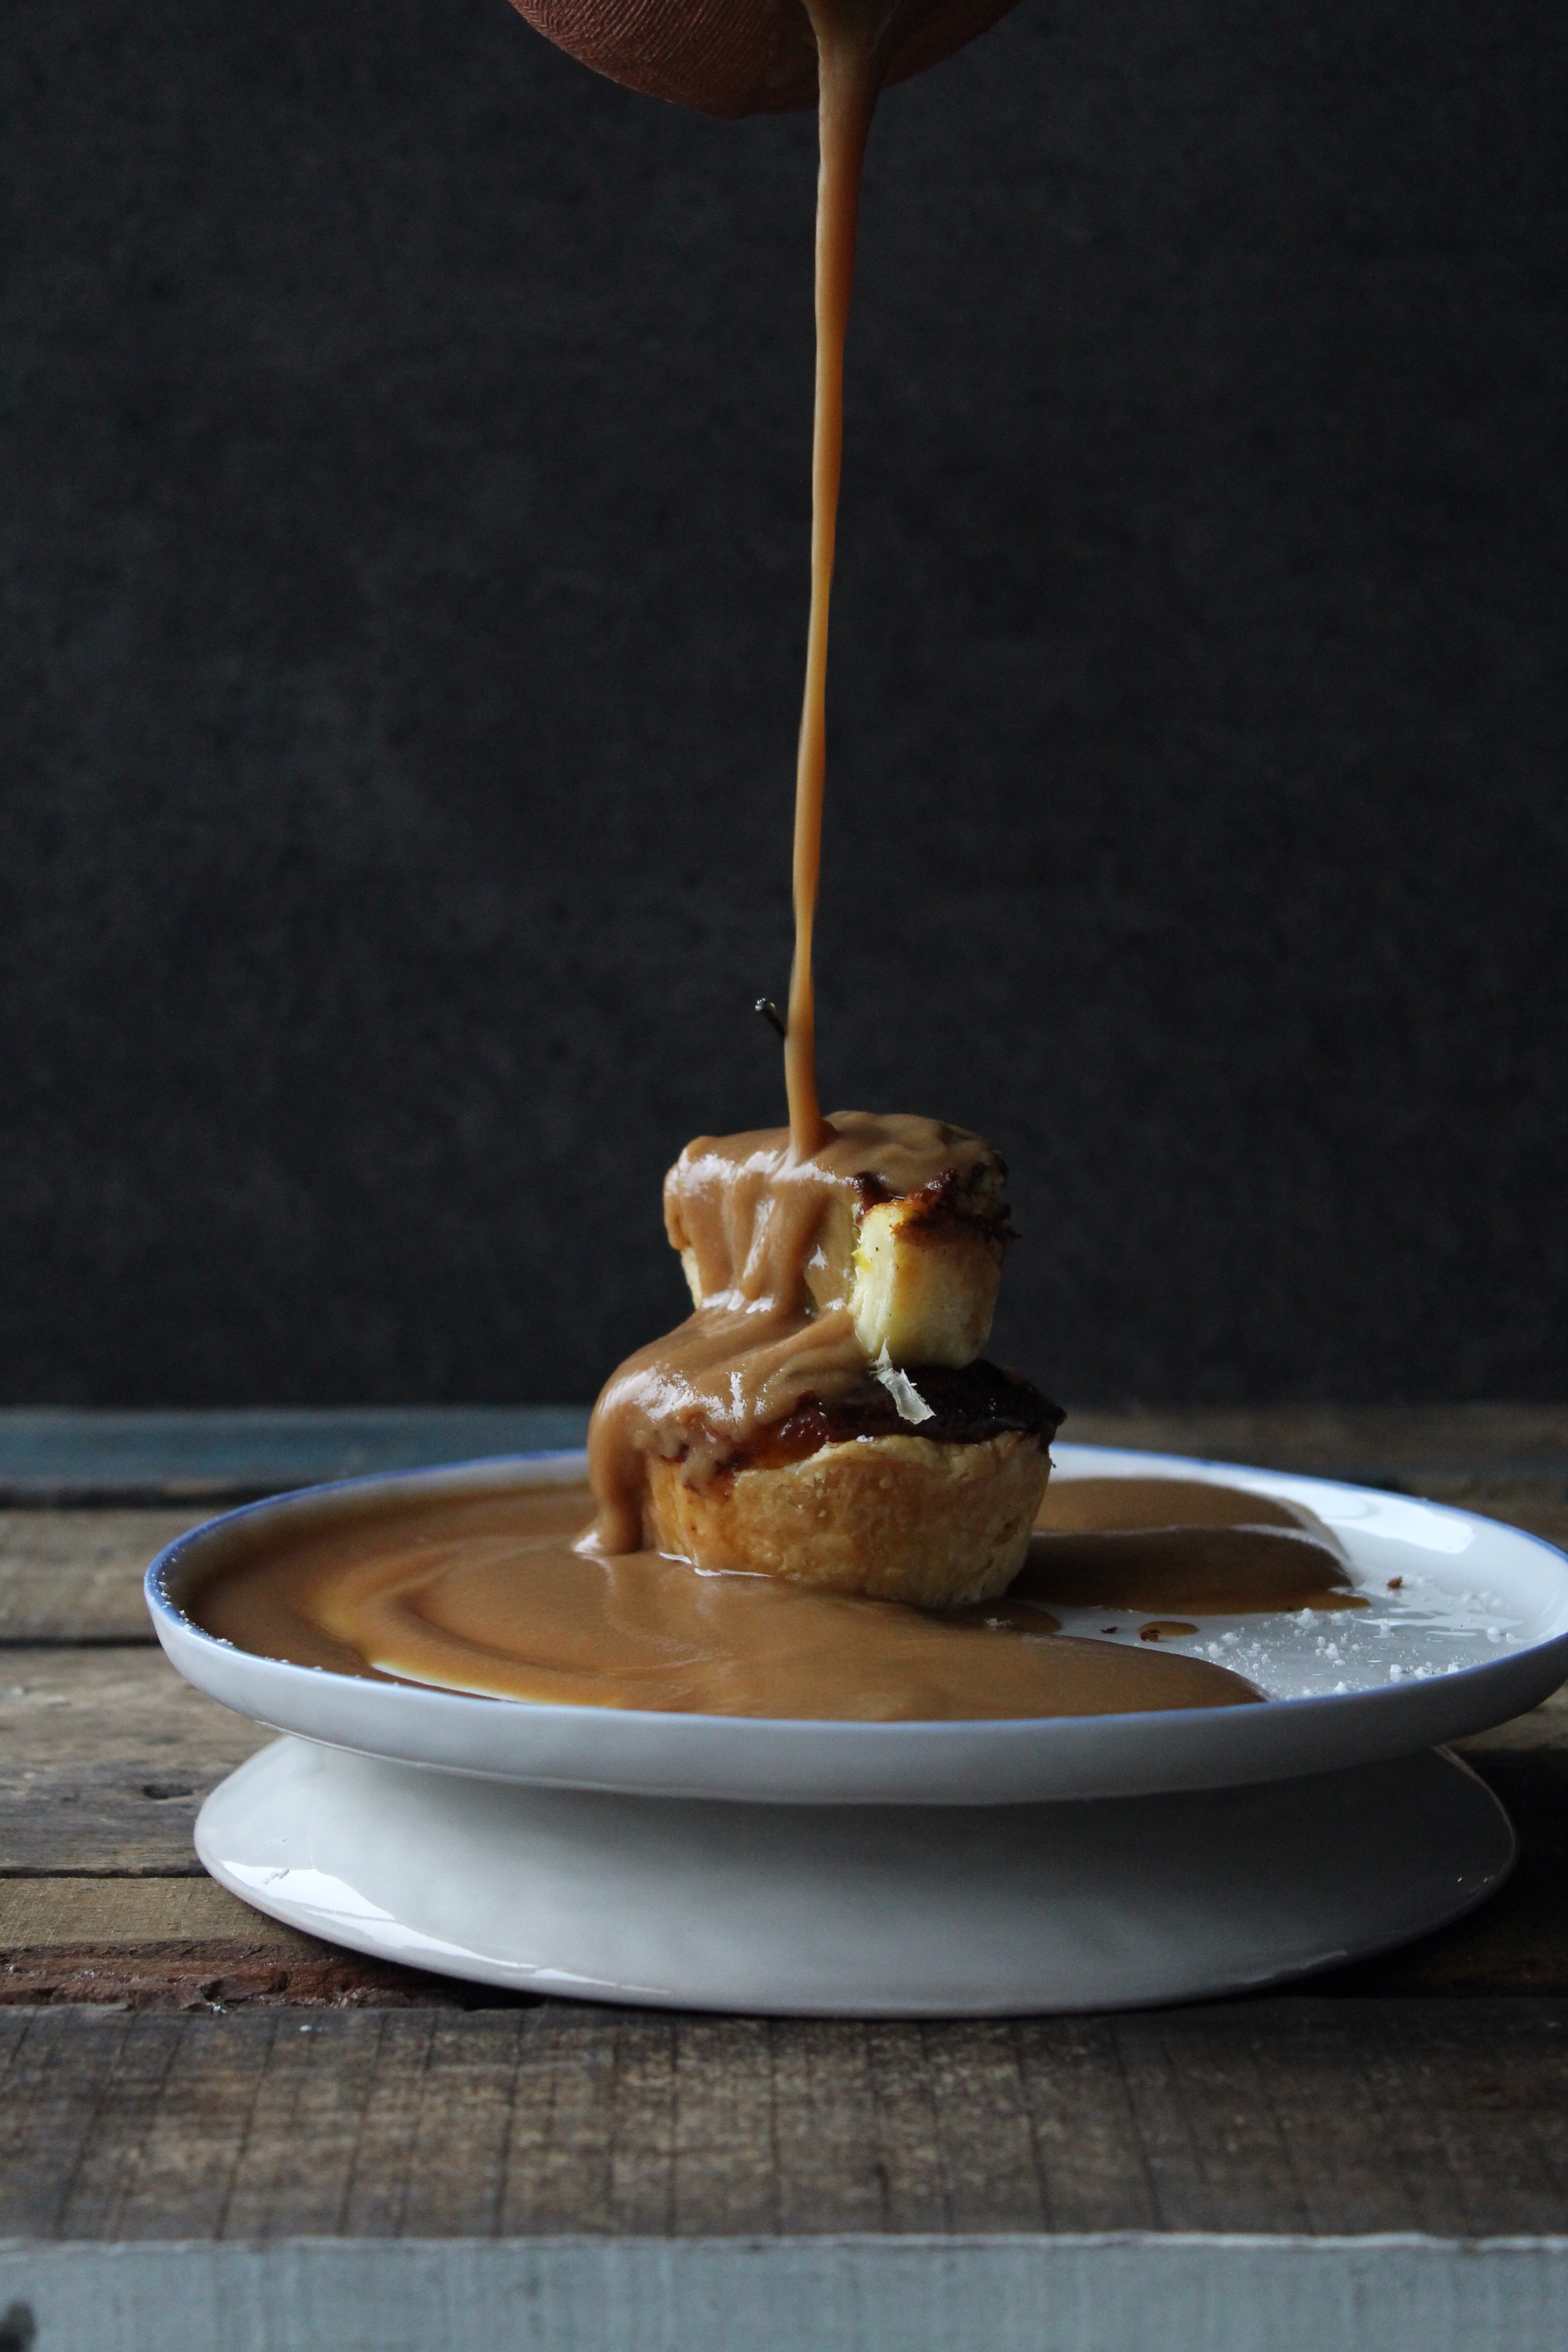
    Inspired by my recent visit to the Royal Hotel in Riebeeck Kasteel, the Gin and Tonic we had there was out of this world! Possibly the best I have tasted so far. I am no G&T aficionado and neither am I that much of a frequent drinker, but this may just be the game changer. The Gin that the bartender used for our G&T’s were that of Wilderer Fynbos infused gin, (and as mentioned in my previous post)together with seasonal gooseberries, strawberries and a slice of lime, all the flavours were perfectly balanced and came together in a rather unusual cognac glass, but it worked. 

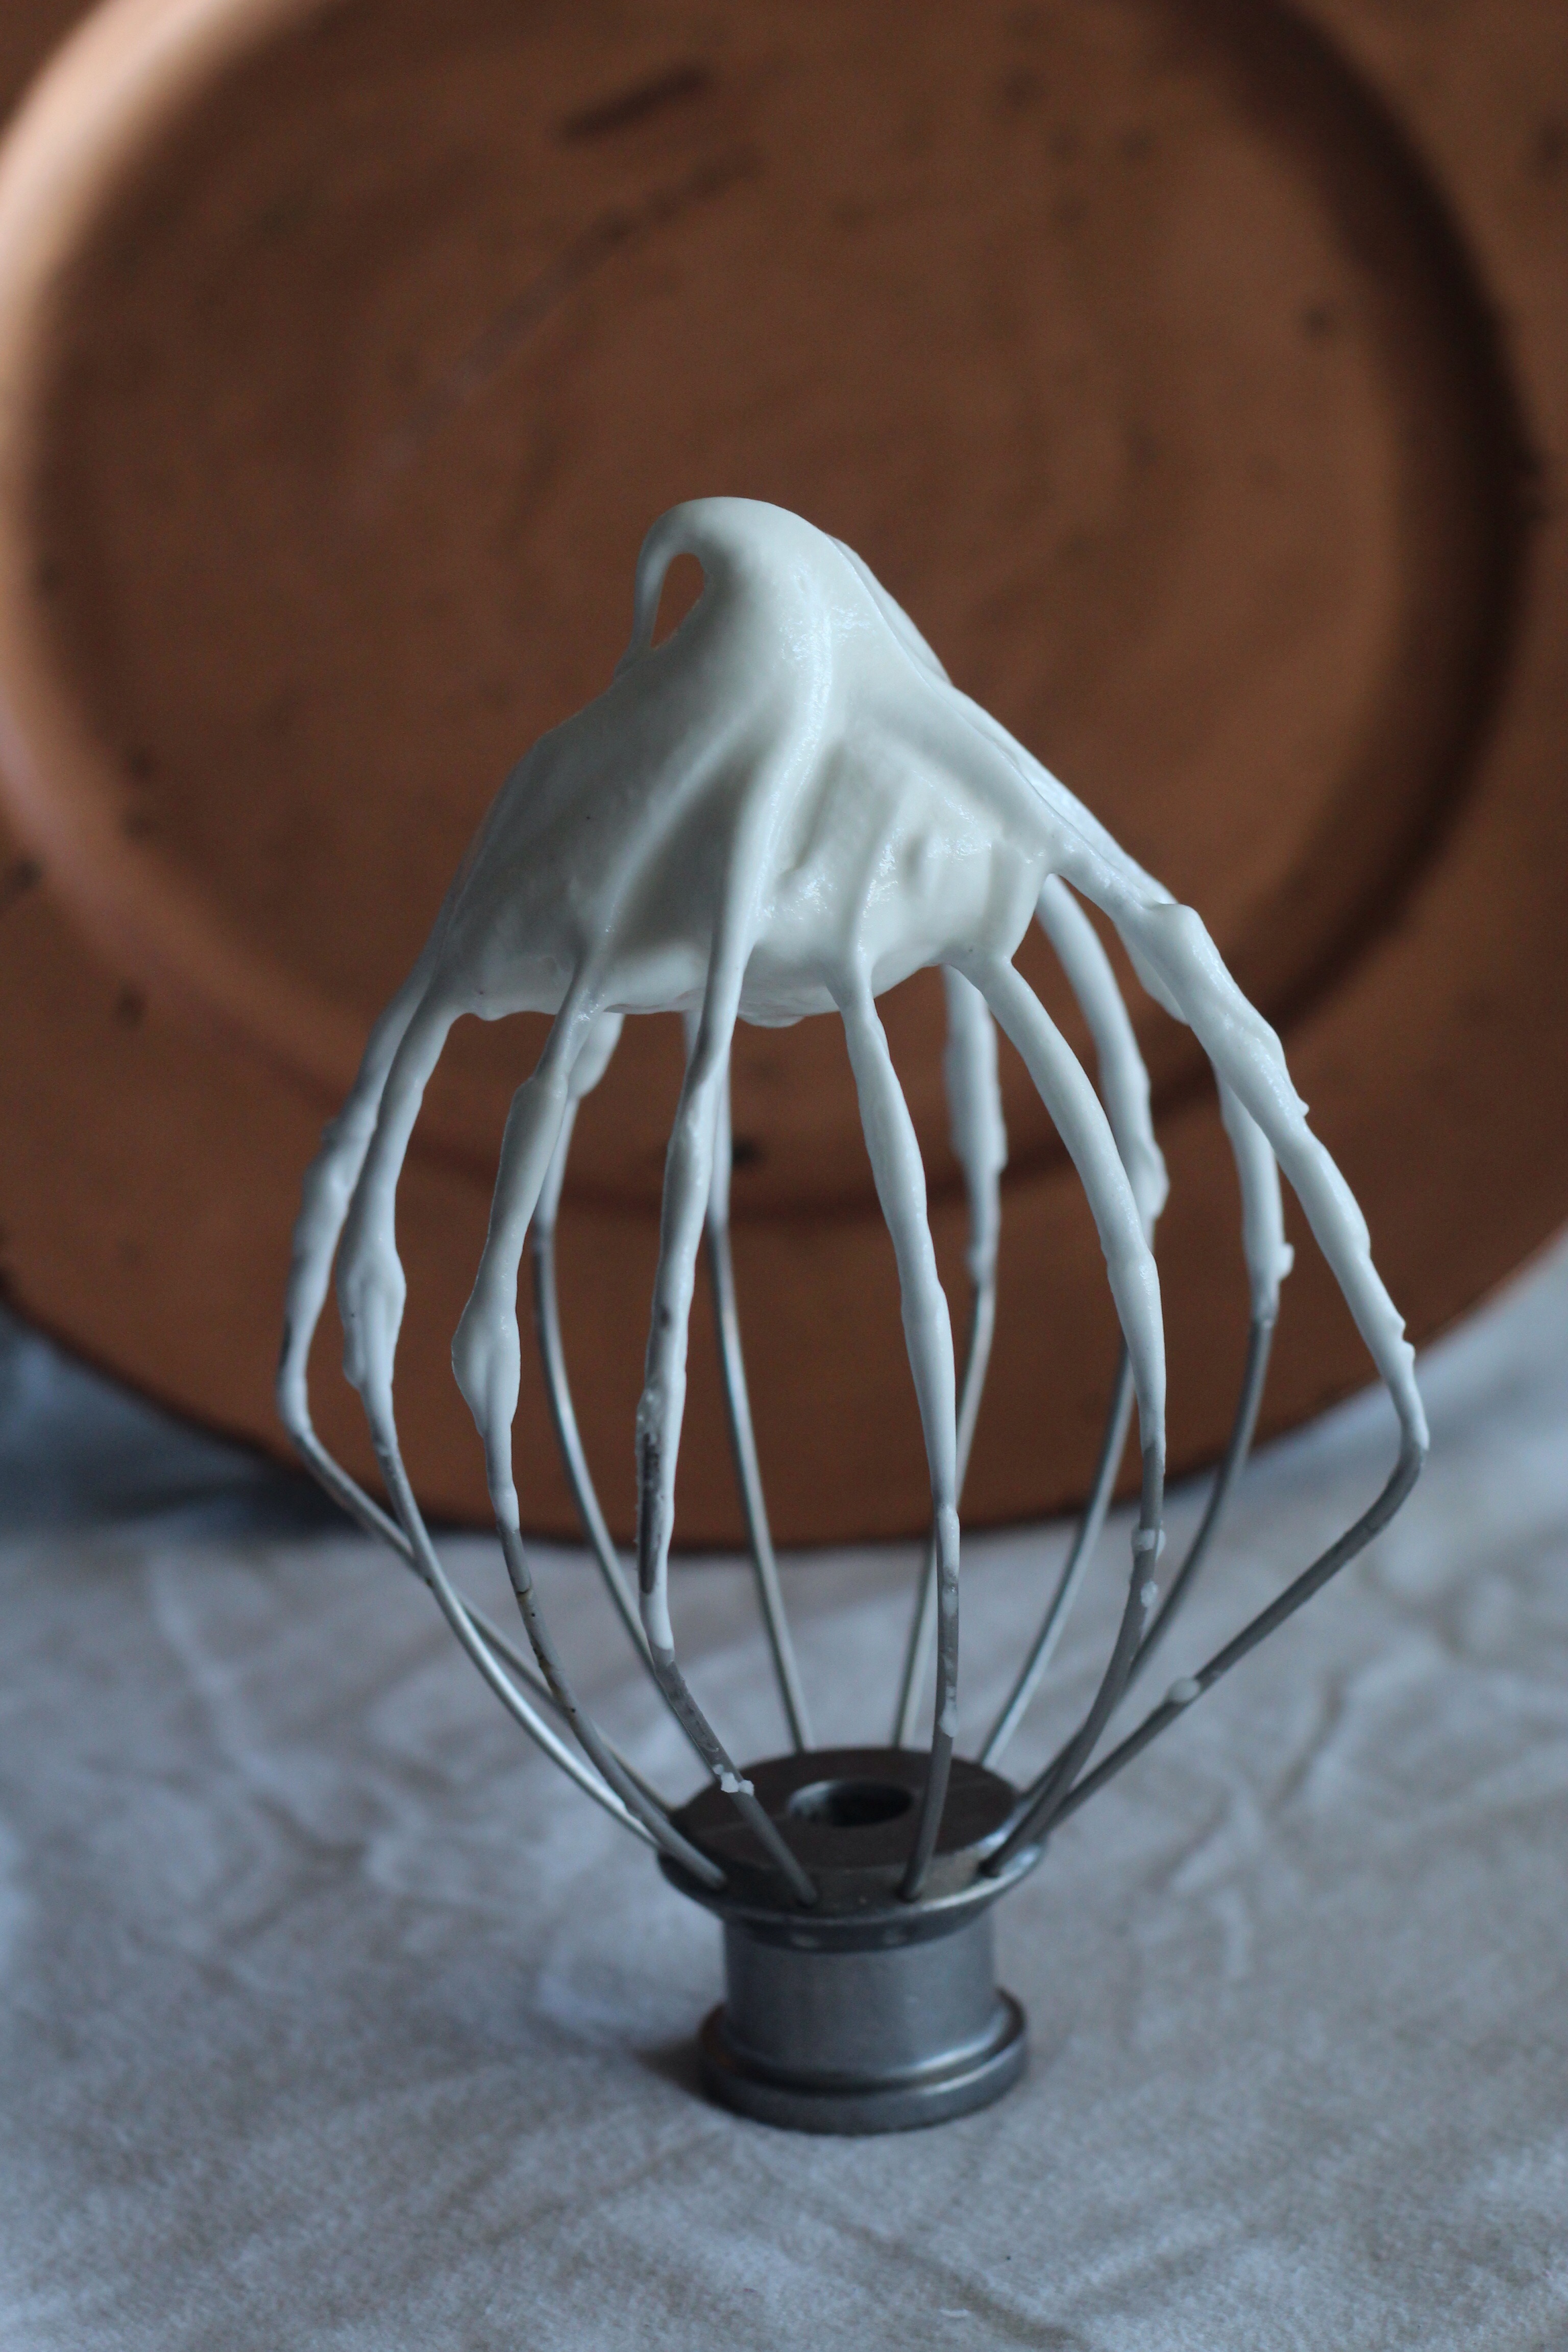
    I’ve been itching to make alcoholic ice lollies since I purchased a ice lolly Kit at my local CNA store. The kit comes with a four part mold, 50 lolly sticks and a little booklet with instructions and a few recipes, some related some not so related to ice lollies or frozen desserts for that matter… Alas, I trawled the Internet for inspiration and went to one of my bookmarked sites as a last resort(but should have been the first) Delicious UK,where I saw a Gin and Tonic ice lollie recipe. It’s extremely simple, but do make it a day before so as to set overnight in the molds. If you, like me can be a bit heavy handed with the pouring of drinks, that’s okay, because I mainly used the recipe only as a guideline. Add ingredients according to taste.
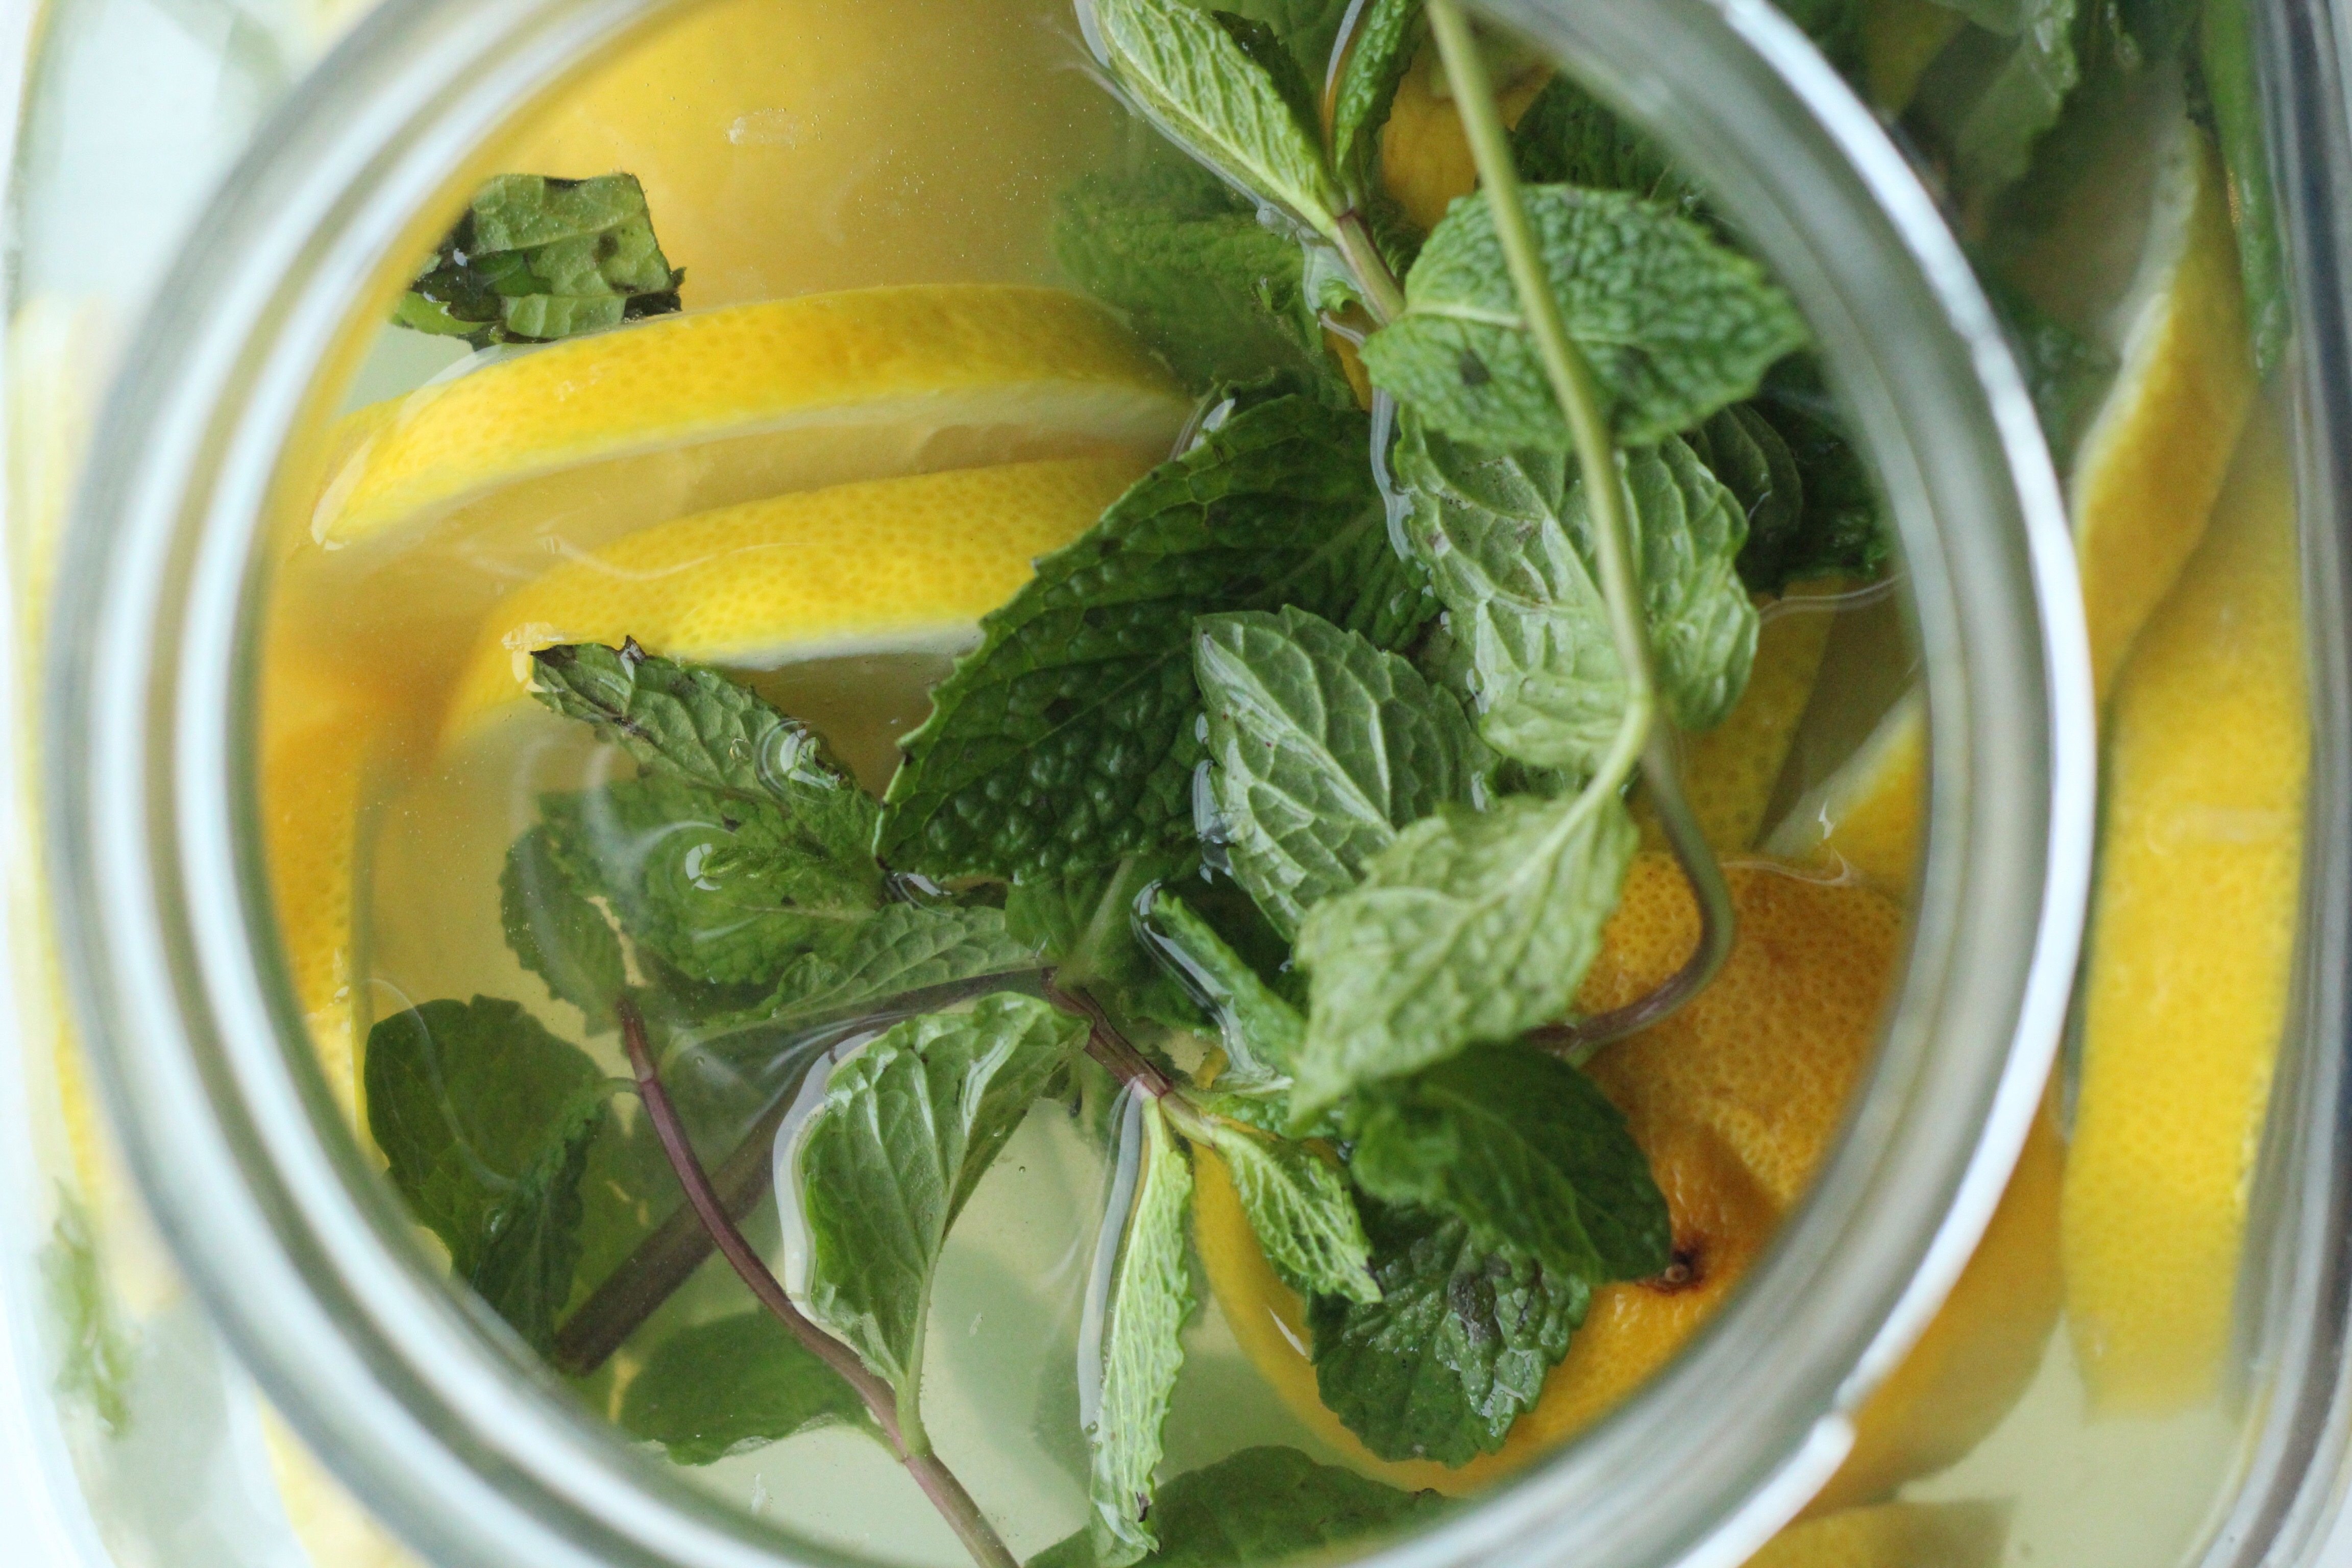
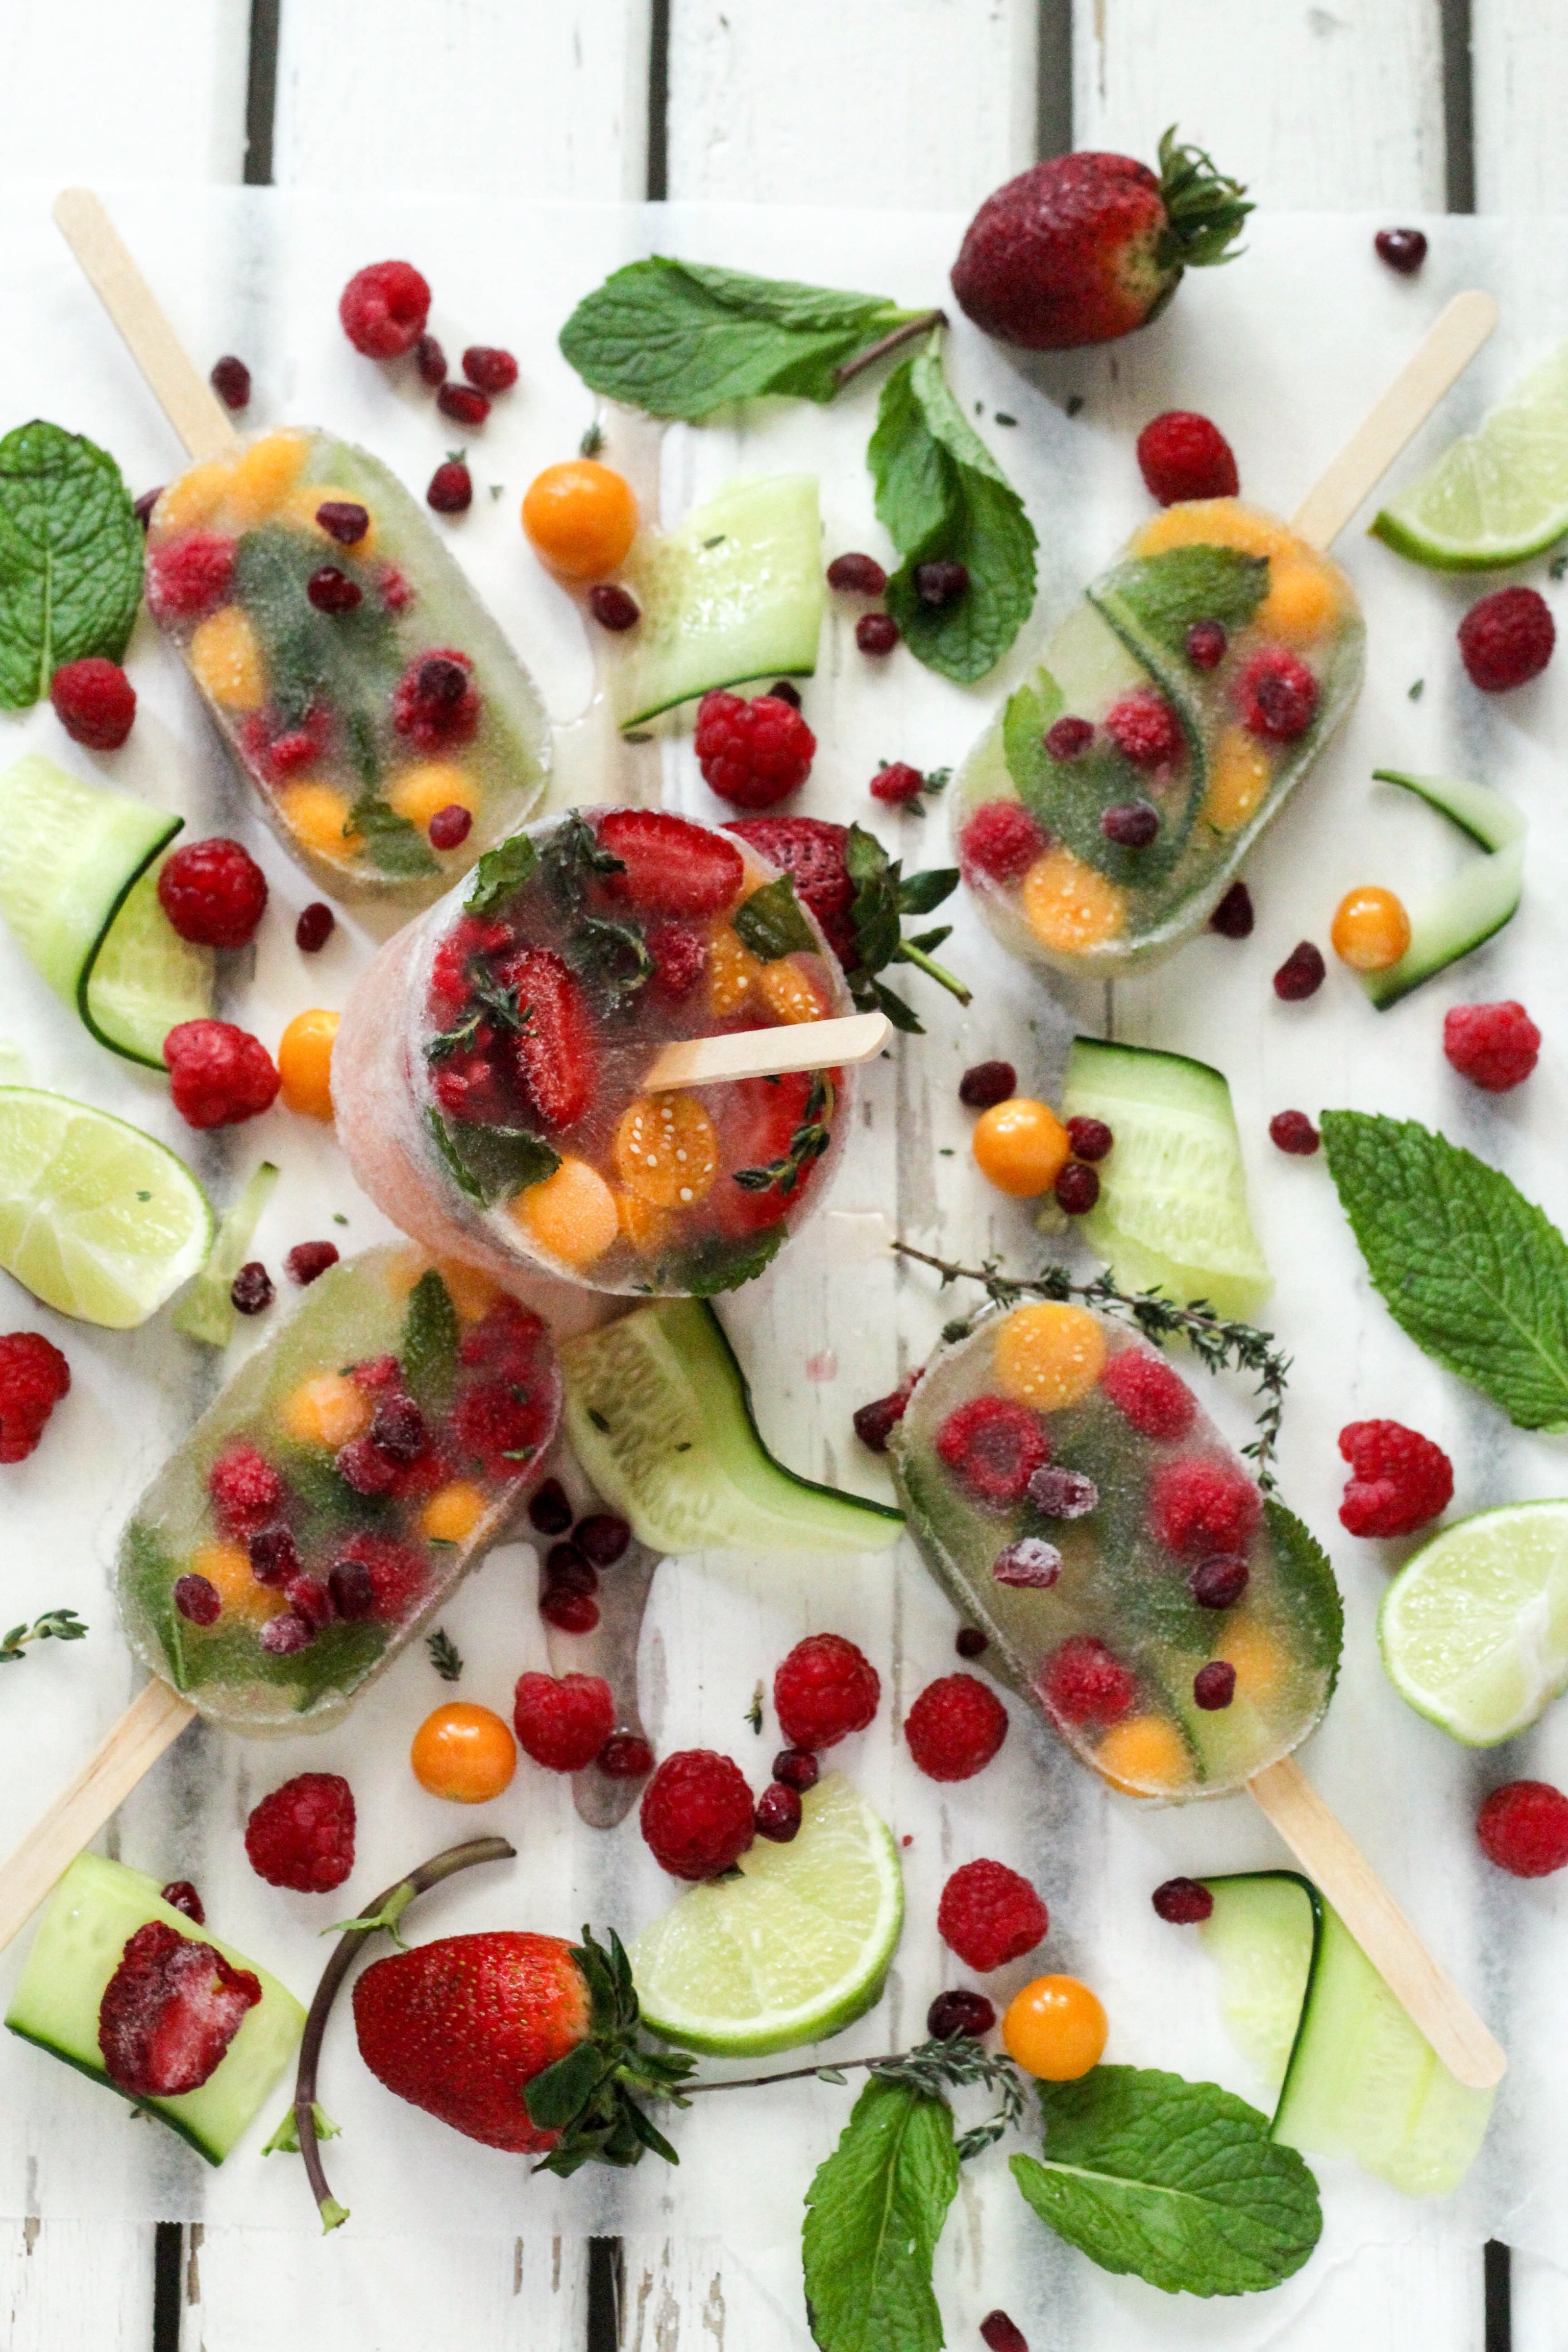
    With the satisfyingly refreshing G&T at the Royal hotel in mind, I added a few gooseberries, strawberries and lime juice to the mixture to set. I unfortunately didn’t have an artisanal fynbos infused gin on hand, so I used a Kumquat infused gin, that I had purchased a few months back from one of my favourite places to go and visit, a farm nestled at the foothills of the Simonsberg mountain range, Babylonstoren. 

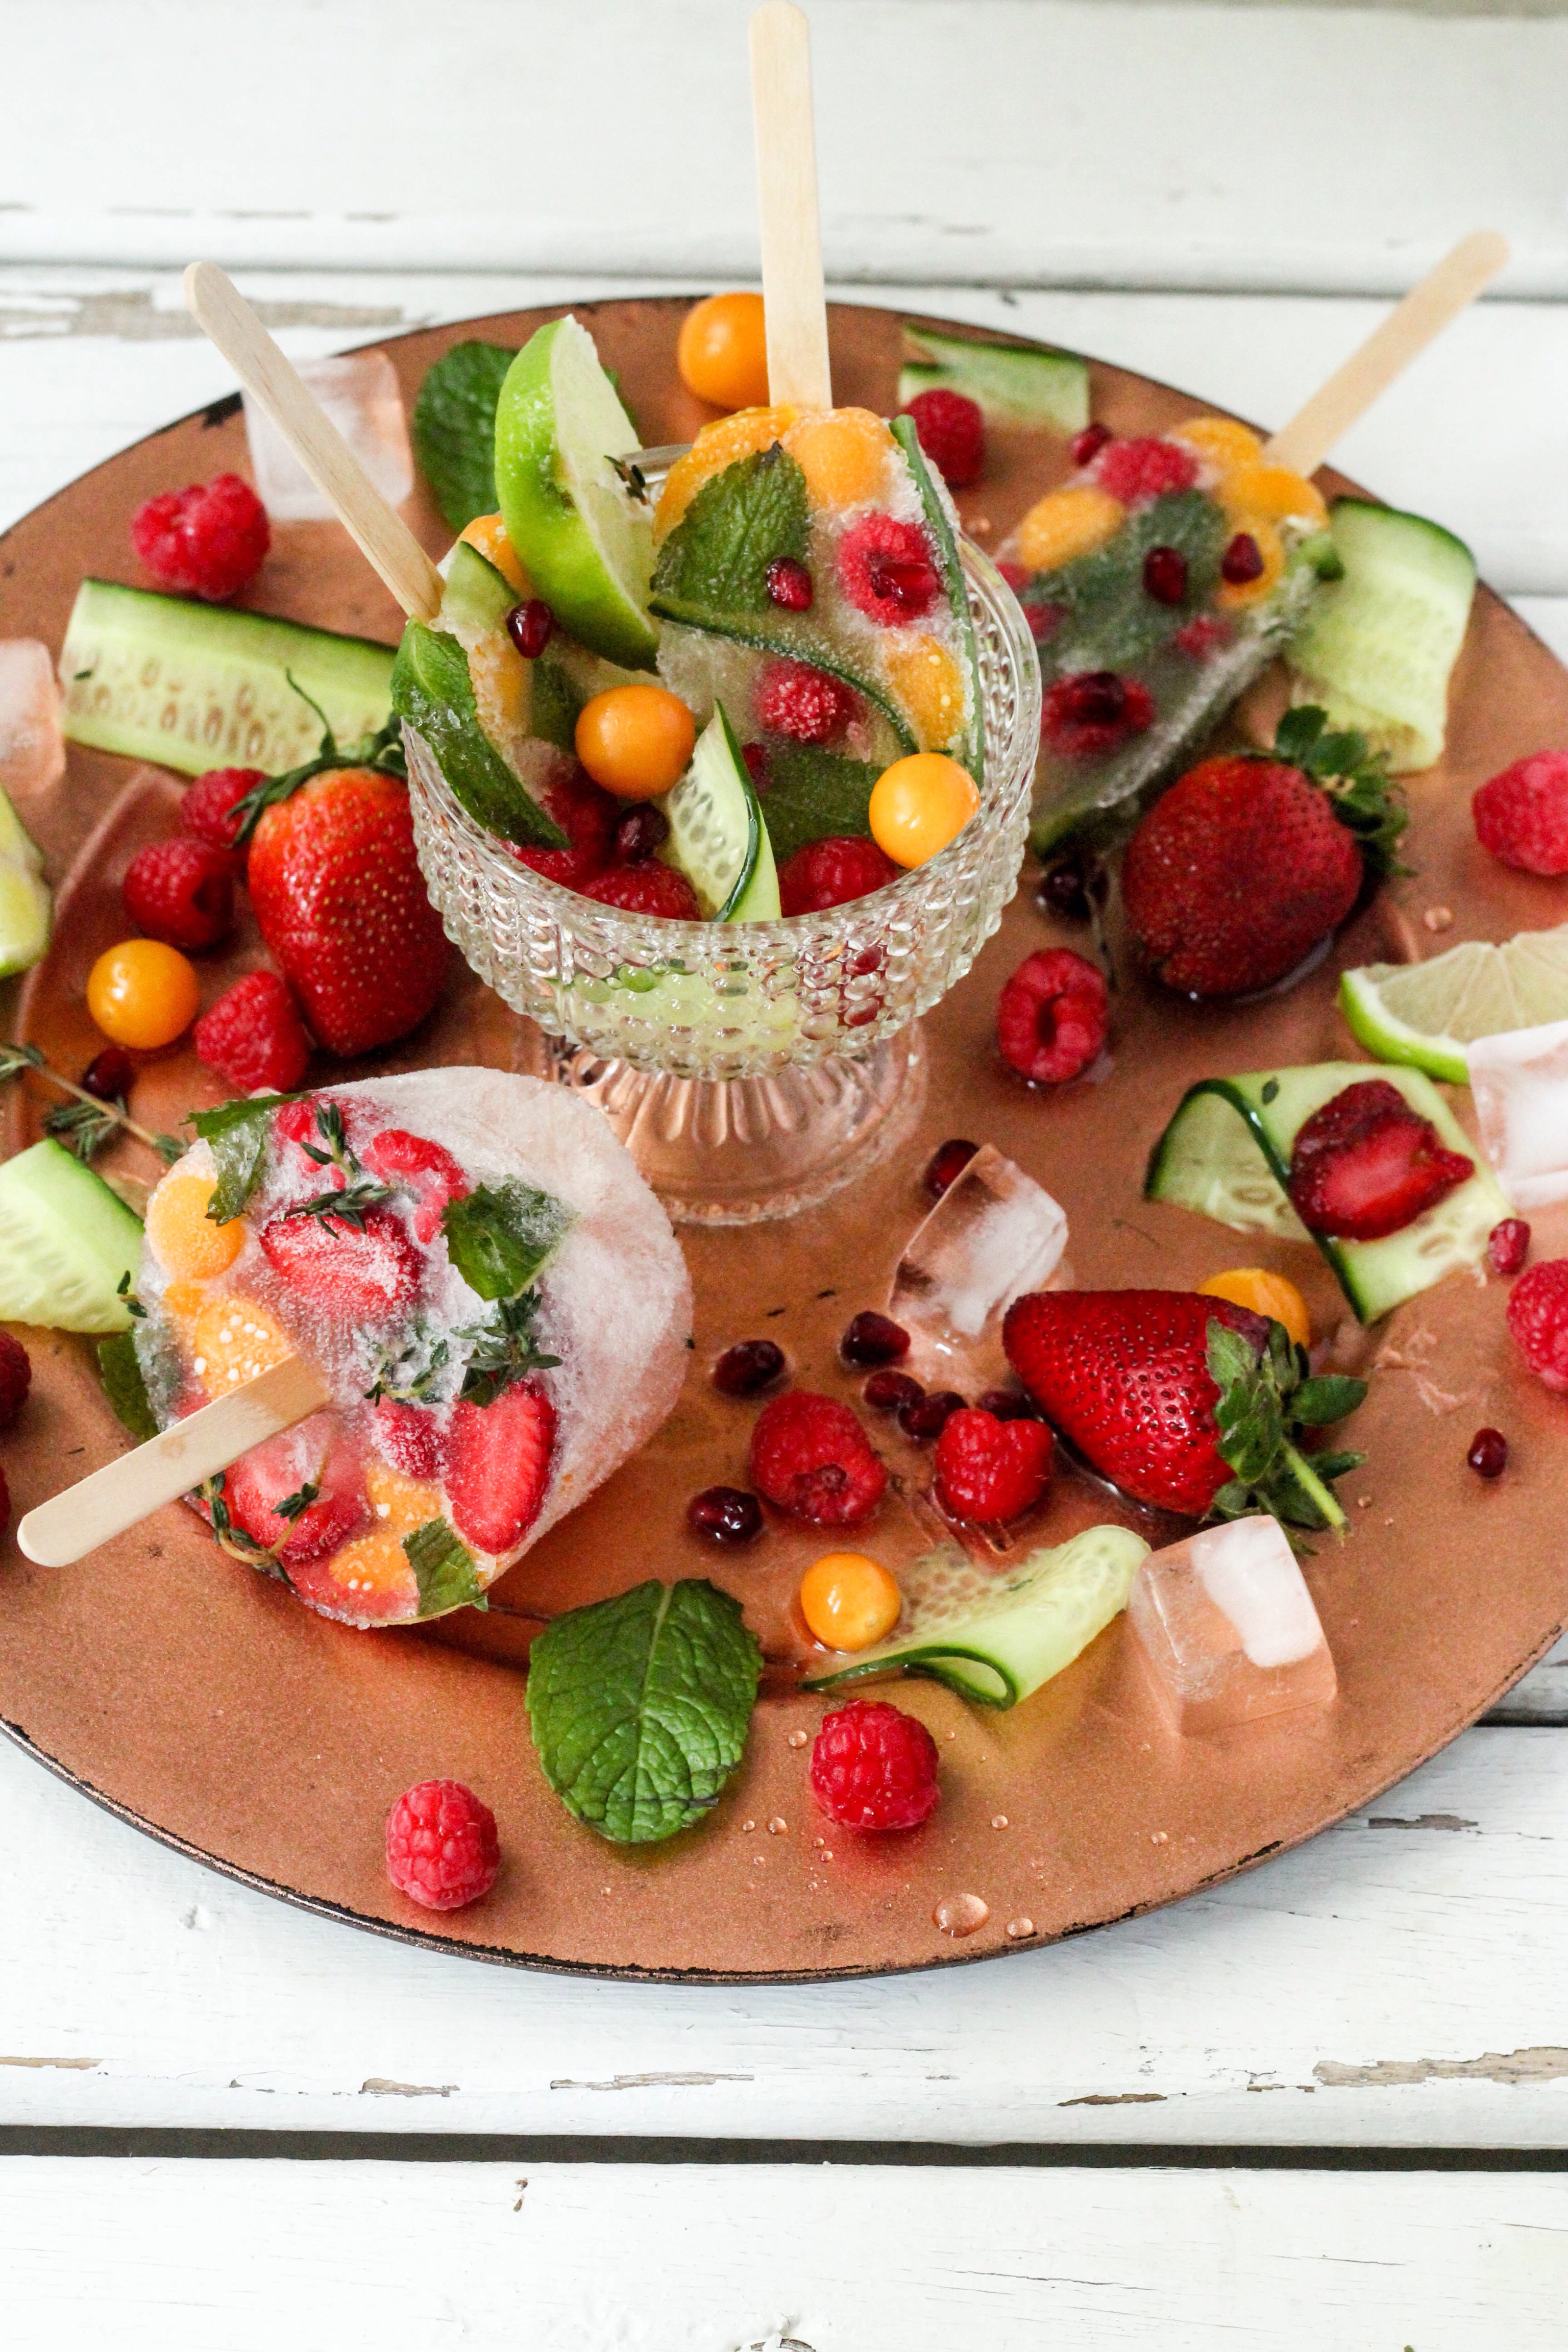
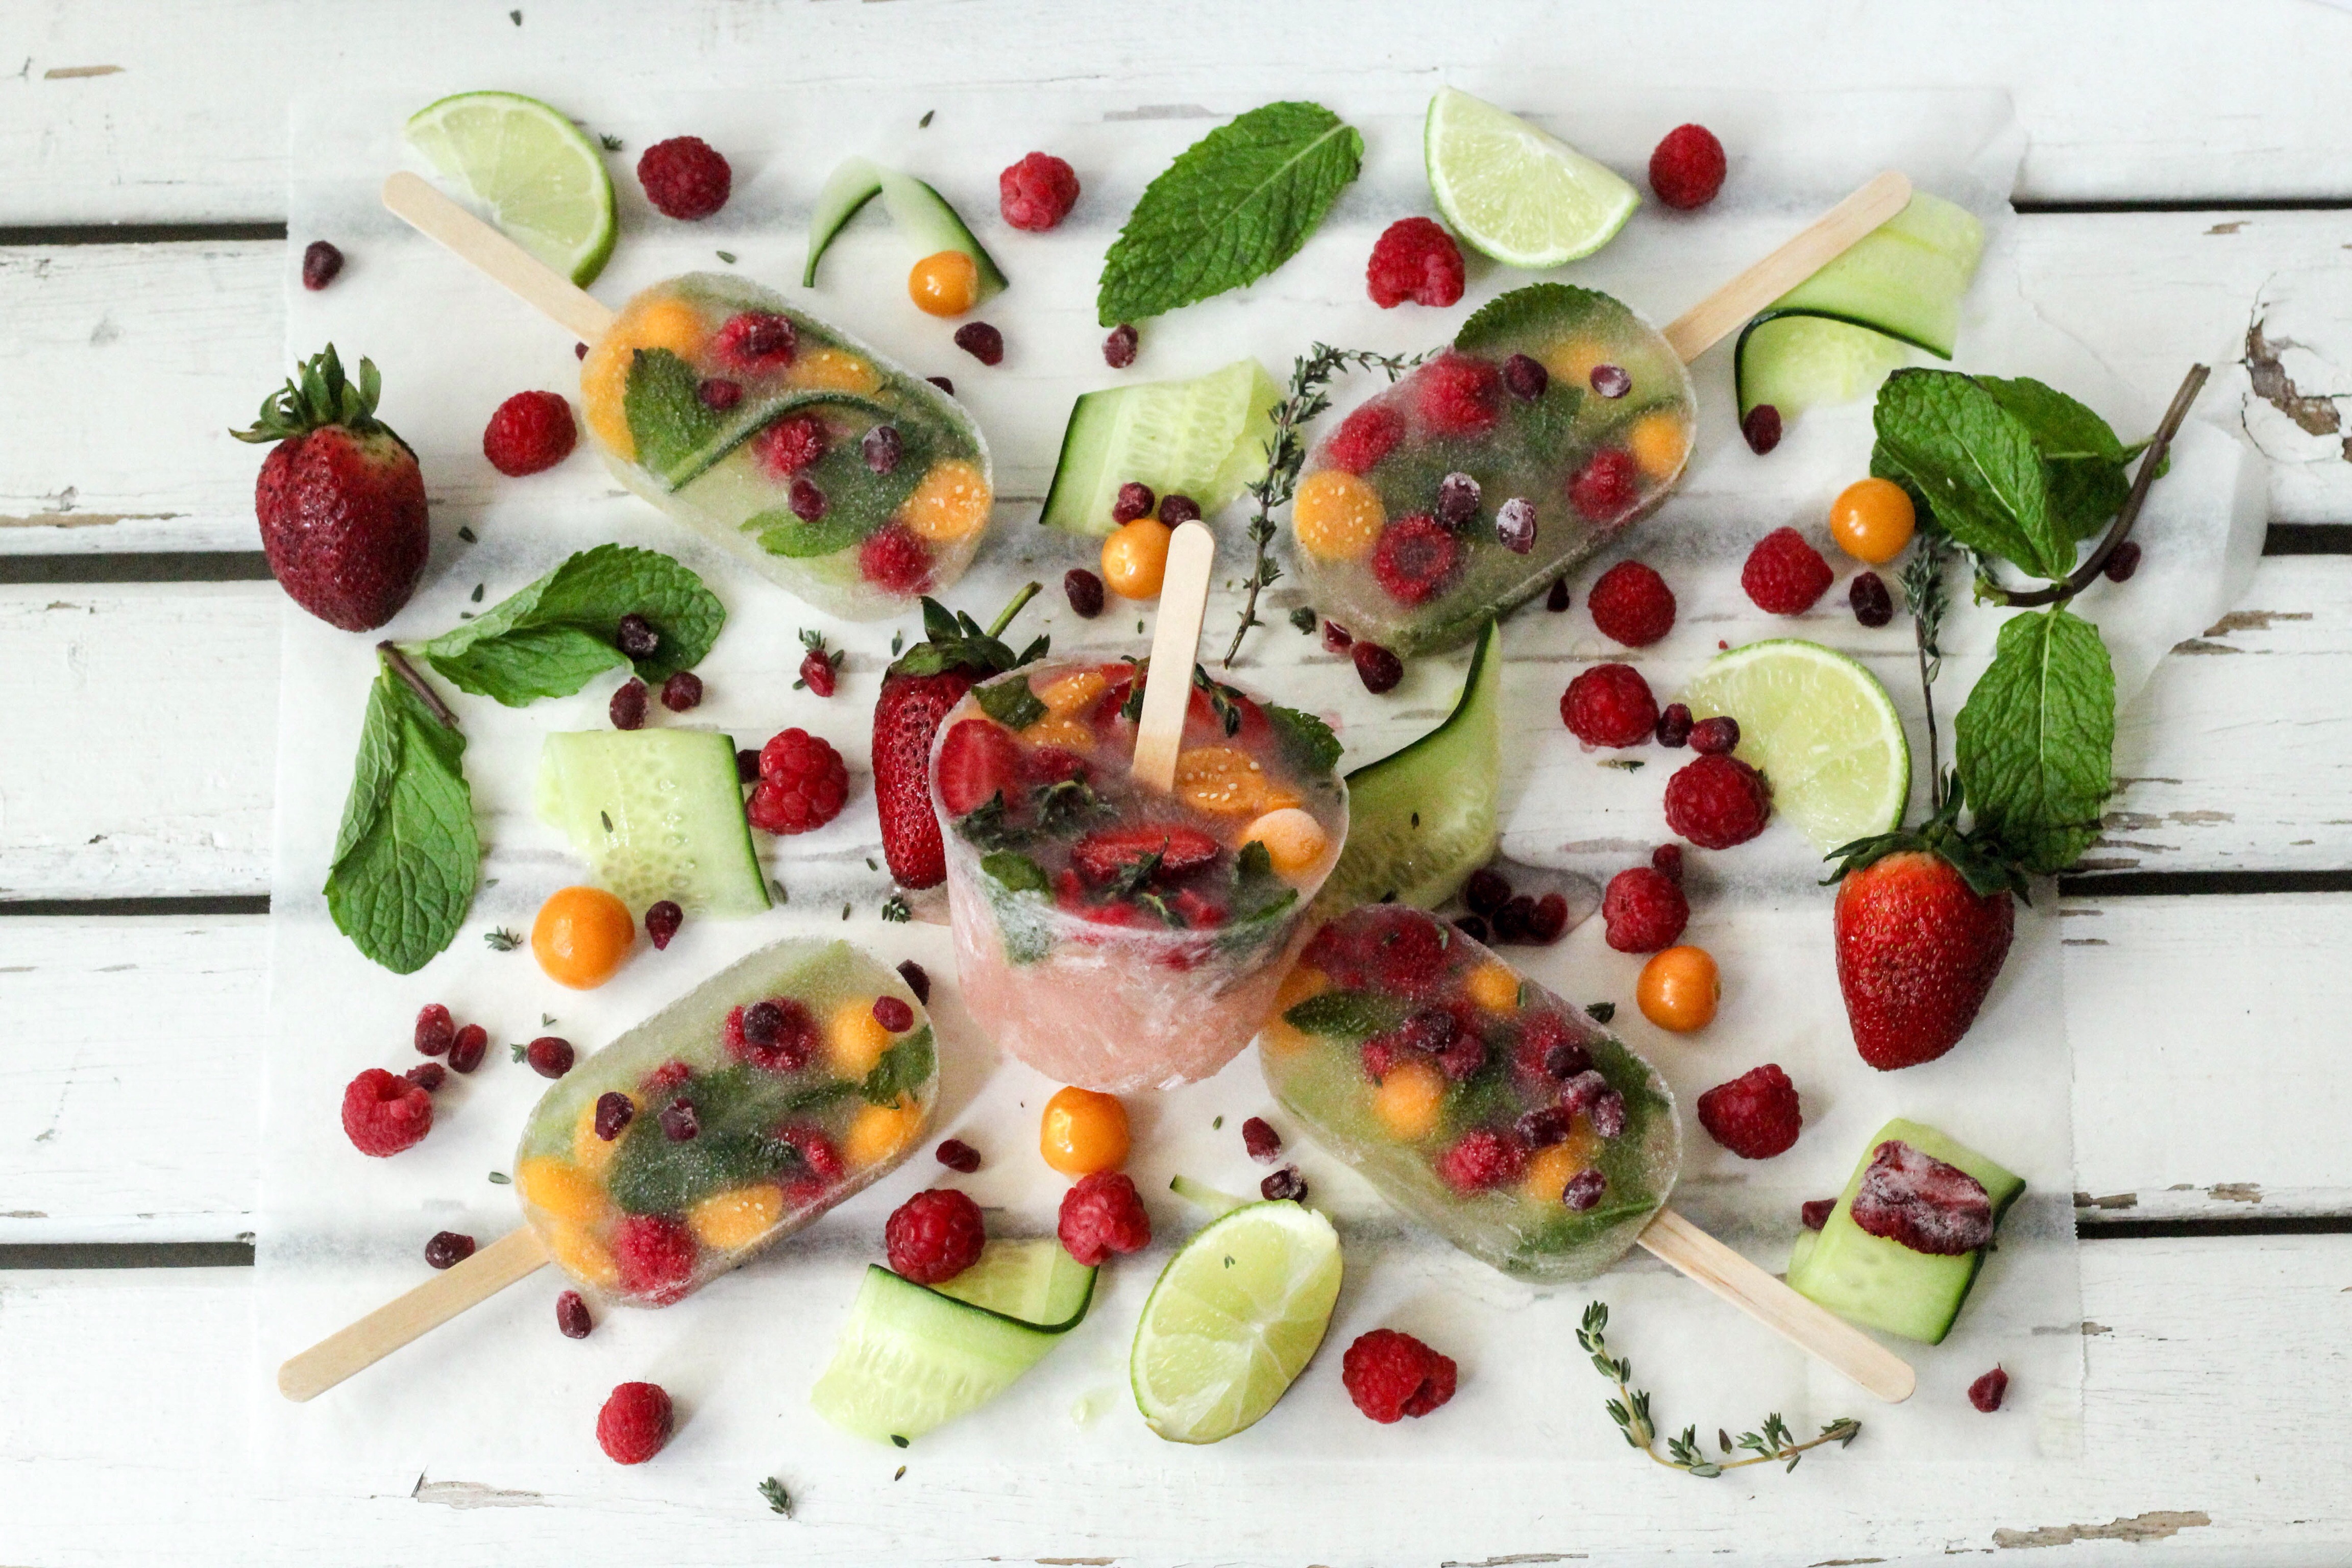
    I really love the pop of colour the berries lend to the contrast of the lush green of the mint leaves against the white backdrop. The ice lollies are just as refreshing as the actual tipple. I can tell, I will be making a whole lot of ice lollies, ice cream and sorbet this summer. 

    Dominique x

  • Deconstructed lime meringue.

    Deconstructed lime meringue.

    I took it upon myself to recreate a classic and also critically deconstruct it. This in essence is the very teaching and philosophy of Massimo Bottura, celebrating nostalgia but asking questions. I made a deconstructed lime meringue dessert with crushed ginger cookies as the base, and a lime meringue ginger cookie sandwich(think ice cream sandwich style, but way better). So with my fat pants on and guilty conscience happily abandoned at the door (this is a judgement free zone) so please feel free to recreate this dessert and even top it and take it to another level of indulgence! 
    I made the speediest and tastiest lime curd just over a week ago, and it’s been sitting on the shelf of my fridge in a sealed jar staring at me asking me to eat it. To be honest it had me at hello! The lime curd was made in the microwave recipe found on Food52. The rest of the recipe for the desserts I have developed. I simply crushed ginger biscuits and drizzled with a little ginger syrup(a sweet twist) I then filled the glass with the lime curd and topped off with the whipped meringue and blowtorched to get the desired toastyness. Any excuse to use my awesome little blowtorch! 

    For the cookie sandwich, assemble the curd between the biscuits, gently press together and smooth out edges if oozing out, then top with the meringue and toast with the blowtorch. I think I had way too much fun doing this! 


    The photos were taken just before noon again, I find I take less photos these days when shooting for one post, as I find that I don’t need to take hundreds of photos to get that good batch of photos like I used to do. This must mean I am improving slowly 🙂  I’m super excited to share next week’s posts and photos with you! It’s going to be super chilled 🙂 that’s about all I’m letting you know for now. 

    This post was collated whilst listening to the incomparable David Bowie. Specifically the song ‘Heroes’. 

    Happy Heritage day everyone! xo

  • Ricotta on crusty bread with pickled Courgette and Pear. 

    Ricotta on crusty bread with pickled Courgette and Pear. 

    My love of cheese knows no bounds! Feta, cream cheese, cottage cheese, Brie, Camembert, Goat’s cheese or 24 month matured Parmigiano Reggiano, name it and I’ll be there with a bottle of wine to pair it with! Ricotta is so very versatile, I mainly use it as a substitute for cream in my pasta sauces, it makes the texture that more luxurious and velvety smooth. But ricotta is more than just an addition to a great sauce. I usually make my own from scratch which is rather easy and foolproof. I have a healthy obsession (excuse the pun) of knowing exactly what goes into my food same can be said for what goes into my body. 
    Beside making a really creamy sauce, if there’s any leftover Ricotta, I make blueberry ricotta hotcakes/flapjacks that I smother in lemon curd and bacon, because why not? This time I wanted to do something a bit different and at the same time keep it simple. Simplicity in food sometimes is the key. 

    I bought a fresh plain rusticata loaf at my local Woolworths and this time purchased my ricotta, instead of making it, and also spotted some lush green courgettes. I made a quick pickle (I used 1 cup of white wine vinegar to equal amounts of castor sugar) and two cloves, a few cumin seeds and a few drops of this amazing white balsamic vinegar(Sonoma Harvest Passion fruit White Balsamic vinegar) the quick pickle is a tad unconventional, but it’s all in the spirit of experimenting and playing around with flavours. 

    I added thin slices of Courgette and Pear to the pickle, allow to simmer on a low-medium heat to let the flavours fully permeate and the speedy process of pickling take place. Take off the heat and assemble on thickly spread Ricotta on crusty bread sprinkled with a pinch of sumac and toasted cumin seeds and finish with a sprig or two of mint. I’m so enamoured with the lip puckering taste and crunch of the courgettes, I do like the pickled pear, the variety I used was really sweet, the pickling balanced the flavour of the pear beautifully. I made an extra one with blueberries for another tart flavour combination. There are so many flavour combinations one can experiment with Ricotta. 

    The photos were taken just after noon. Only once I have looked at them on my computer screen, did I realize how similar in some ways it is to my previous post, The ultimate toastie. I hope this post will inspire and fuel you with ideas for your next get together with friends and family. 

  • Cranberry, Date and Macadamia granola bars.

    Cranberry, Date and Macadamia granola bars.

    Every week I mix up a batch of granola bars, every week a different recipe, each week a different taste and texture. I’ve never been happy with any recipe I’ve tried until I tried this one. Whilst looking for inspiration for my next post and researching recipes, I had the TV on the food network channel on a really soft yet audible tone. When I noticed Anna Olsen about to make her Granola bar recipe, I stopped searching and adjusted the volume with all eyes on the screen. Her recipe seems very easy and tasty and had me wondering what have I been doing all this time with all these disappointing granola bar recipes! Sunday, I schleped my partner along to a prop and background sourcing haul at the Milnerton Flea market. Feeling quite chuffed with all my treasures I couldn’t wait to play around and shoot something with them. I made the granola bars on less than a few hours sleep and much zeal after my haul. I couldn’t believe how easy and fuss free the recipe was, I toasted the oats and nuts along with a seed mix which consists of pumpkin, linseeds, sunflower and sesame seeds and added to all the ingredients along with the melted coconut oil and warmed honey pressed down firmly in a parchment fitted pan and baked for 15 minutes. Allow to cool completely in the pan before slicing. I cooled in the fridge to set further, to have a more firm and chewey texture you don’t have to do this(I just wanted to be sure that this time when I cut into the bars they won’t fall apart instantly). It was indeed love at first bite, I love the crunch and saltiness of the salted and roasted macadamia nuts and the tartness of the cranberries married with the sweetness of the dates.A match made in heaven. I love how I can control what goes into the bars, as opposed to the mysterious artificial ingredient packed store bought ones. I make these scrummy bars for my partner to take along to work as a midday ‘pick me up’ snack and the bars are great for kids to take along to school for a healthy energy boost. I decided to make a smoothie bowl as a great idea to use the granola bars as part of a full breakfast meal, the quick and easy on the go option might not be for all. I used my trusty NutriBullet to blitz up berries, frozen banana slices, coconut milk and water to thin it down. serve in a bowl or cup with the crushed granola bar pieces. 

    As I type this blog post, my iPad is covered in sticky finger marks from all the constant munching on these glorious granola bars.

    The photos were taken around noon and late afternoon as the sun decided to make a late appearance for the day. I love my new props and background and as you can tell I am still trying to find my own style of shooting and styling. This takes time and patience, I am not the most patient person but I am certainly learning to be…

  • Confit Duck Ravioli


    French, Italian, and of course South African are my absolute favourite types of cuisine that I love to cook,eat and enjoy! My name and love of food has a French origin, my soul Italian and my heart definitely belongs to my beloved home country. I feel like I must have been a nonna in my previous life, I simply adore making pasta, so much so that I make a batch once a week usually accompanied with pork mince and chicken liver meat balls (a favourite in my household) or a simple quick meal with sautéed mushrooms, garlic and cream with tagliatelle. This week I wanted to do something different and venture into uncharted territory and what better way to confit the duck legs for the very first time and make ravioli too! I made the pasta dough and chilled in the fridge to keep till I need to roll out and shape. For the duck legs, I removed from the packaging and pat dry to season with sea salt flakes and sprigs of thyme. Melt 600g of butter (I used half butter and half duck fat) pour over the duck legs and place in a 160 degree C preheated oven for 2 hours. Once the duck has finished cooking, shred the meat and using a ravioli round cutter or if you don’t have one like me you can use a round cookie cutter place the meat in the middle of the circles(I added a few chunks of goat’s cheese to some of the ravioli before closing, brush the edges of all circles with eggwash(this acts as a glue to help the ravioli stick together and not leak filling whilst being boiled) place in salted water with a a few glugs of olive oil and bring to a boil. Place ravioli in the boiling water and cook for 2-3 minutes until the ravioli starts to float. Drain on a paper towel and serve with extra virgin olive oil. The recipe for the confit duck itself I borrowed from Woolworths Taste, the rest I improvised and used my own discretion. 
    For this post I shredded only what I needed for those ravioli and served the rest of the duck legs on polenta, because it was my first time eating confit duck I wanted to get the full experience. As life changing the meal was, I feel I need a good run for every glorious morsel consumed. But no regrets here! I will definitely be making this for guests soon. Over the weekend, I went and snatched up some bargains at the Weylandts sale for my props and am I glad I went! The plate and kitchen towel in the photos above are just some of a few beautiful items I bought there. Keep an eye out for some new props popping up in my up and coming photos. 

    The photos were taken just before 17:00pm, I know it was a bit late, but notice how it’s stays lighter for longer in the evenings, a sign Spring is almost upon us! 

    “Everything in moderation…including moderation” – Julia Child. 

  • Food Photography Workshop by Hein van Tonder.

    Food Photography Workshop by Hein van Tonder.


    The photo above is of me taking an overhead shot.Photo taken by Hein van Tonder.

    I’m a big fan of Hein van Tonder’s work, he makes photographing food look effortless and oh so exquisite! So when I heard that he was doing a food photography workshop, I indeed jumped at the chance to book my spot. Before, the workshop was held at one of the collaborators’ house, Isabella Niehaus’ place off the West Coast. This one I attended was one of the first held in central Cape Town in the opulently trendy Inner city Ideas Cartel office space in Loop street. Walking towards the building is rather misleading, it’s quite an old building,as many other in the CBD. Taking the lift to the third floor, doors open and it immediately feels as though I’ve fallen down a completely trendy, opulent rabbit hole into a whole new dimension. Steampunk meets opulence that’s my humble opinion on the space. 

    This photo was taken by Hein himself and styled me.

    Most of you will know Hein from Heinstirred and having won numerous awards for his beautiful work, this year he has won Pink Lady awards for Food Photographer of the year in the Marks&Spencer category and Food Photographer of the year for the Food bloggers category. He constantly does freelance work for food magazine giants like Woolworths Taste and Food and Home magazine. Francois Pistorius, one of the other hosts at the workshop, like Hein, is also a renowned professional photographer and comes from a fashion and lifestyle background and also dabbles in food photography. I love his style of photography, he aims to take concise style photos that tells a story. Isabella Niehaus, the third host/collaborator also stems from a fashion background having worked for Sarie magazine. She is a professional food stylist and cook that has this amazing zest for life. We started off with an introduction into Hein’s style of shooting and capturing, followed by Francois doing the same and giving us an insider’s view into the photographing and styling of a cookbook they shot together http://www.quivertreepublications.com/books/the-story-of-a-house/ 


    Isabella gave us some sound advice regarding styling too! They all encouraged us to play around with the gorgeous produce they had purchased at a farmers market a day before and pair them with whichever prop we think goes best. The entire day was based purely on theory, practice,fun and of course food! 


    Isabella made us a scrumptious meal to sustain us hard workers, shared over bubbly and chatting with new friends. I couldn’t have asked for a better setting with better people. After lunch we headed back to our natural light setting, where the rain had stopped and the sun came out a bit. We got to practice some action shots, pouring of sauce and sieving of icing sugar. Just when I thought the day could not be more fun filled! 


    Much to my dismay, and just like that it was over and it was time to leave. Before the workshop I can attest to being an awkward photographer with not much confidence behind the lens. This workshop gives you the confidence to play around and explore your setting, styling and style and I definitely recommend this workshop to any budding and aspiring food photographers in Cape Town. 
    For more information on the workshop, please go to Hein’s website: http://heinstirred.com
    *this post was not sponsored.