Tag: Food Photography

  • Roasted pumpkin infused yoghurt

    Roasted pumpkin infused yoghurt

    Pumpkin epitomizes Autumn in the comforting warm taste and colour lending it’s beautifully sweet flavour to just about anything I can think of to add it to. Which brings me to these gorgeous yoghurts that I am beyond obsessed with, pumpkin and cinnamon double cream yoghurts that I have recently considered an indulgent treat. The flavour of the pumpkin surprisingly enough shines through but not overpowering with a soft hint of cinnamon of course to complement the pumpkin. However, these store bought yoghurts are quite pricey, and find I prefer making my own when I have the time. I had some leftover pumpkin and decided to make a pumpkin pie recipe from renowned and local chef Bertus Basson’s new cookbook ‘Homegrown’ which is featured in this month’s Woolworths Taste issue. 


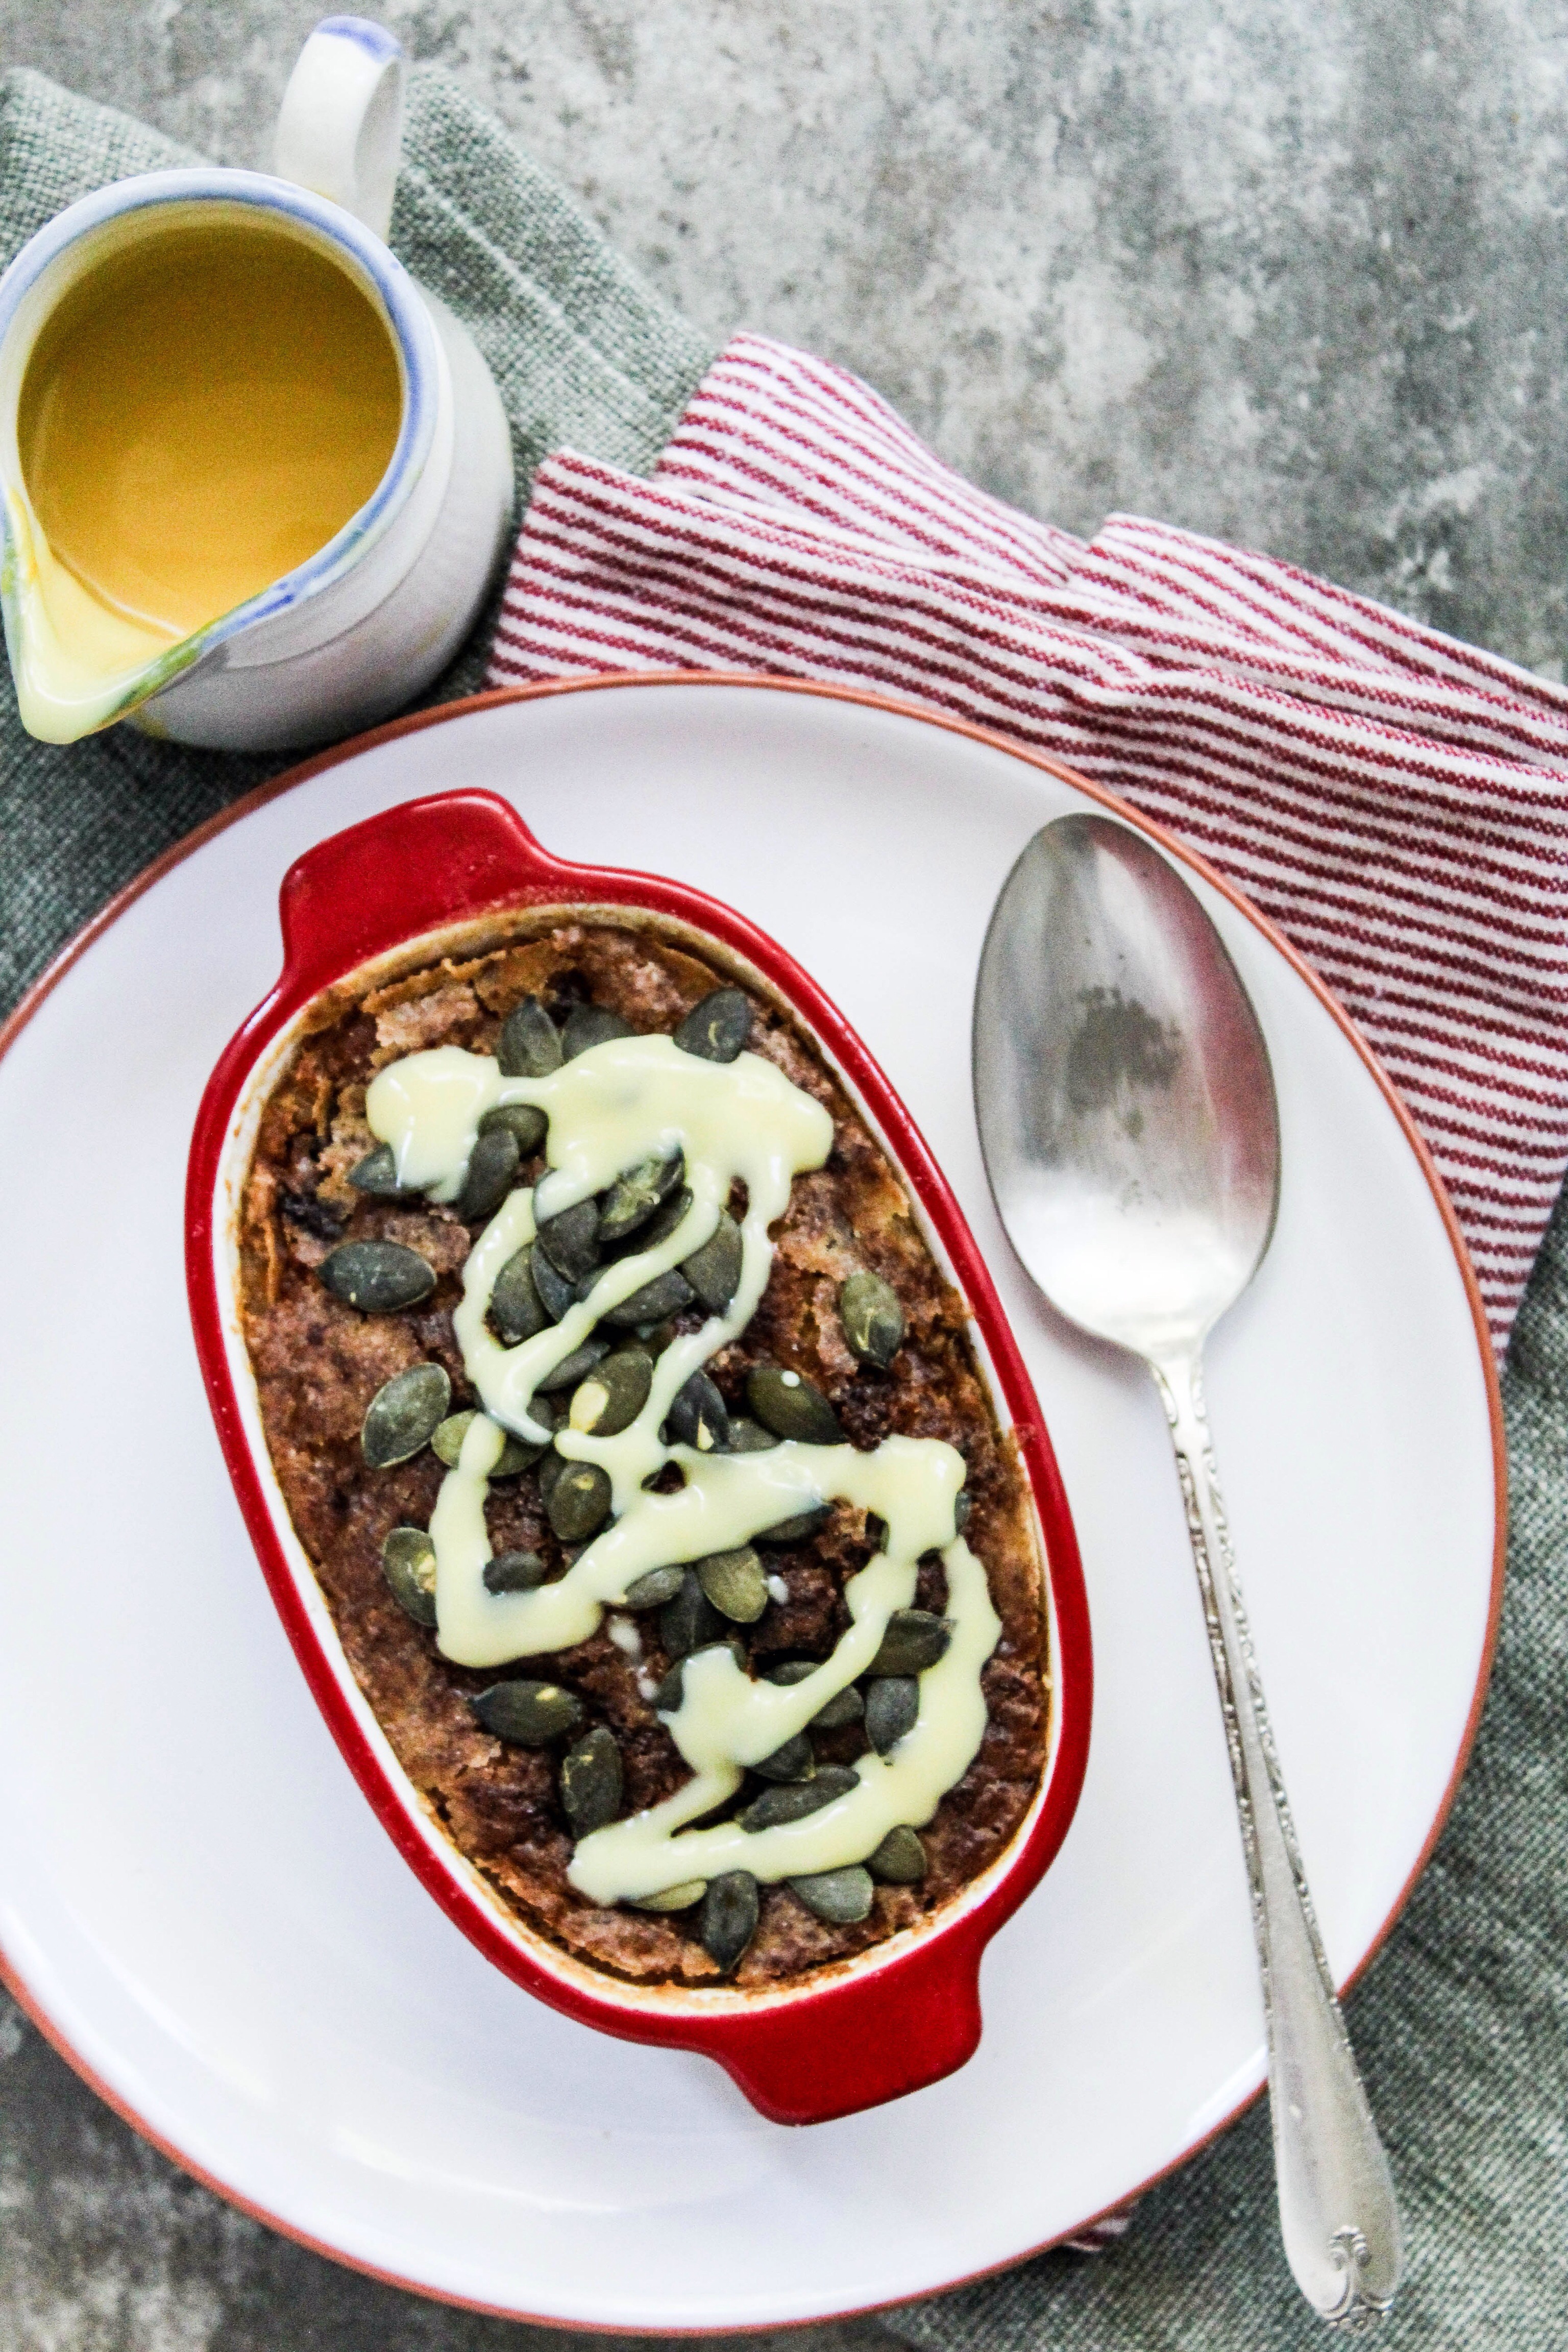
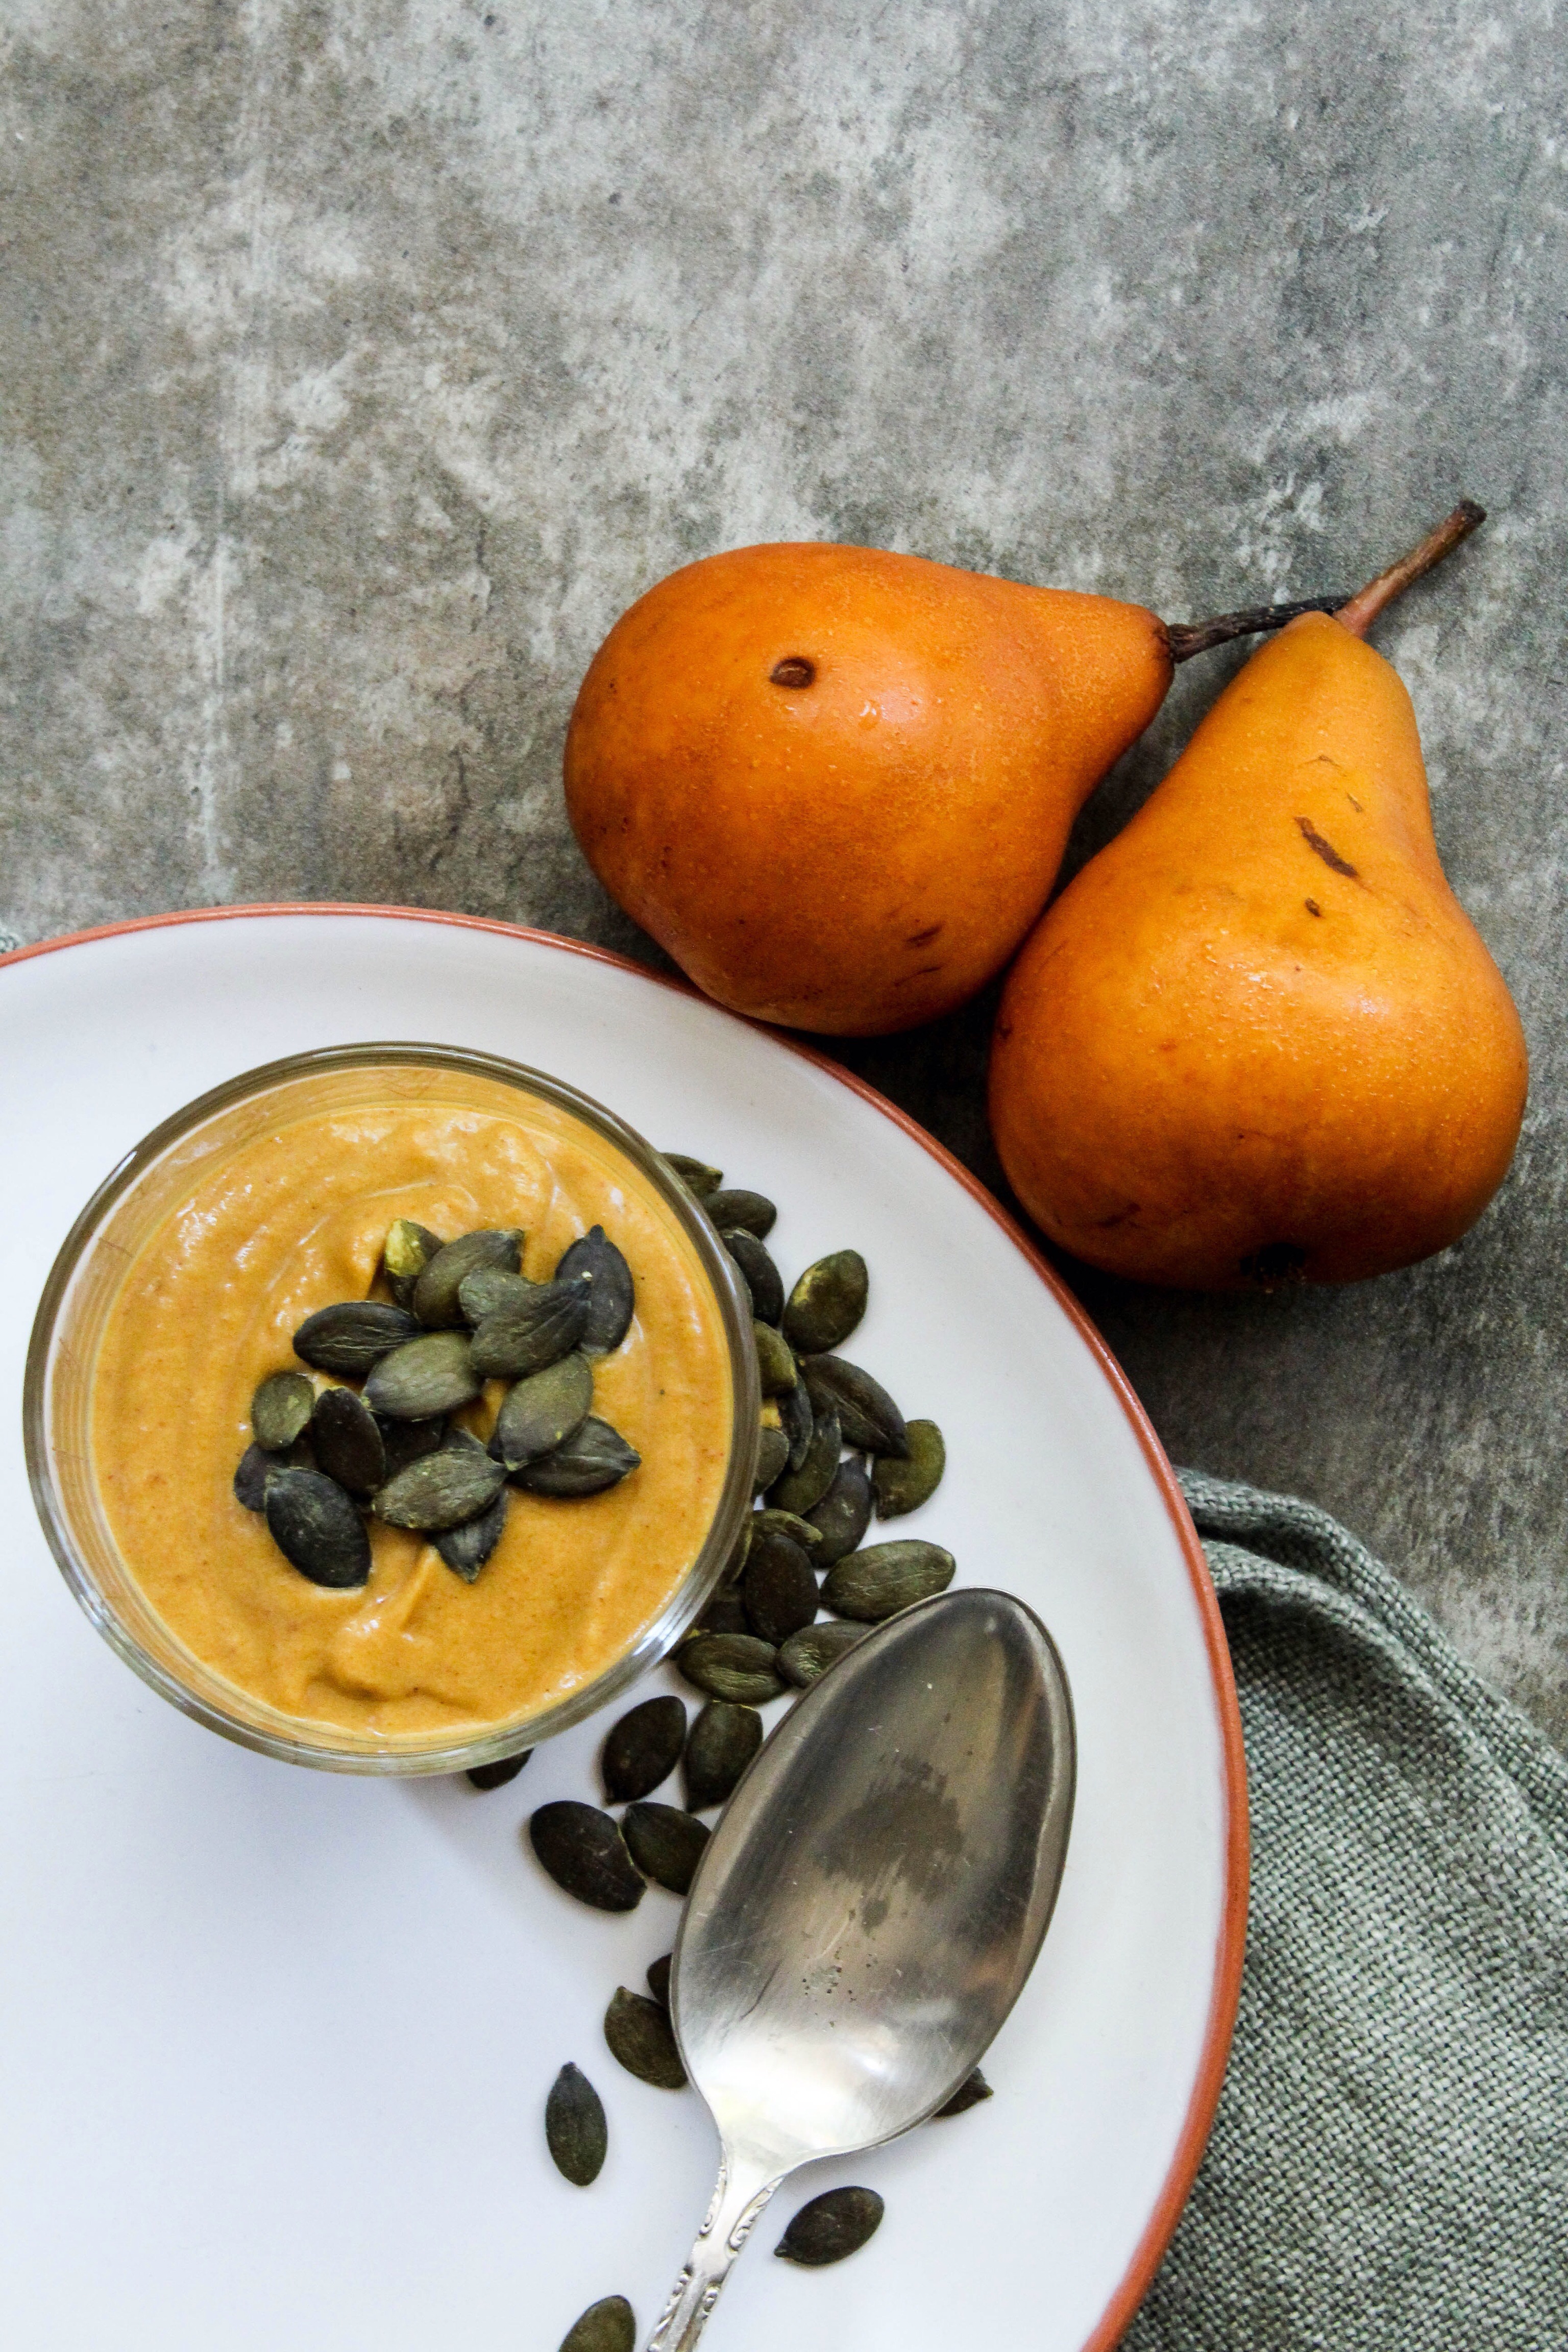
    Pumpkin infused yoghurt 
    Ingredients
    250g Pumpkin (cubed) 

    300g Plain yoghurt 

    2 T maple syrup 

    1 tsp cinnamon 
    Method

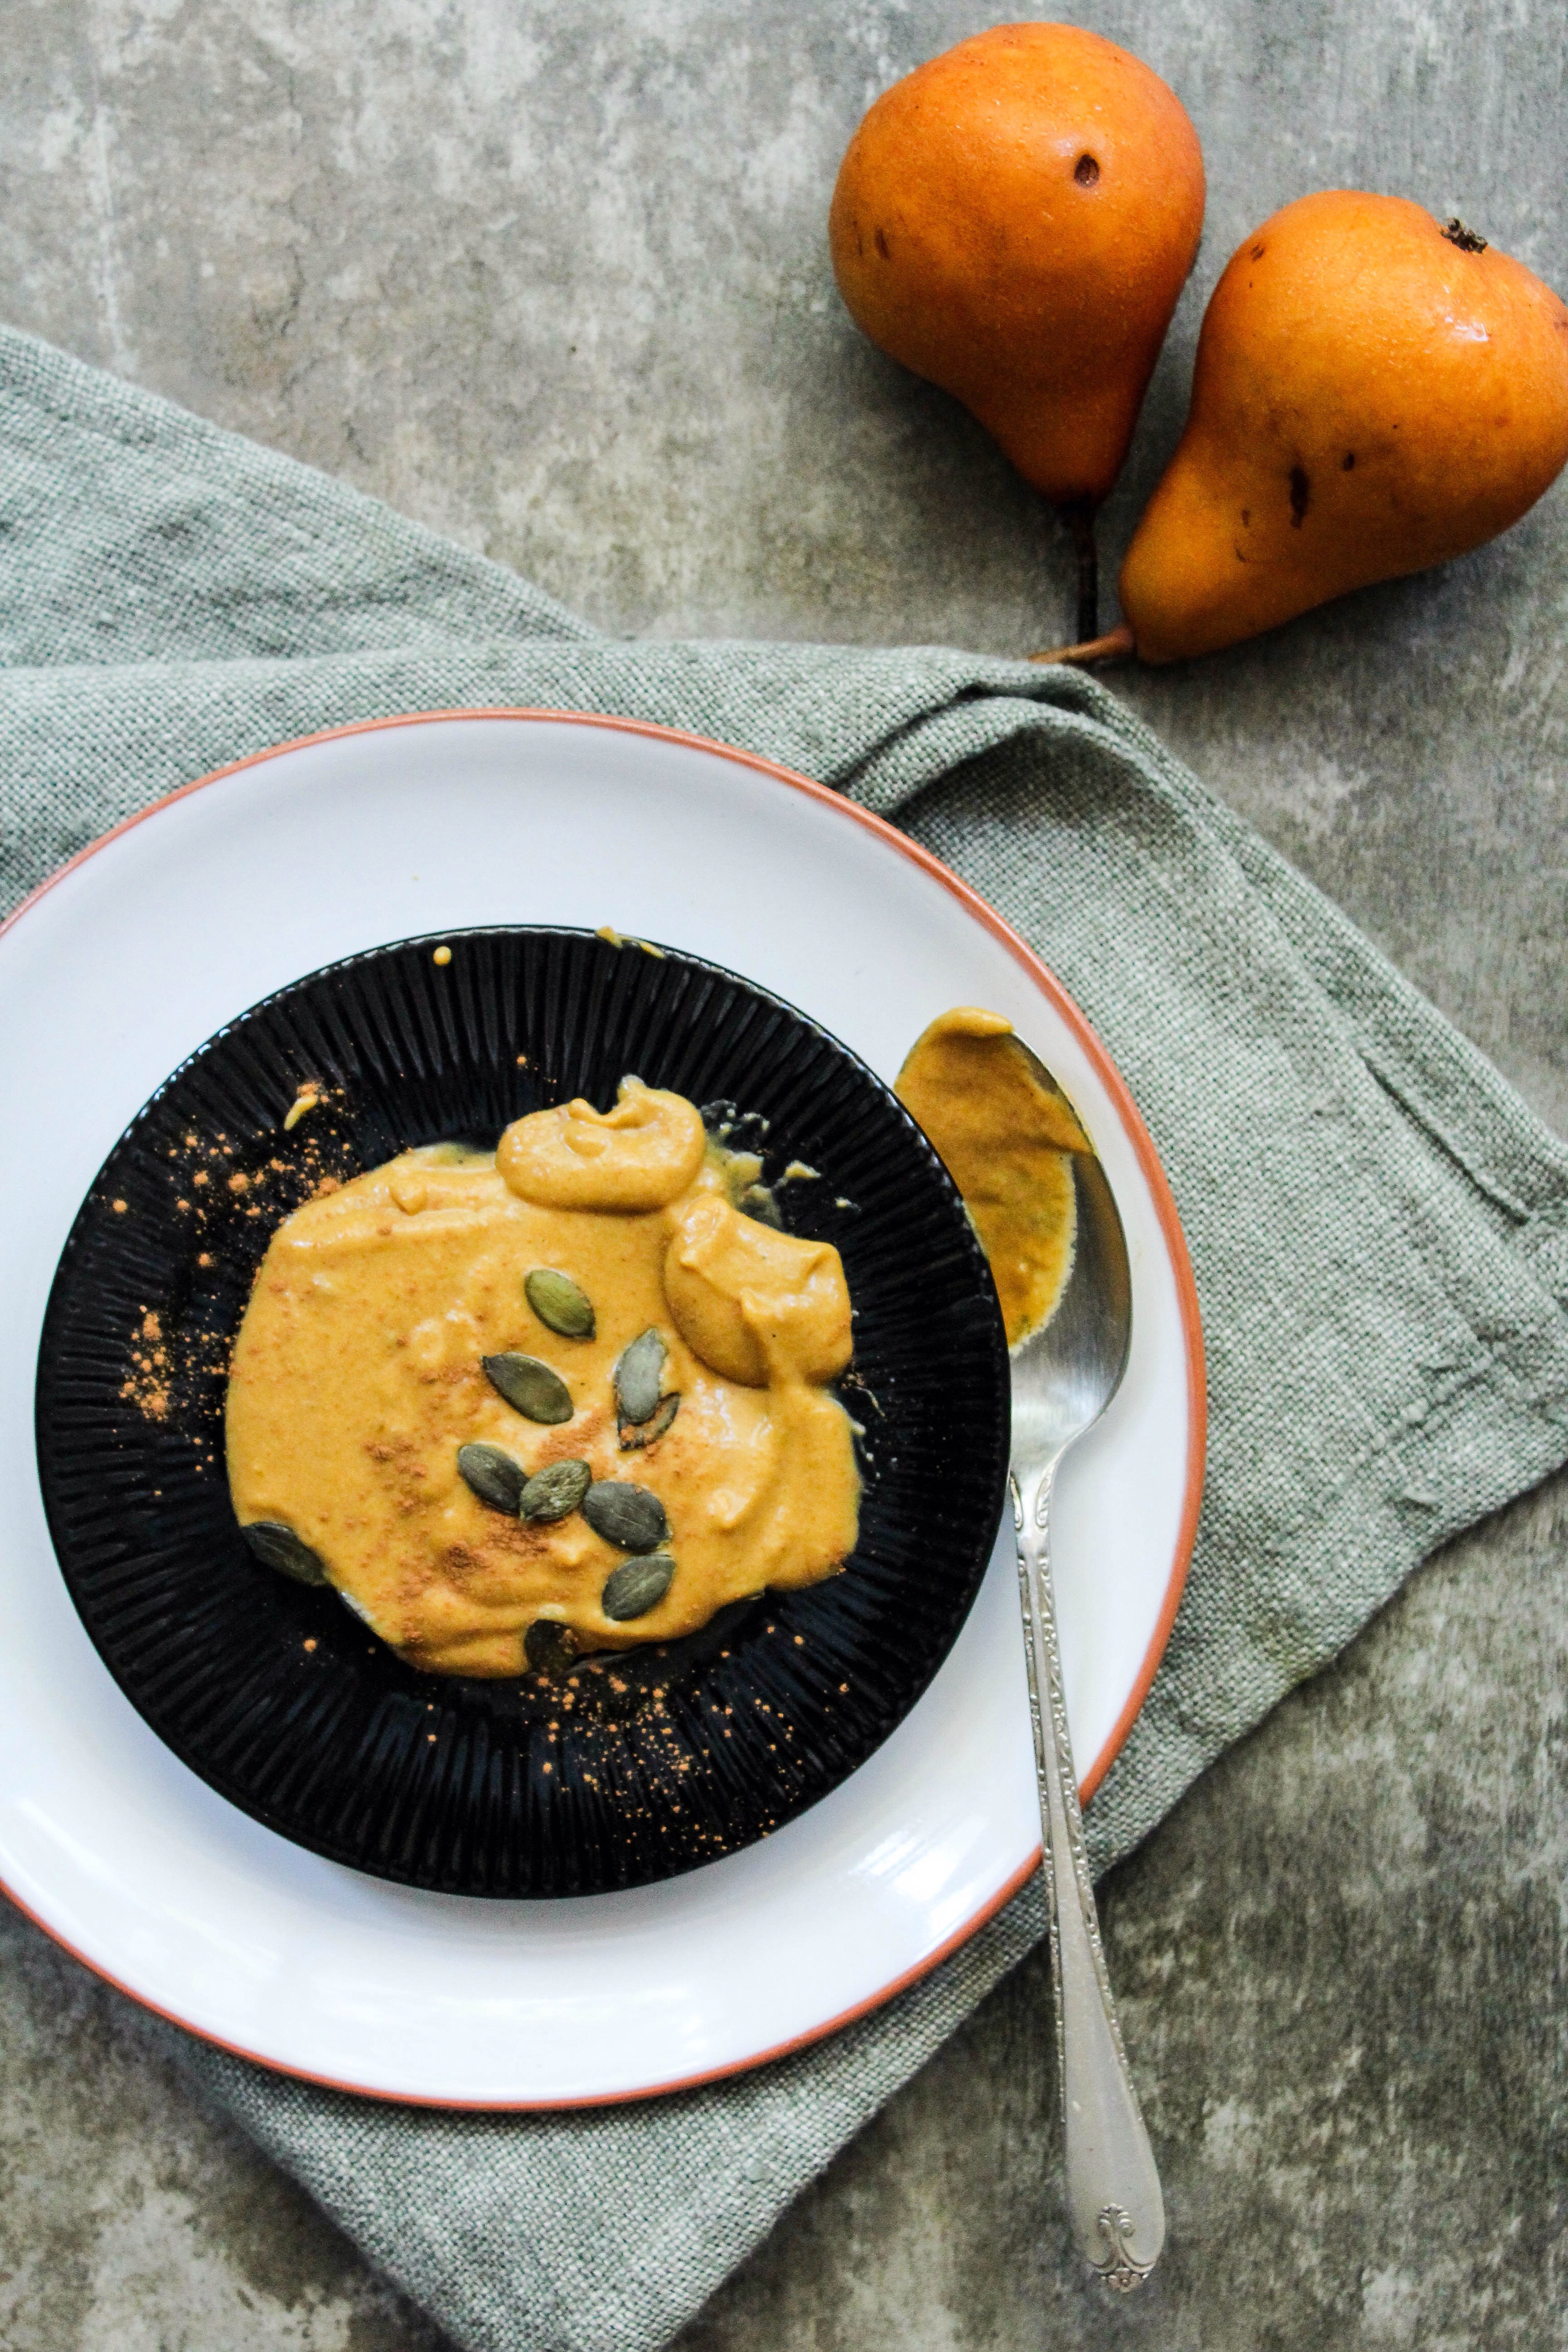
    Preheat oven to 180 degrees C. Place the cubed pumpkin in a roasting dish, drizzle with the maple syrup and add the cinnamon. Roast for 20-25 minutes until fully macerated. Set aside to cool. In a blender, or in my case my NutriBullet, add the pumpkin and blitz till smooth, then add the yoghurt with another dusting of cinnamon if you like, and blitz till smooth. Serve as a snack or with your morning granola. 


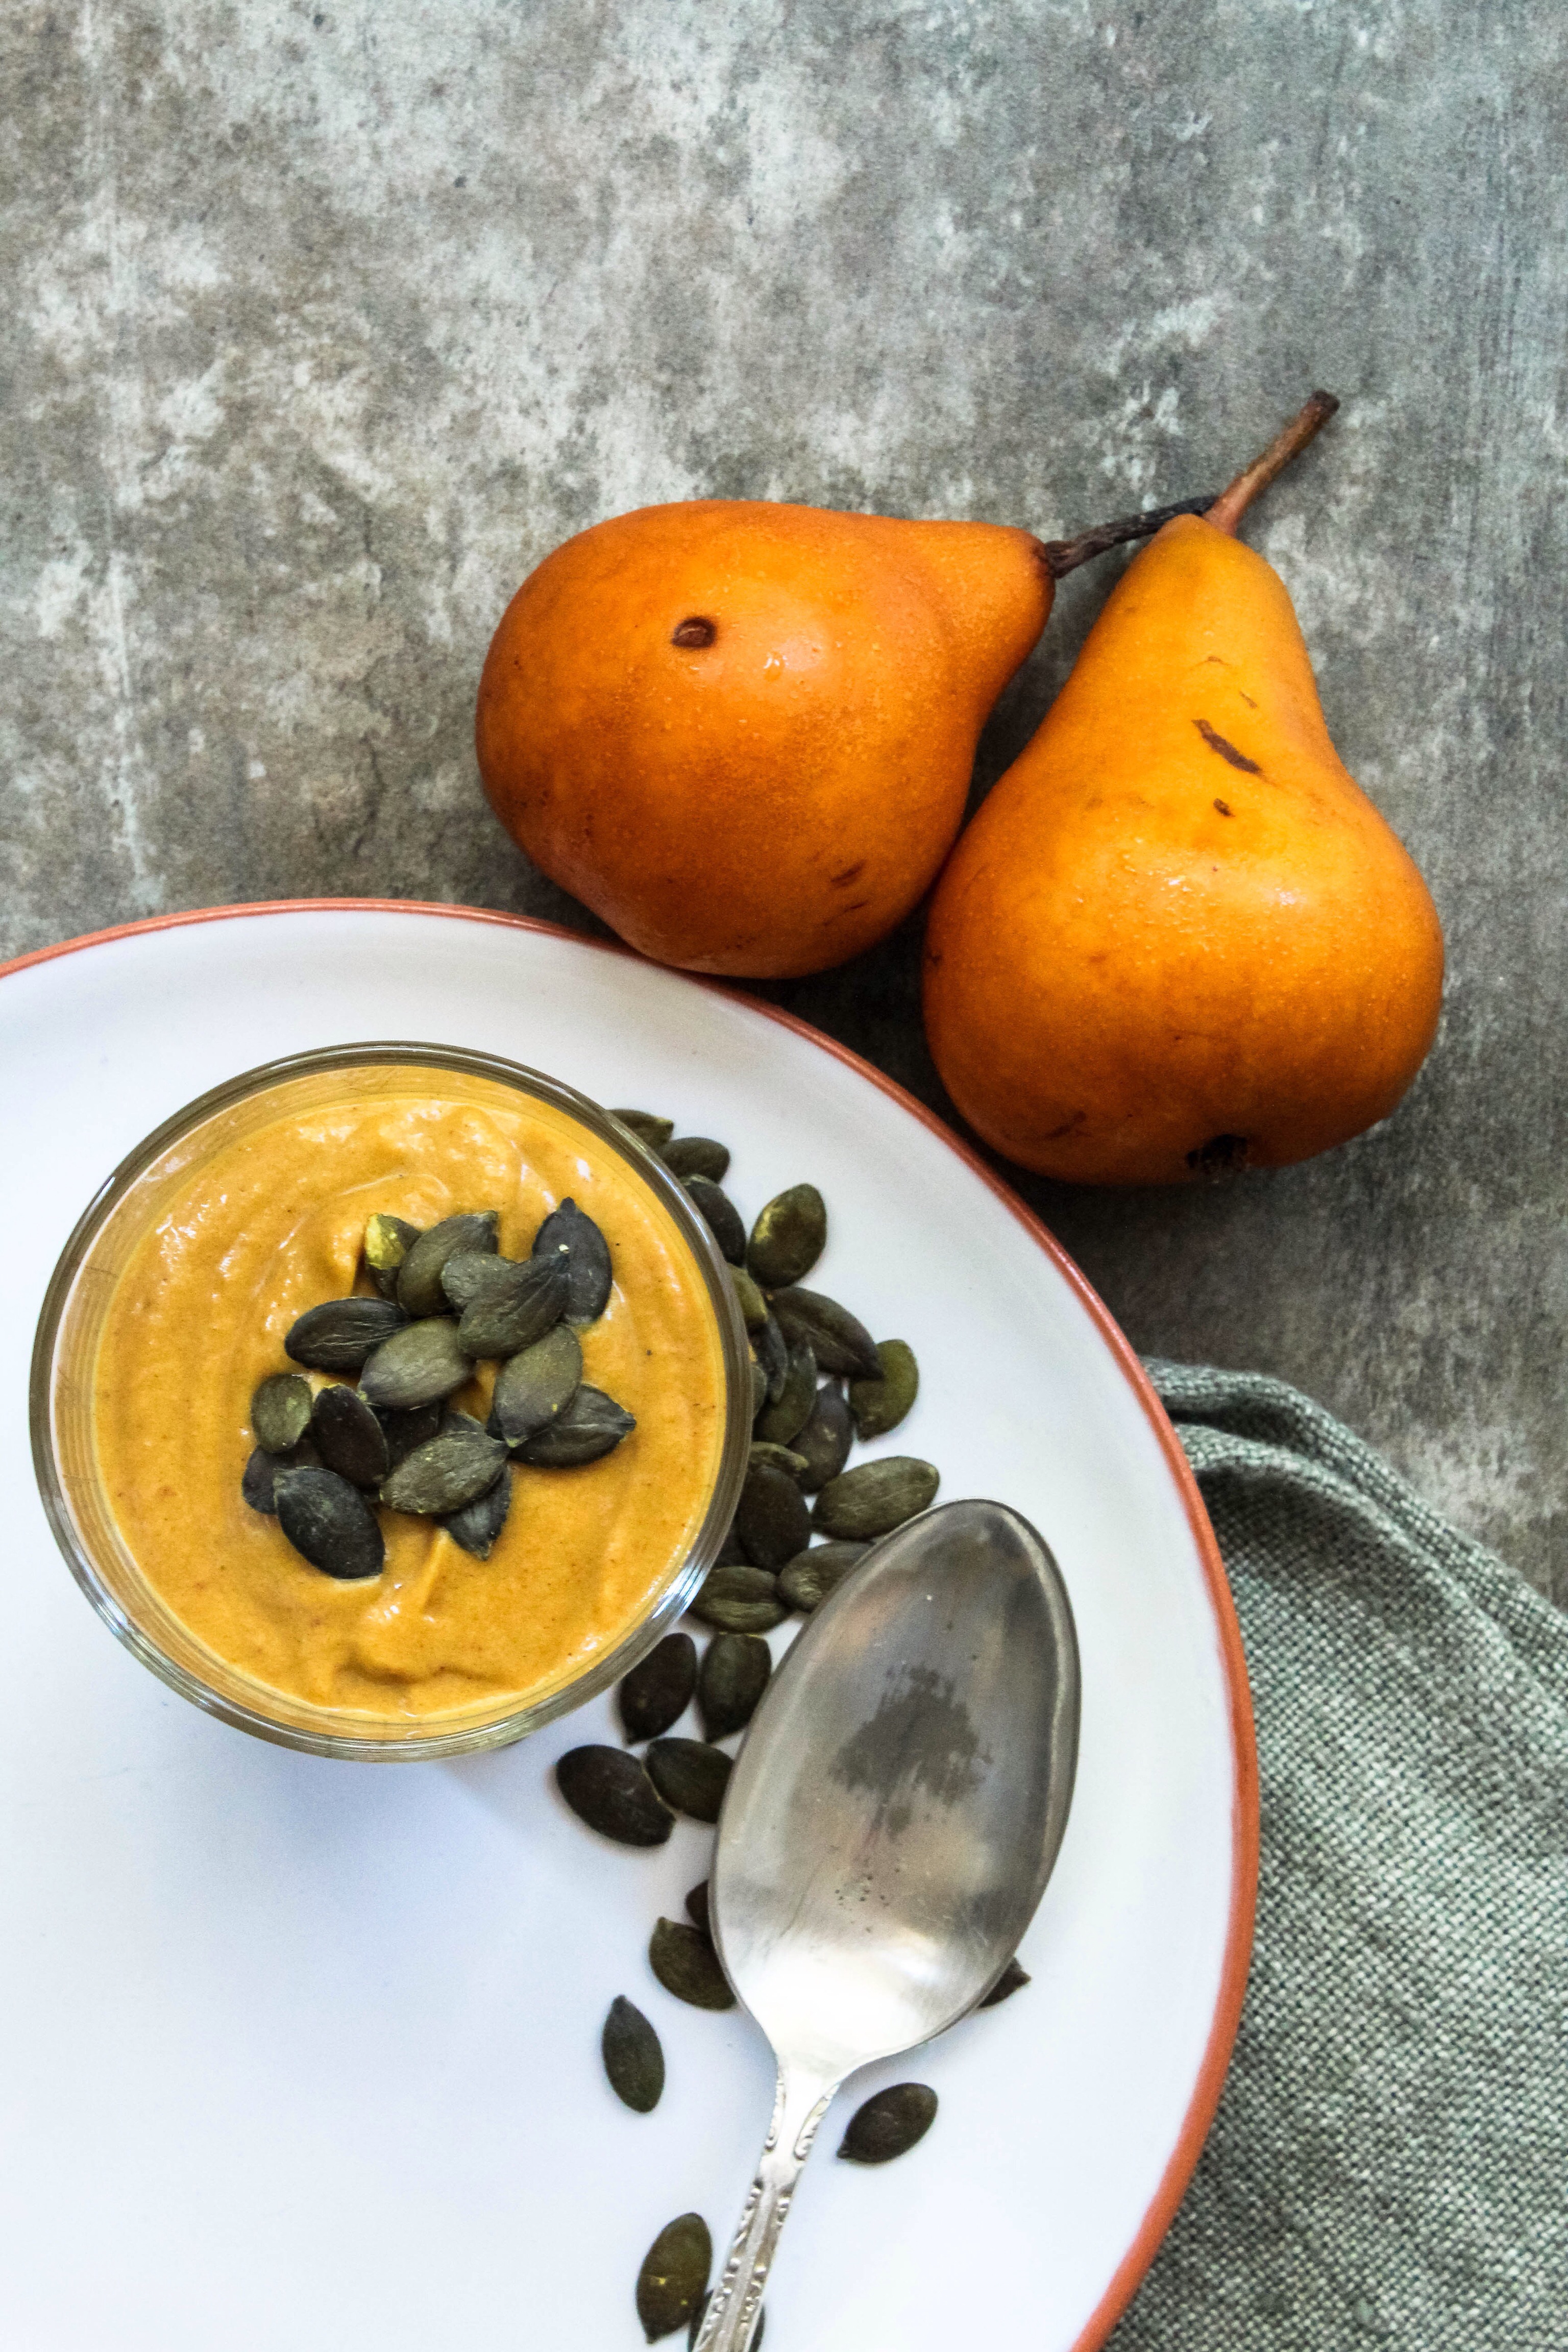
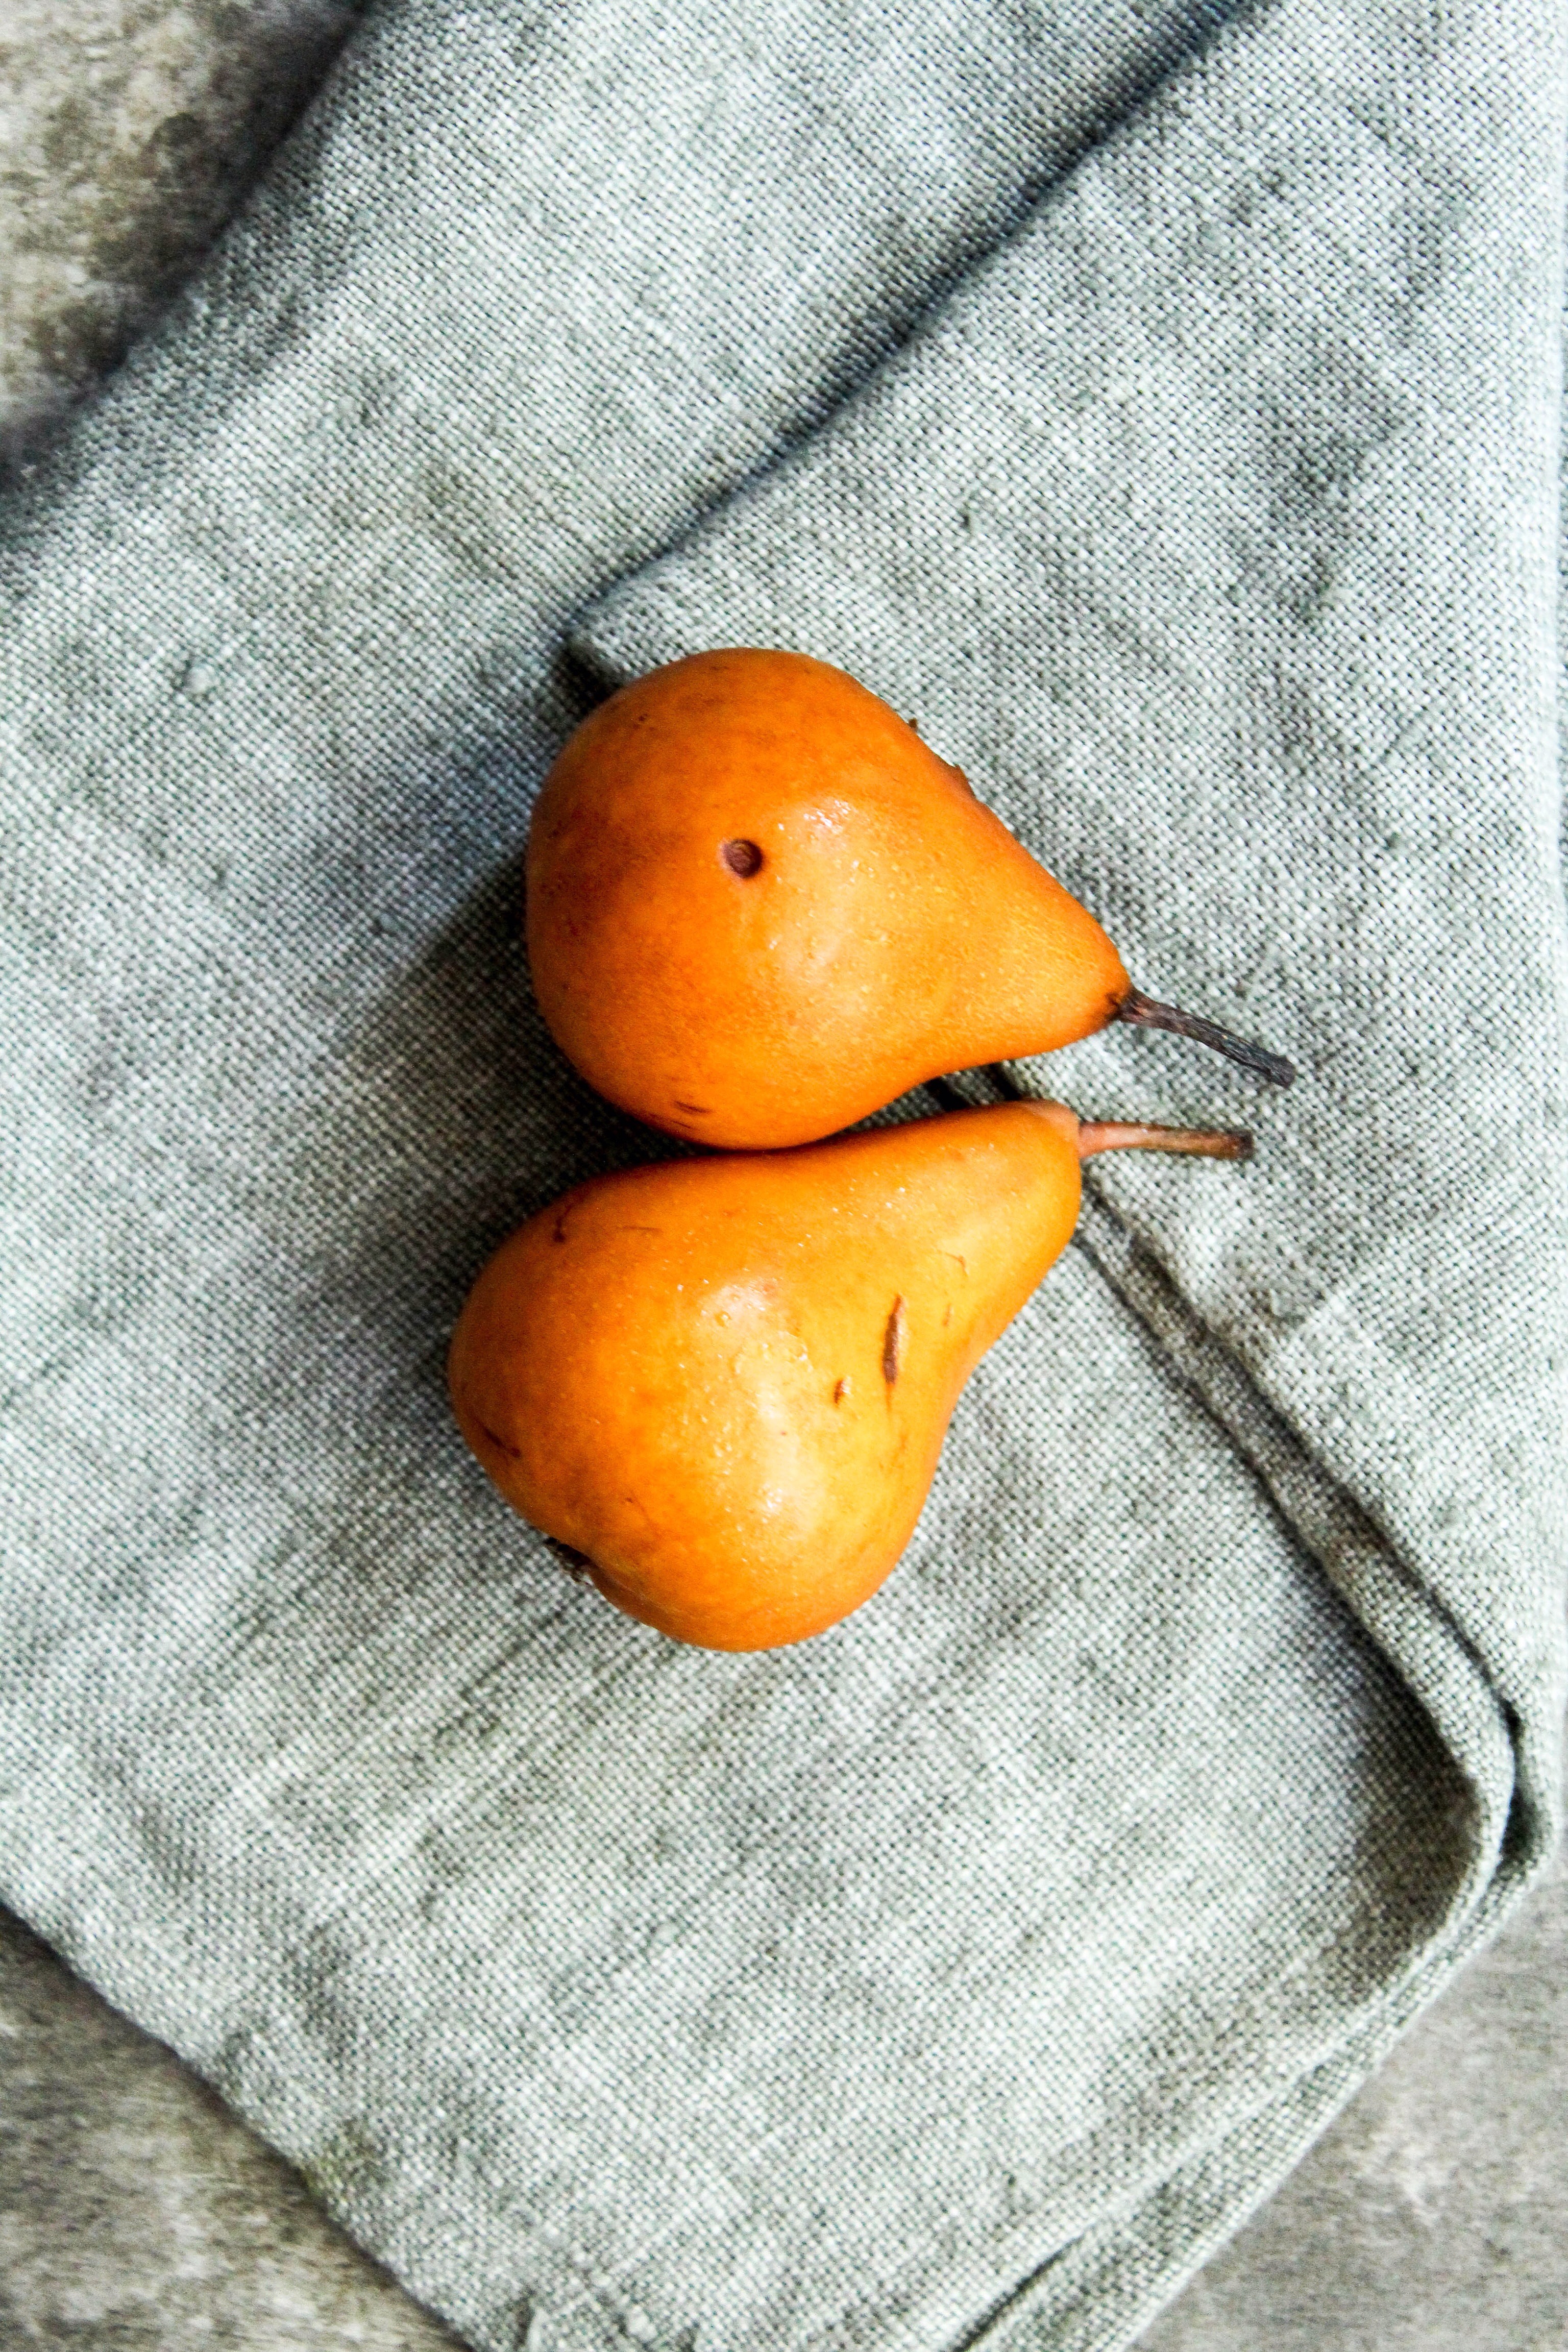
    If you want you could add some pears to the roasting tray along with the pumpkin, or what ever you like that is in season. Im in love with these gorgeous autumnal pears and couldn’t resist adding the pears to the photos. They’re super sweet and crunchy, usually I roast them with a little honey and serve with a few slices of Brie or Camembert as an indulgent snack. 

  • Chicken liver pâté.

    Chicken liver pâté.

    Have you ever loathed a particular food for most of your life and one day experience said particular food and find that its actually quite tasty? Growing up, my mom used to fry up chicken livers in a sauce, I remember hating every morsel of any chicken liver dish ever(sorry mom) until as recent as a few years ago my soon to be brother in law, changed this deep rooted hatred into a new found food love with a chicken liver dish I would never forget. The dish was fairly simple in that it was served in a relish, yet packed a flavour punch that bowled over my tastebuds and changed my stance on chicken livers for the rest of my food filled existence.

    The chicken liver pâté is super easy to recreate at home and only requires a blender as special equipment. This recipe is adapted from a Woolworths Taste Magazine recipe.

    Ingredients:
    – 400g Chicken livers

    – 3 Tablespoons of Sherry/Brandy (I only had Port on hand)

    – 300g butter half melted and half cubed

    – 2 Shallots finely chopped

    – A few sprigs of Sage finely chopped

    – A few bay leafs

    – 2 Tablespoons of olive oil

    – 2 Garlic cloves finely chopped

    – 1/4 t nutmeg

    – Salt and pepper to season

    – 50g clarified butter

    – 2 bay leaves

    – 3-6 sage leaves

    Method:
    Fry the chopped shallots until translucent. Add the garlic and chopped sage and cook for 1 minute, set aside.
    In the same pan, increase the heat and add the chicken livers, cook 3 minutes on each side, the livers should be light and with a slight pink colour.

    Be cautious not to overcook, this changes the texture of the pâté to that of a grainy consistency. Pour in the sherry/brandy or in my case the port and cook for a further 2 minutes, the. Add the nutmeg and season to taste.
    In a blender, add the livers with the shallots, garlic and sage. Add the melted butter and blitz to combine. Add the cubed butter and blitz once more to a smooth consistency. Pour into a pâté dish or baking tin would do(just be sure to line with parchment first. Place the sage and bay leaves on top and pour the clarified butter on top. Place in the fridge to set for 2 hours.


    Serve on warm freshly baked bread rolls.

  • Turmeric and lemon muffins

    Turmeric and lemon muffins

    I love baking on weekends, having said so, I haven’t done so in a while. Yesterday, I spotted a recipe from a renowned blogger and someone I admire for her beautiful food photography, the Displaced housewife . This recipe is adapted from her original recipe for the mouthwatering Meyer lemon and Chamomile muffins 
    What drew me to making these delicious looking muffins, were the fact they contained Chamomile. Chamomile being a natural sleep and relaxation aid. On a personal note, in recent years I have been suffering from Insomnia, which makes my polymyalgia worse. I find that moderate exercise and eating healthy seems to help with the symptoms, I don’t care too much for medication and carefully watch what goes into my body.

    A dear aunt of mine, gave me some great advice to drink first thing in the morning, a cup of hot water with a teaspoon of Turmeric. The turmeric is a wonderful anti inflammatory with so many healthy benefits. I’ve only just taken her advice this morning, and will report back to you, if there are any dramatic changes.

    These muffins are so dense and lemony in flavour, I love how the earthiness of the turmeric shines through also picking up on the floral notes of the chamomile.So with that said, I give you turmeric, lemon with a hint of chamomile muffins.


    Ingredients:

    For the Muffins

    -250g granulated sugar

    -2 teaspoons of loose chamomile tea

    -170g canola oil

    -2 large eggs (room temperature)

    -170g buttermilk (room temperature)

    – 50ml milk, room temperature

    -50ml fresh squeezed lemon juice

    -2 tablespoon lemon zest

    – 1 tablespoon of ground turmeric

    -500g of all-purpose flour

    – 2 teaspoon baking powder

    – 1 teaspoon baking soda

    -1/2 teaspoon sea salt

    -Pinch of cinnamon
    For the glaze:

    -1 ½ cup powdered sugar

    -2 tablespoons fresh lemon juice

    – 1 tablespoon lemon zest

    -1 tablespoon milk
    Method:
    Preheat oven to 180 degrees C. Place a rack in the top third of the oven. Line a muffin tin with muffin liners or spray with nonstick cooking spray or lightly grease with butter or canola oil. Place the sugar and 2 teaspoons of chamomile tea in a blender( I used my NutriBullet with the grinding blades) and grind until the chamomile is reduced to small flecks.

    In a large bowl whisk together your granulated sugar, vegetable oil, sour cream, milk, lemon juice and eggs until well blended.In a medium bowl whisk together the all-purpose flour, baking powder, baking soda, sea salt, cinnamon, cardamom and nutmeg. Add the dry ingredients to the wet ingredients and mix until barely blended.

    Pour the batter into the muffin tray filling until just barely ¾ full. Squeeze some lemon over the top and sprinkle with sugar + cinnamon. Let the muffins sit for 15 minutes before putting in the oven…this will help them get a nice crown. Bake for 15 minutes in the top third of the oven or until a toothpick comes out clean. You want the tops to be puffed up and slightly golden.Let cool in the muffin tin for 10 minutes, then use a butter knife to help get them out to finish cooling on a rack. In a separate bowl, whisk together powdered sugar, lemon juice and milk. Drizzle the glaze over the muffins. In my photos you will notice I added a dash of turmeric to my muffins, I did this for dramatic colour contrast, of course, you don’t have to do this, to avoid a yellow mouth and hands 🙂

    Happy weekend baking!

    Dominique x

  • Honey and Mustard Pork meatballs with pumpkin tagliatelle.

    Honey and Mustard Pork meatballs with pumpkin tagliatelle.

    The pairing of pork with flavours like honey, mustard and sage not only enhance the natural sweet flavour of pork but celebrate its umami undertones. This week’s midweek meal is a budget buster, super easy to make and best of all it takes only 20 minutes to magically whip up!
    Like many others, I constantly find myself stuck in a rut when it comes to weekly meals and making the same things for convenience sake. Each week, usually as a mid week meal, I make pork and sage bangers, using one of my jars I recycle to use as salad dressing jars(a tip I picked up from Siba from Siba’s Table) I mix some honey, mustard, olive oil and a squeeze of lemon juice and give it a vigorous shake to combine I then proceed to drizzle over the bangers then roast in the oven for 20 minutes to achieve a crisp and golden brown banger. The perfect accompaniment for me is runny polenta studded with butter of course, placing the bangers on top of the polenta and using the pan juices to dress the dish. This for me, is the ultimate comfort food dish.


    So in rebellion of boring mid-week meals and costly healthy food, I’ve decided to pimp up the usual pork bangers and give it a lighter more fitting facelift for end of summer days.
    Honey and Mustard Pork Meatballs with Pumpkin Tagliatelle with crispy sage. 
    Ingredients:

    -350g pack of Pork bangers

    -2 Tablespoons of honey

    -2 tablespoons of extra virgin olive oil

    -1 tablespoon of whole grain mustard

    -1 pack of pumpkin tagliatelle(or any spiralized veg for that matter)

    -a few sprigs of sage

    -a knob of butter or tablespoon of coconut oil

    -1 tablespoon of coconut oil to flash fry the pumpkin tagliatelle.
    Method:

    Preheat oven to 180 degrees C. Remove the meat from the bangers roll into balls and place in a oven tray/dish. In a jar or bowl, add the honey, mustard, olive oil and lemon juice mix or shake until incorporated. Place the pork meatballs in the tray and pour over the honey and mustard glaze and roast for 20 minutes until golden brown. In a pan, flash fry the pumpkin tagliatelle in the coconut oil for 1 minute on high, place in a separate bowl and set aside to serve with the meatballs. Using the same pan, add the knob of butter or more coconut oil and fry the sage leaves until crispy. Take off the heat and set aside. On a plate, place the pumpkin tagliatelle (I sprinkled a little dukkah and chilli flakes over the veg pasta) place the meatballs on top with the crispy sage leaves using the leftover pan juices drizzle over the dish and serve with grated Parmesan.

  • Egyptian dukkah roasted veg.

    Egyptian dukkah roasted veg.

    The advent of a new year brings in the possibility of change, renewal and hope. I’m not on a diet of any sort nor am I going vegan/vegetarian (and no I am not swooping my day job to become a philosopher) But I’m trying to incorporate more vegetables/plants in my lifestyle. I adore Egyptian dukkah, it has the perfect balance of spice and nuttiness to spruce up any one-pan roast, salad or roast vegetables. 

    I made  Egyptian dukkah roasted cauliflower florets and chickpeas with a creamy avocado and yoghurt dressing, served with crunchy radishes, fragrant mint and sweet pomegranate rubies. The recipe is from Donna Hay.What I love about this dish is that it’s everything but boring, the roasted cauliflower florets, lends a nuttiness to the dish together with the crunchy chickpeas which takes the texture of the dish to another level. The creamy avocado and yoghurt dressing is the perfect addition to the dish, it adds freshness and texture too. 

    The carrots were roasted in the oven drizzled with locally sourced honey, cumin seeds, olive oil and of course the dukkah, next time I’ll add some orange zest and juice to the dish to give it that extra zest. I roasted the rainbow carrots for 20 minutes on 180 degrees C. Sprinkled with more dukkah and made a dressing of two tablespoons of Greek yoghurt, one tablespoon of tahini, one tablespoon of lemon juice, olive oil(about half a tablespoon) and salt to taste. 

    I drizzled this gorgeous dressing over the carrots to serve with a few pomegranate rubies and a few sprigs of mint to garnish. Inspired by the above roasted cauliflower and chickpeas recipe from Donna Hay, I developed the roasted carrot recipe with the same flavours in mind. There are so many other vegetables you could use and make it your own with your own twist. More importantly have fun! 

    Happy feasting! 

    Dominique x

  • Gin & Tonic – three ways 

    Gin & Tonic – three ways 

    For some time Gin and Tonic has long been known as something of an ‘oldtimers drink’, this of course all changed when local distilleries started making artisanal gin, and of course all things artisanal are supposedly ‘cool’ however, this is one the time, I have to agree on this matter purely because I love supporting local. South Africa has such an amazing array of locally crafted gin, using nothing but what is available seasonally is the key to a great botanical gin. The gin I used in this post is one of my favourites, Wilderer Fynbos Gin, and as you can see from the photo above, they are an award winning distillery. 

    I made three different Gin and Tonic recipes, with three different syrups. The first is a rosebud and cardamom gin and tonic, a litchi and thyme, and the last one is a strawberry and basil G&T. The syrups are all super easy to make and can be made ahead of time before your New Year’s Eve bash! To make a syrup, just add two to four tablespoons of castor sugar(depending on how much you intend to make) with equal amounts of water and your fruit,spice or herb of choice and simmer until the sugar is dissolved and infused with the flavour of your choice of spice/fruit. Leave to cool before adding to a carafe with your favourite gin and try using a quality Tonic, this is said to truly complement the delicate flavours of the gin. 

    This recipe can of course be used to spruce up a mocktail too. If you’re thinking of enjoying this G&T recipe for New Year’s Eve, please do so responsibly and take an Uber if you need to get anywhere. 
    Wishing you all an amazing new year! 

    Dominique x

    ** This post was not sponsored**