**I was gifted this bottle of Grand Constance by Groot Constantia to create a series of posts with. All views and thoughts are my own**

 In Celebration of Groot Constantia’s 333 years as South Africa’s oldest existing wine estate, I was gifted a bottle of their award winning Grand Constance Muscat wine to do a series of blog posts where I let my imagine run wild in the kitchen with the fruity wine. Most recipes I kept it as simple as I could, not altering the taste of the wine, but in each dish, making it shine and making it the centre of the dish as it was intended when made at Groot Constantia.


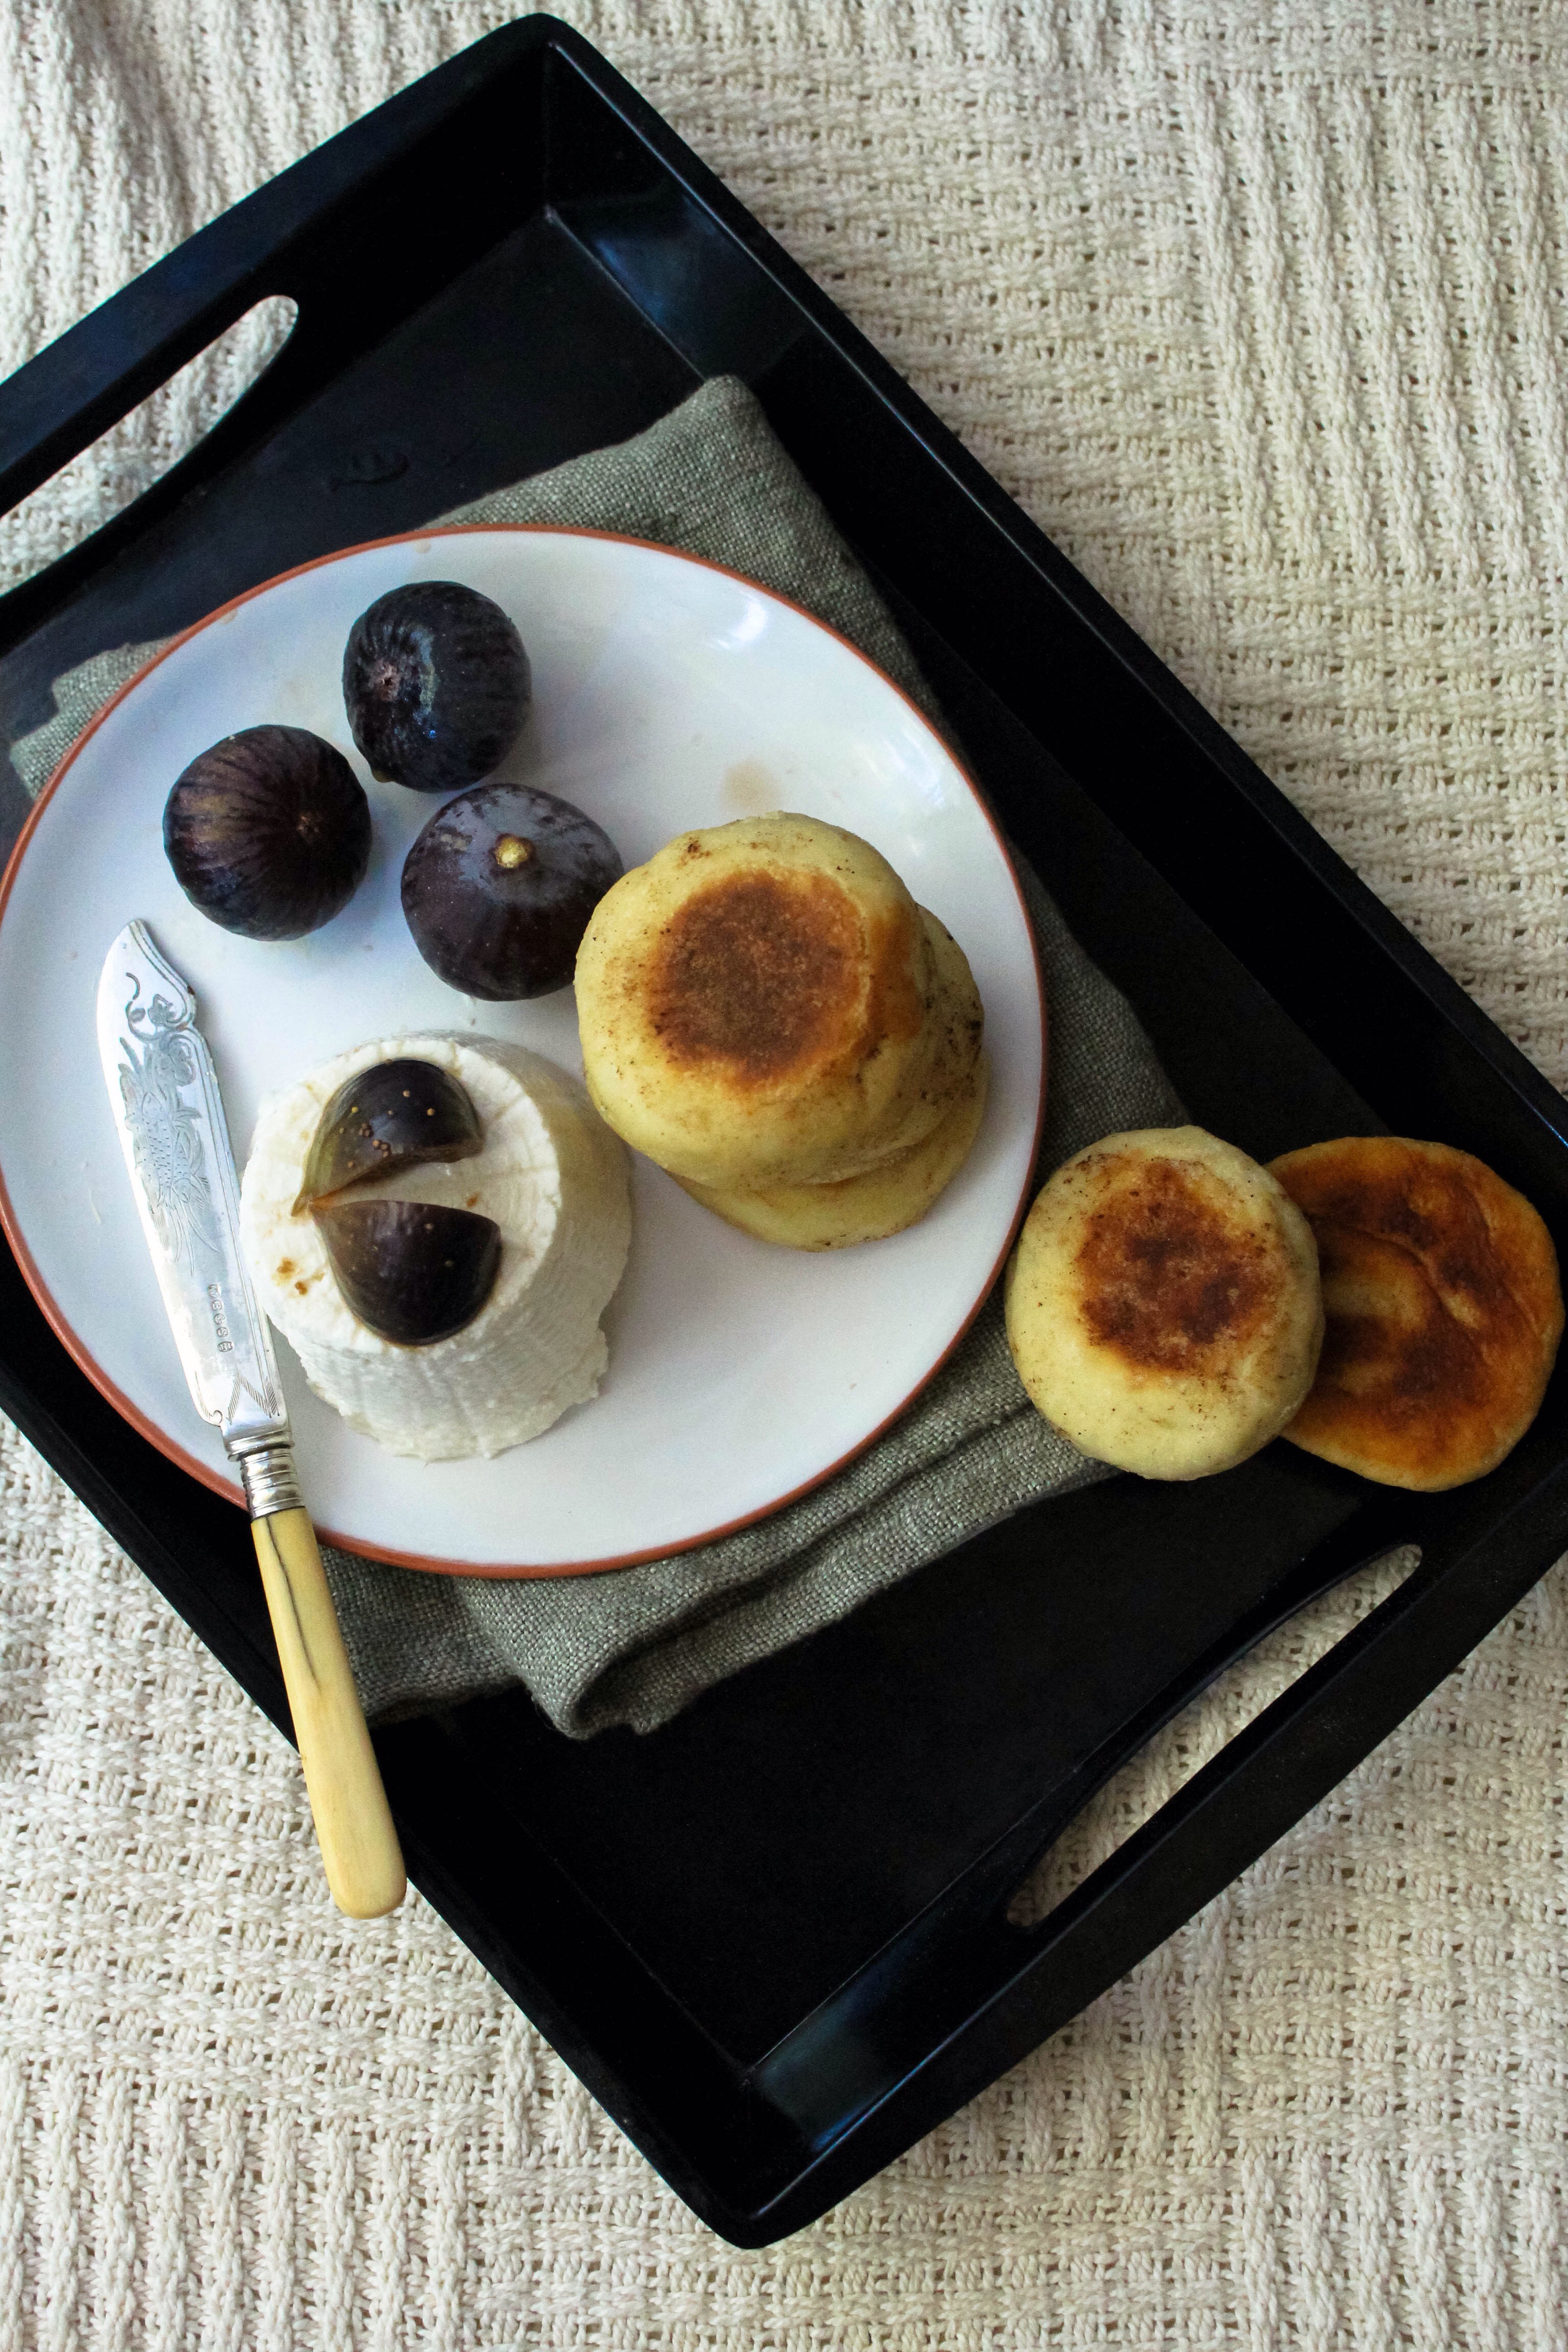
 Grand Constance, the French translation for Groot Constantia, was an established brand revered in the time of Napoleon Bonaparte, King Louis Phillipe of France and Frederick the Great of Prussia, when they were clients of Groot Constantia. Modelled on remnants found in the USA, Scandinavia, Europe and the U.K dating back to the late 1700’s. The Wine has an intense liquid amber colour and is produced from Muscat grapes sun ripened on the vines, pressed, fermented and aged in oak barrels. It has notes and nuances of pears, apricots, peaches, rose petals, and nutty flavours.


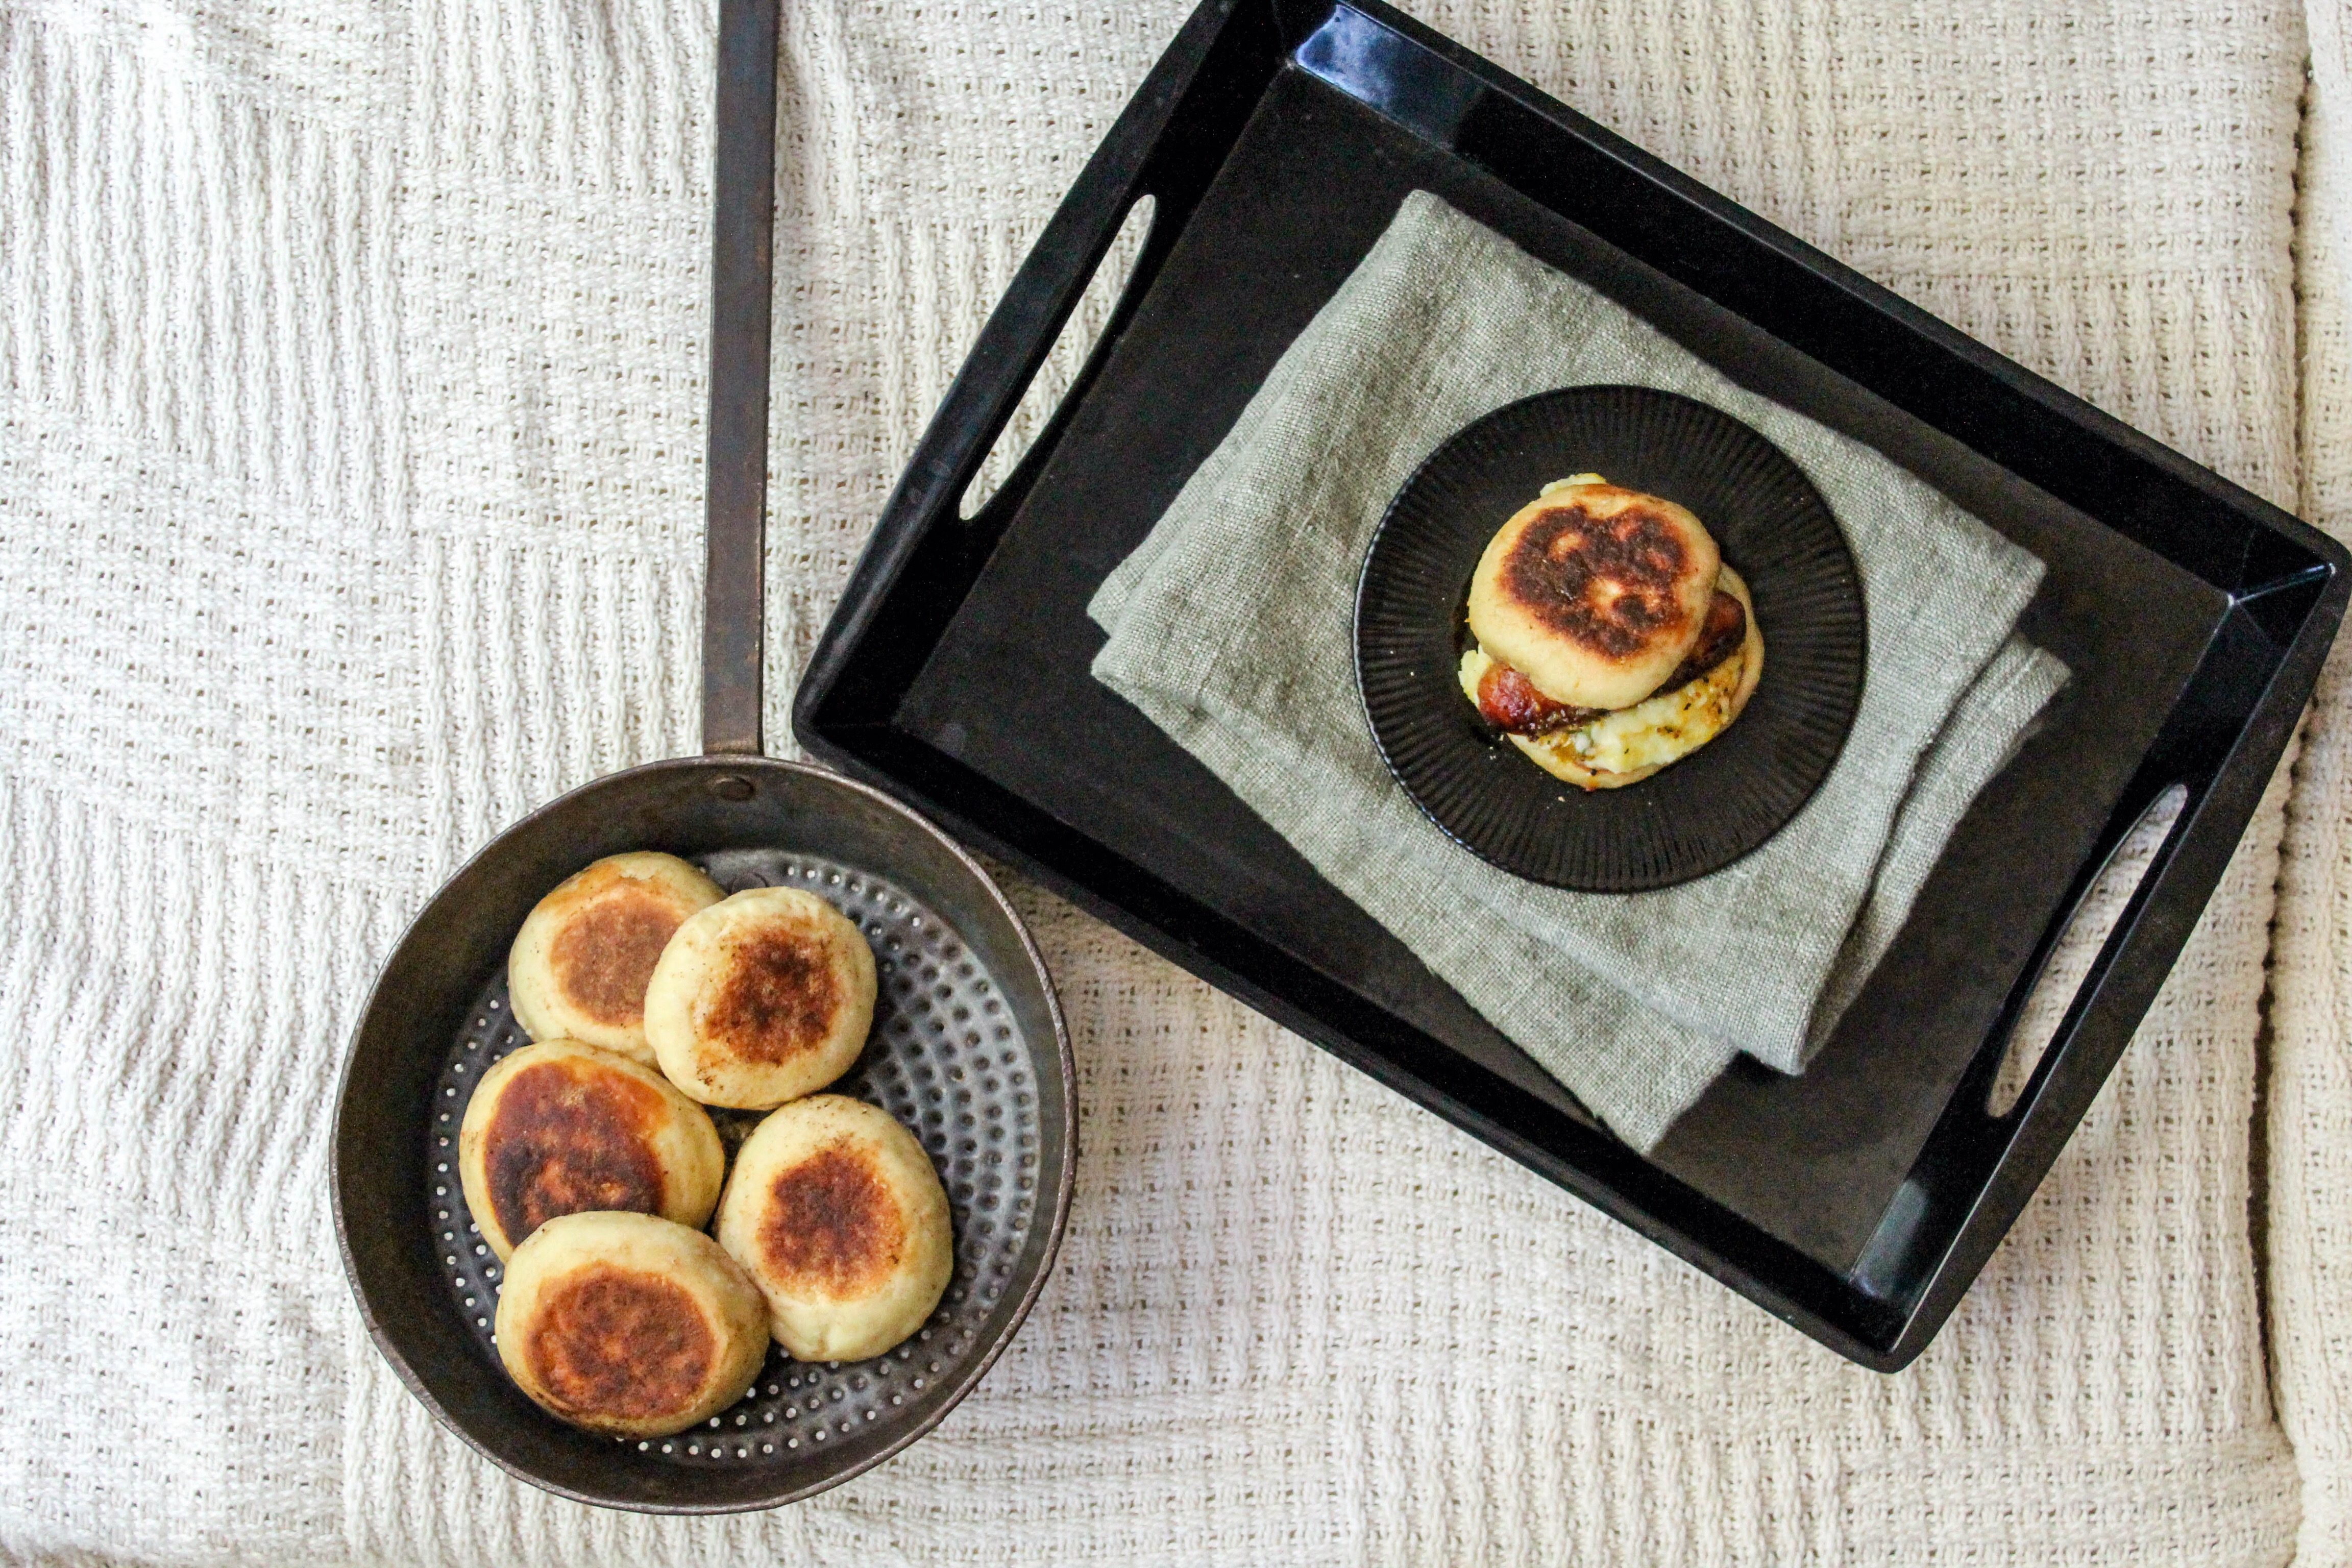
 I will be sharing all three posts one per week, to commemorate the 333 years. This is a project I am super excited to share with you all, and best of all I had loads of fun experimenting in the kitchen. I don’t get to do much of baking these days being stuck behind a desk (even in the comfort of my own home).


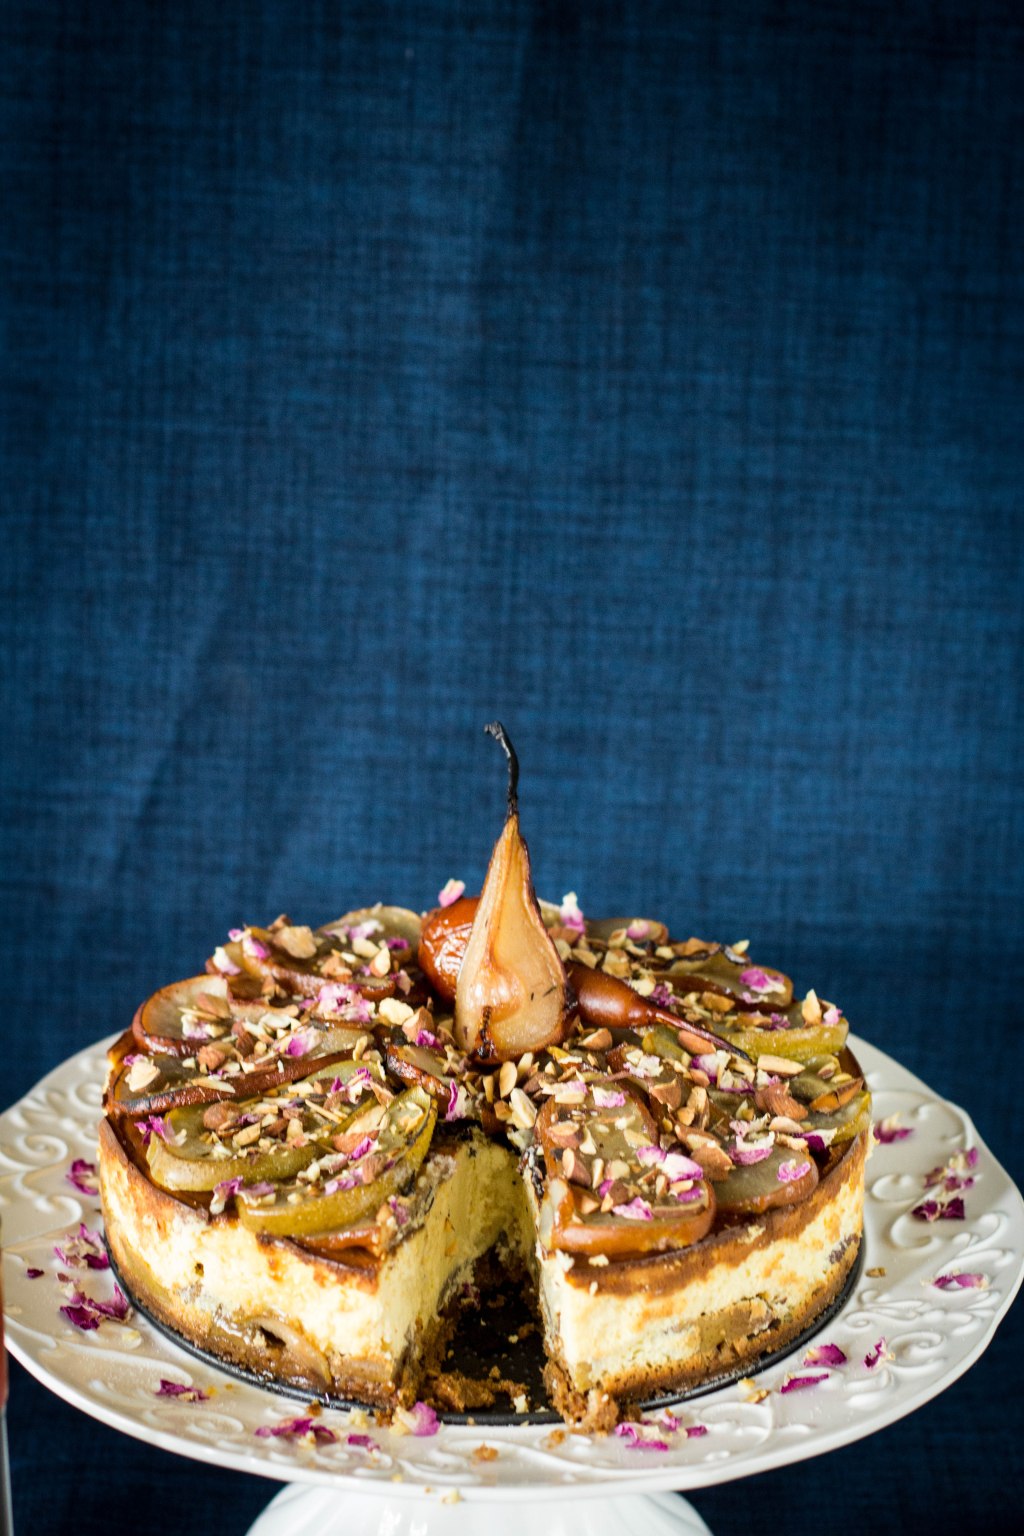
 This Cheesecake recipe is an adaptation of Helen Goh and Yotam Ottolenghi’s Apricot and Amaretto cheesecake. I replaced the apricots with seasonal sweet and crunchy pears and of course substituted the Amaretto with the Grand Constance. The cheescake, I found was not overly sweet or too rich (I could be biased, I do love a good cheesecake!) I loved how the delicate flavours of the Grand Constance shone through in the filling and roasted pears that I topped the cheesecake with.

Roasted Pear and Grand Constance cheesecake.
Ingredients:
For the Base:
- 70g flaked almonds
- 180g digestive biscuits
- 100g unsalted butter, melted
- 350g fresh pears(or any seasonal fruit) seeds removed and cut in thick slices
Filling:
- 840g cream Cheese
- 170g caster sugar
- scraped seeds of 1/2 vanilla pod, save the husk.
- finely grated zest of 1 large orange
- 5 large eggs, lightly beaten
- 85g sour cream
- 70ml Grand Constance
Topping:
- 15g flaked almonds
- 400g fresh pears, cut into thick slices
- 1 tablespoon caster sugar
- 1 tablespoon water
- 4 tablespoons Grand Constance
- a drop of rose water
Method:
Preheat the oven to 170 degrees C/150 fan. Lightly grease the base and sides of a 23cm springform tin and line with parchment. Spread all the almonds(for the base and topping) on a baking tray and toast for 5-10 minutes, or until light golden brown in colour. Set aside 15g for the topping to be used later.
For the base, place the digestive biscuits in a food processor or blender and blitz to form fine crumbs(the consistency should be that of breadcrumbs). Tip into a medium sized bowl and add the majority of the almonds and melted butter. Using a large spoon, mix together to combine. The texture should be that of wet sand. Spoon the crumbs into the tin, using your hands to press them into the base. Even out the crust with the back of a spoon or base of a glass. Set aside in the fridge.
Increase the oven temperature to 210 degrees C/190 degrees C fan. Spread all of the pears evenly out into a roasting dish with the sugar, empty vanilla pod/husk and Grand Constance and a drop of Rose water. Roast for 25 minutes. Set aside to cool.
For the filling, place the cream cheese, sugar, vanilla seeds, and orange zest in the bowl of an electric mixer with the paddle attachment in place. Beat on a medium speed until smooth. Gradually add the eggs, followed by the sour cream, and beat until combined. You might have to scrape the bowl down to fully incorporate everything and then mix again. Then add the Grand Constance, and mix until combined.
Remove the cheesecake base from the fridge and arrange the roasted pears evenly over the bottom(just enough that it covers the base). Then gently pour over the cheesecake filling over the roasted pears and then place on a baking tray. Bake for 1 hour, or until the sides of the cheesecake are set but the middle still has a wobble when gently shaken. Turn off the oven but leave the cheesecake inside for another hour, with the door propped open with a wooden spoon. Place in the fridge to set for at least 3 hours or overnight to set completely.
On the day of serving, take the pears that have been set aside to top the cheesecake and arrange on top of the cake in any pattern you wish. Sprinkle over the roasted flaked almonds and to garnish for colour some dried rose petals. For extra effect, add caster sugar on top of the pears and using a blow torch brulee until sugar caramelizes.
Best enjoyed with a chilled glass of Grand Constance.
Cheers! x
 I recently purchased myself a copy of Yotam Ottolenghi and Helen Goh’s book, Sweet. Having read the book numerous times cover to cover, and making mental and actual notes of what to bake and when. For me, Sweet reminds me of one of those CD’s (yes, I am that old) that you could listen to without skipping a track. The only dilemma I face, is to not scoff my face with all the deliciousness from this decadent book.


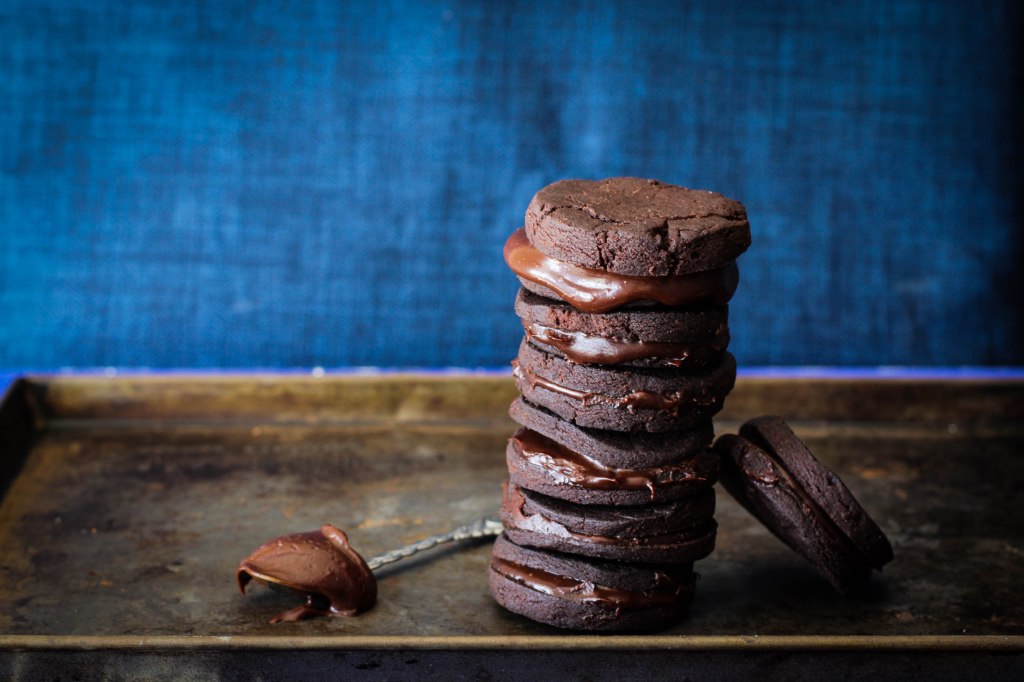
 Helen Goh’s Chocolate ‘O’ Cookies.