Category: Breakfast

  • English muffins 

    English muffins 

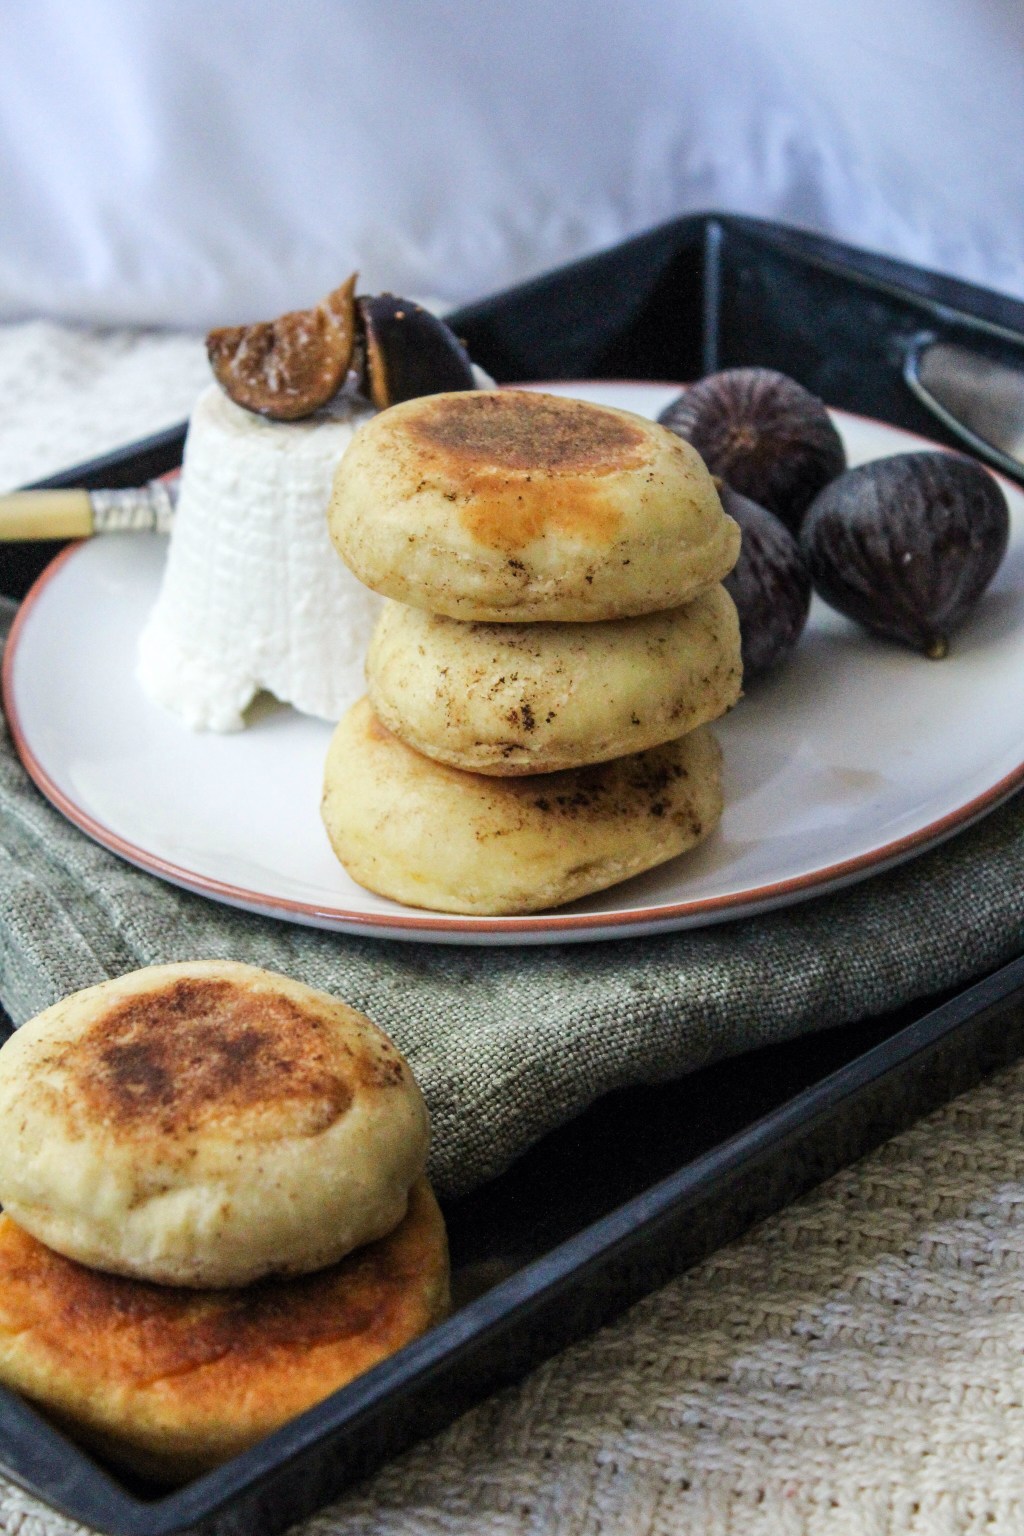
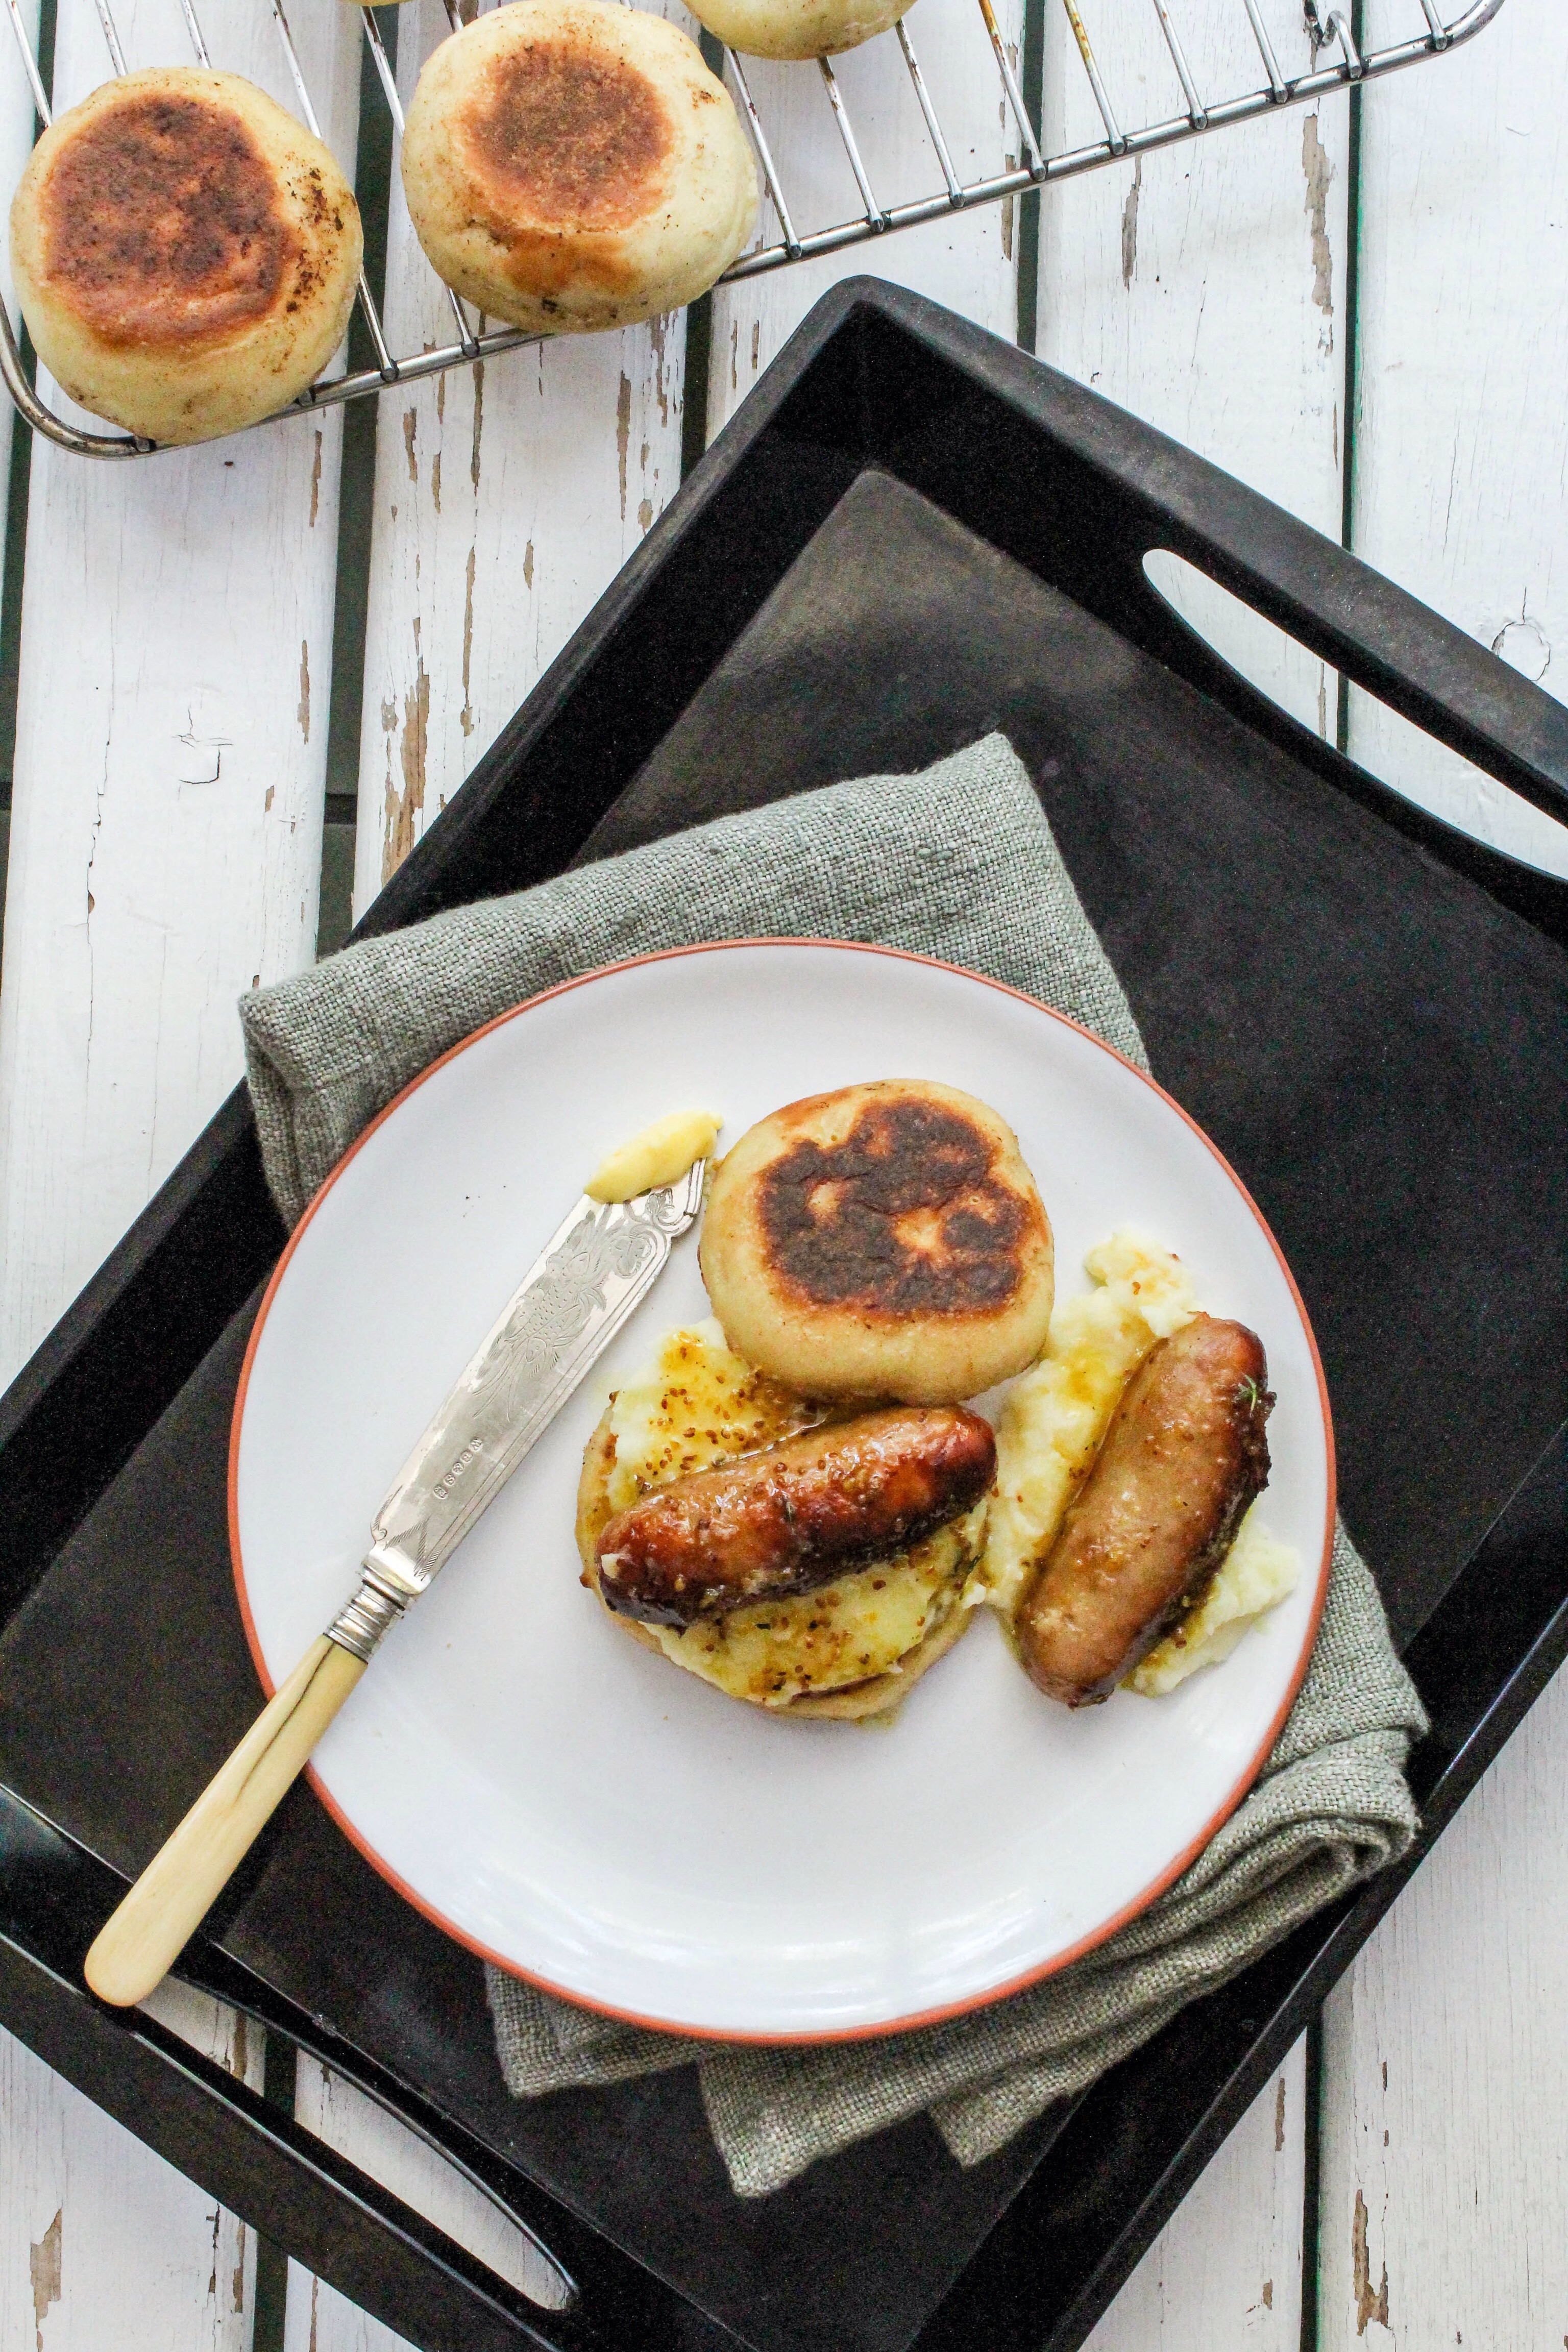
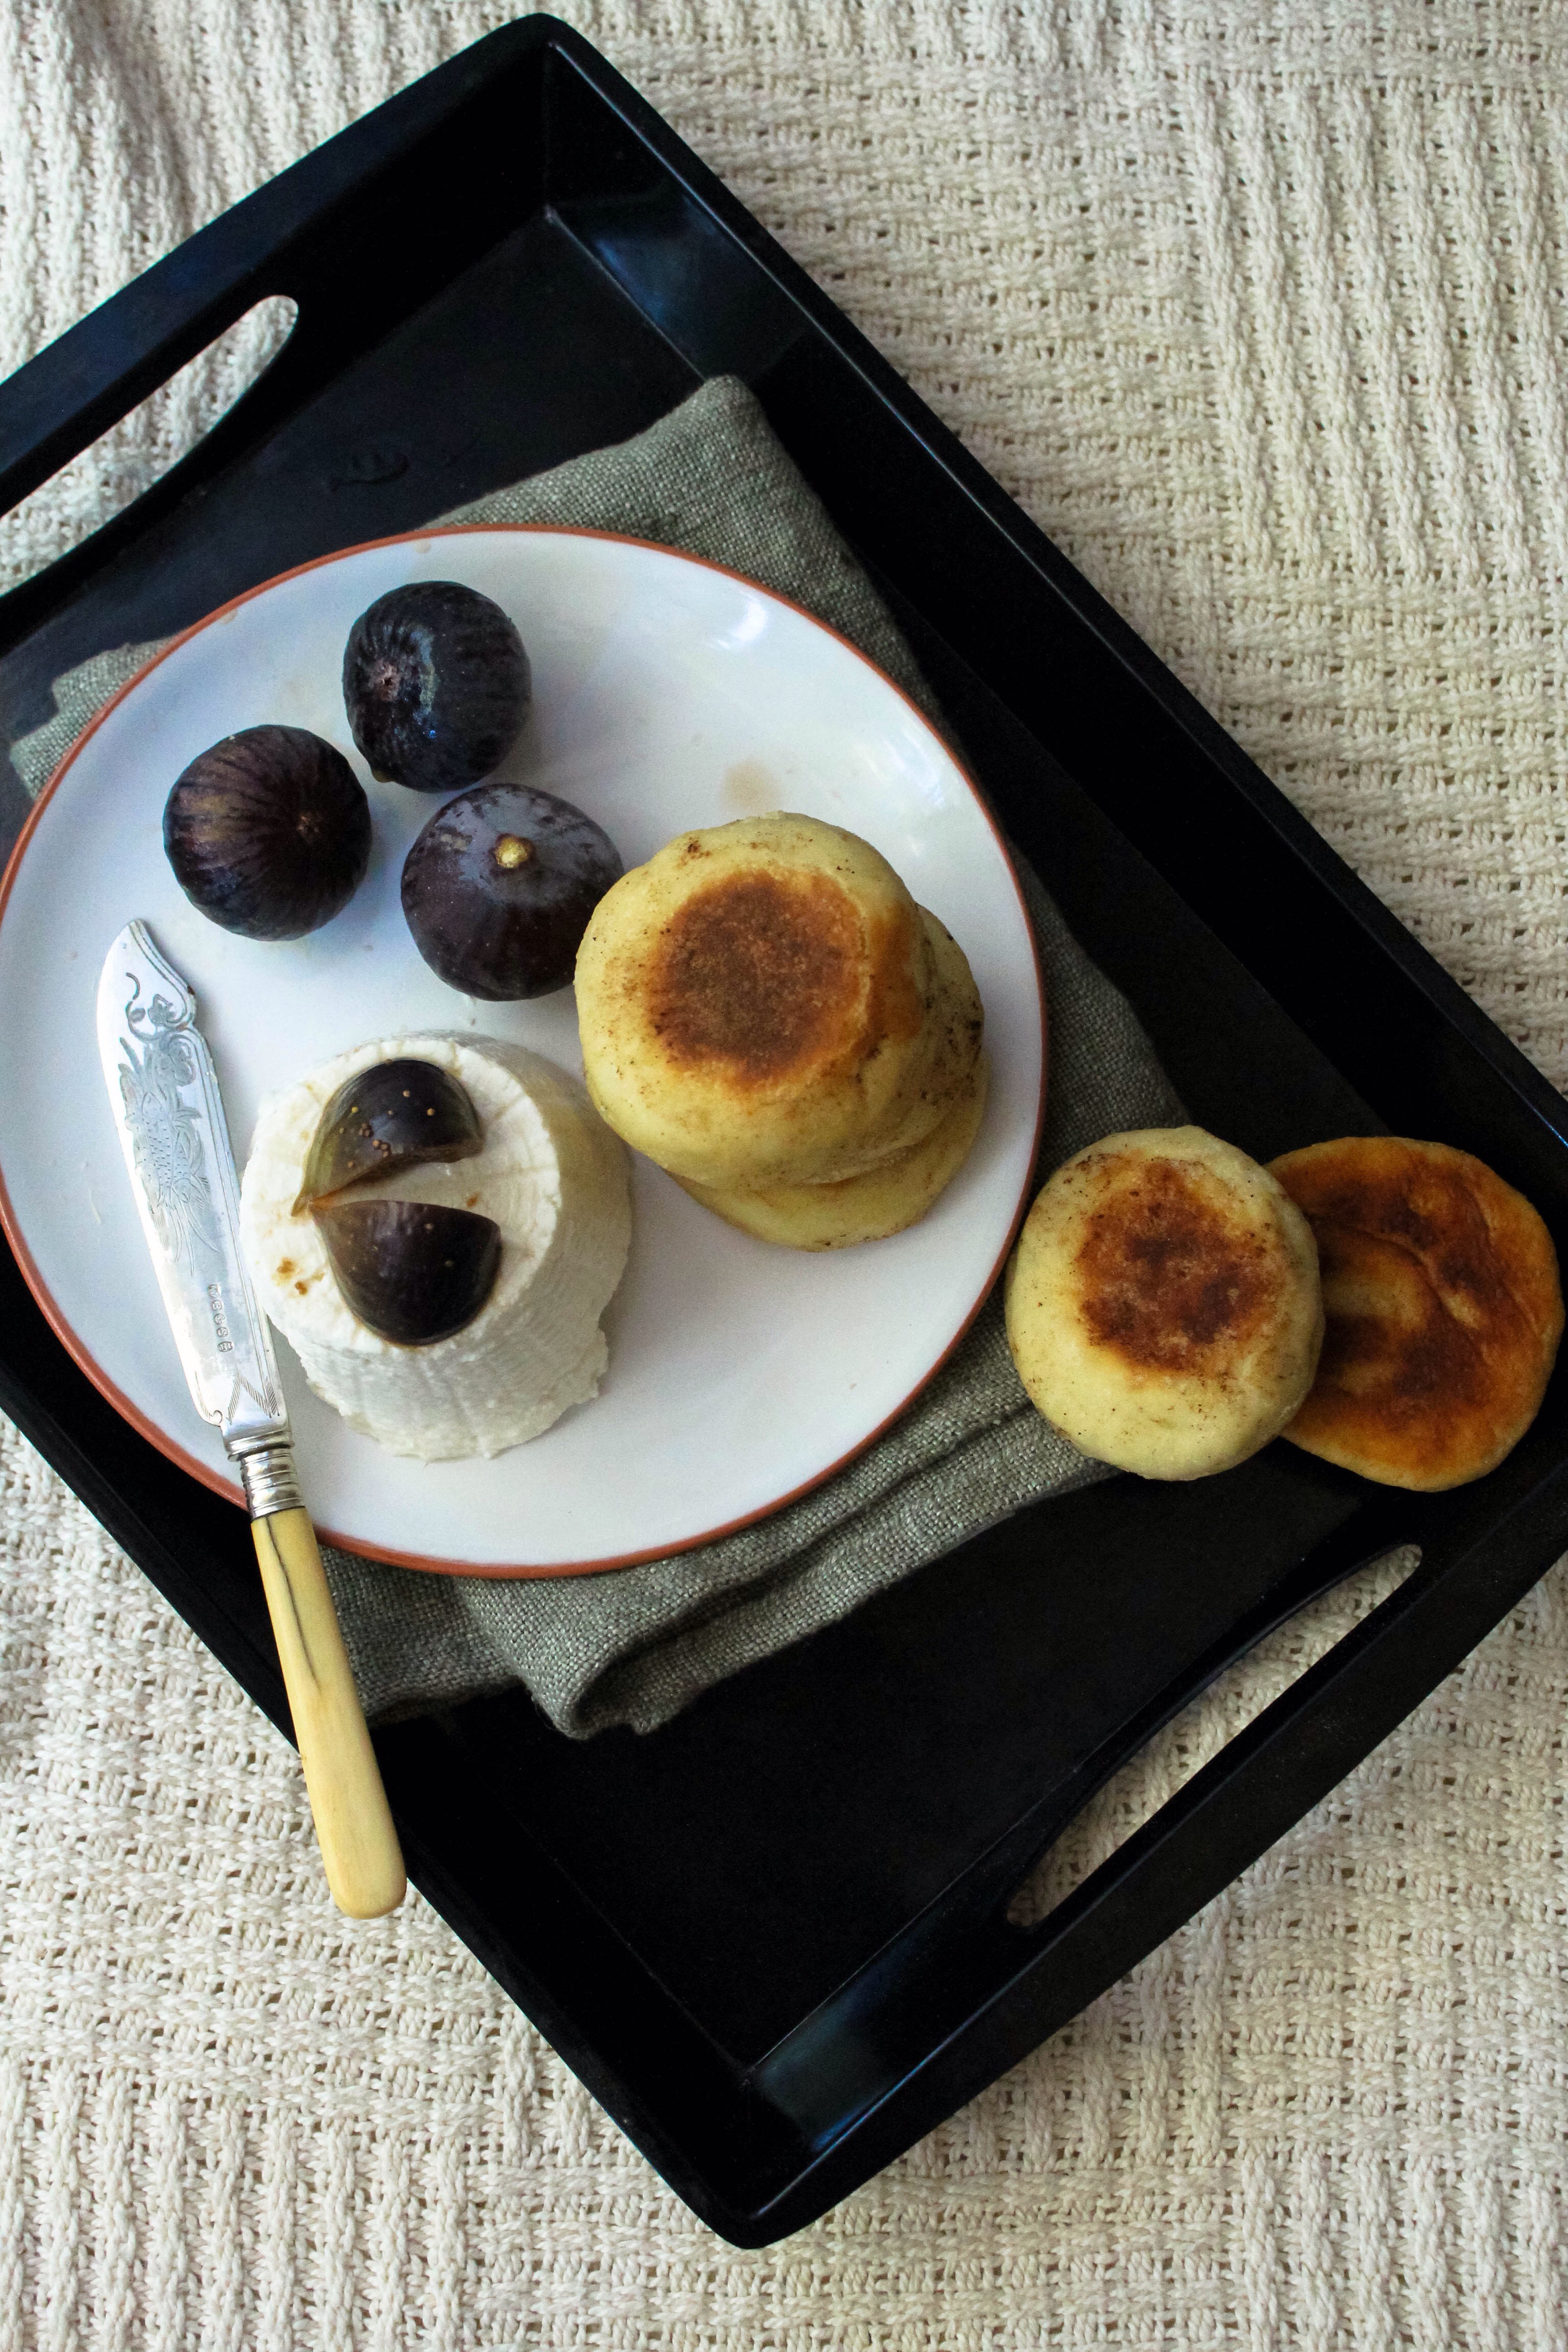
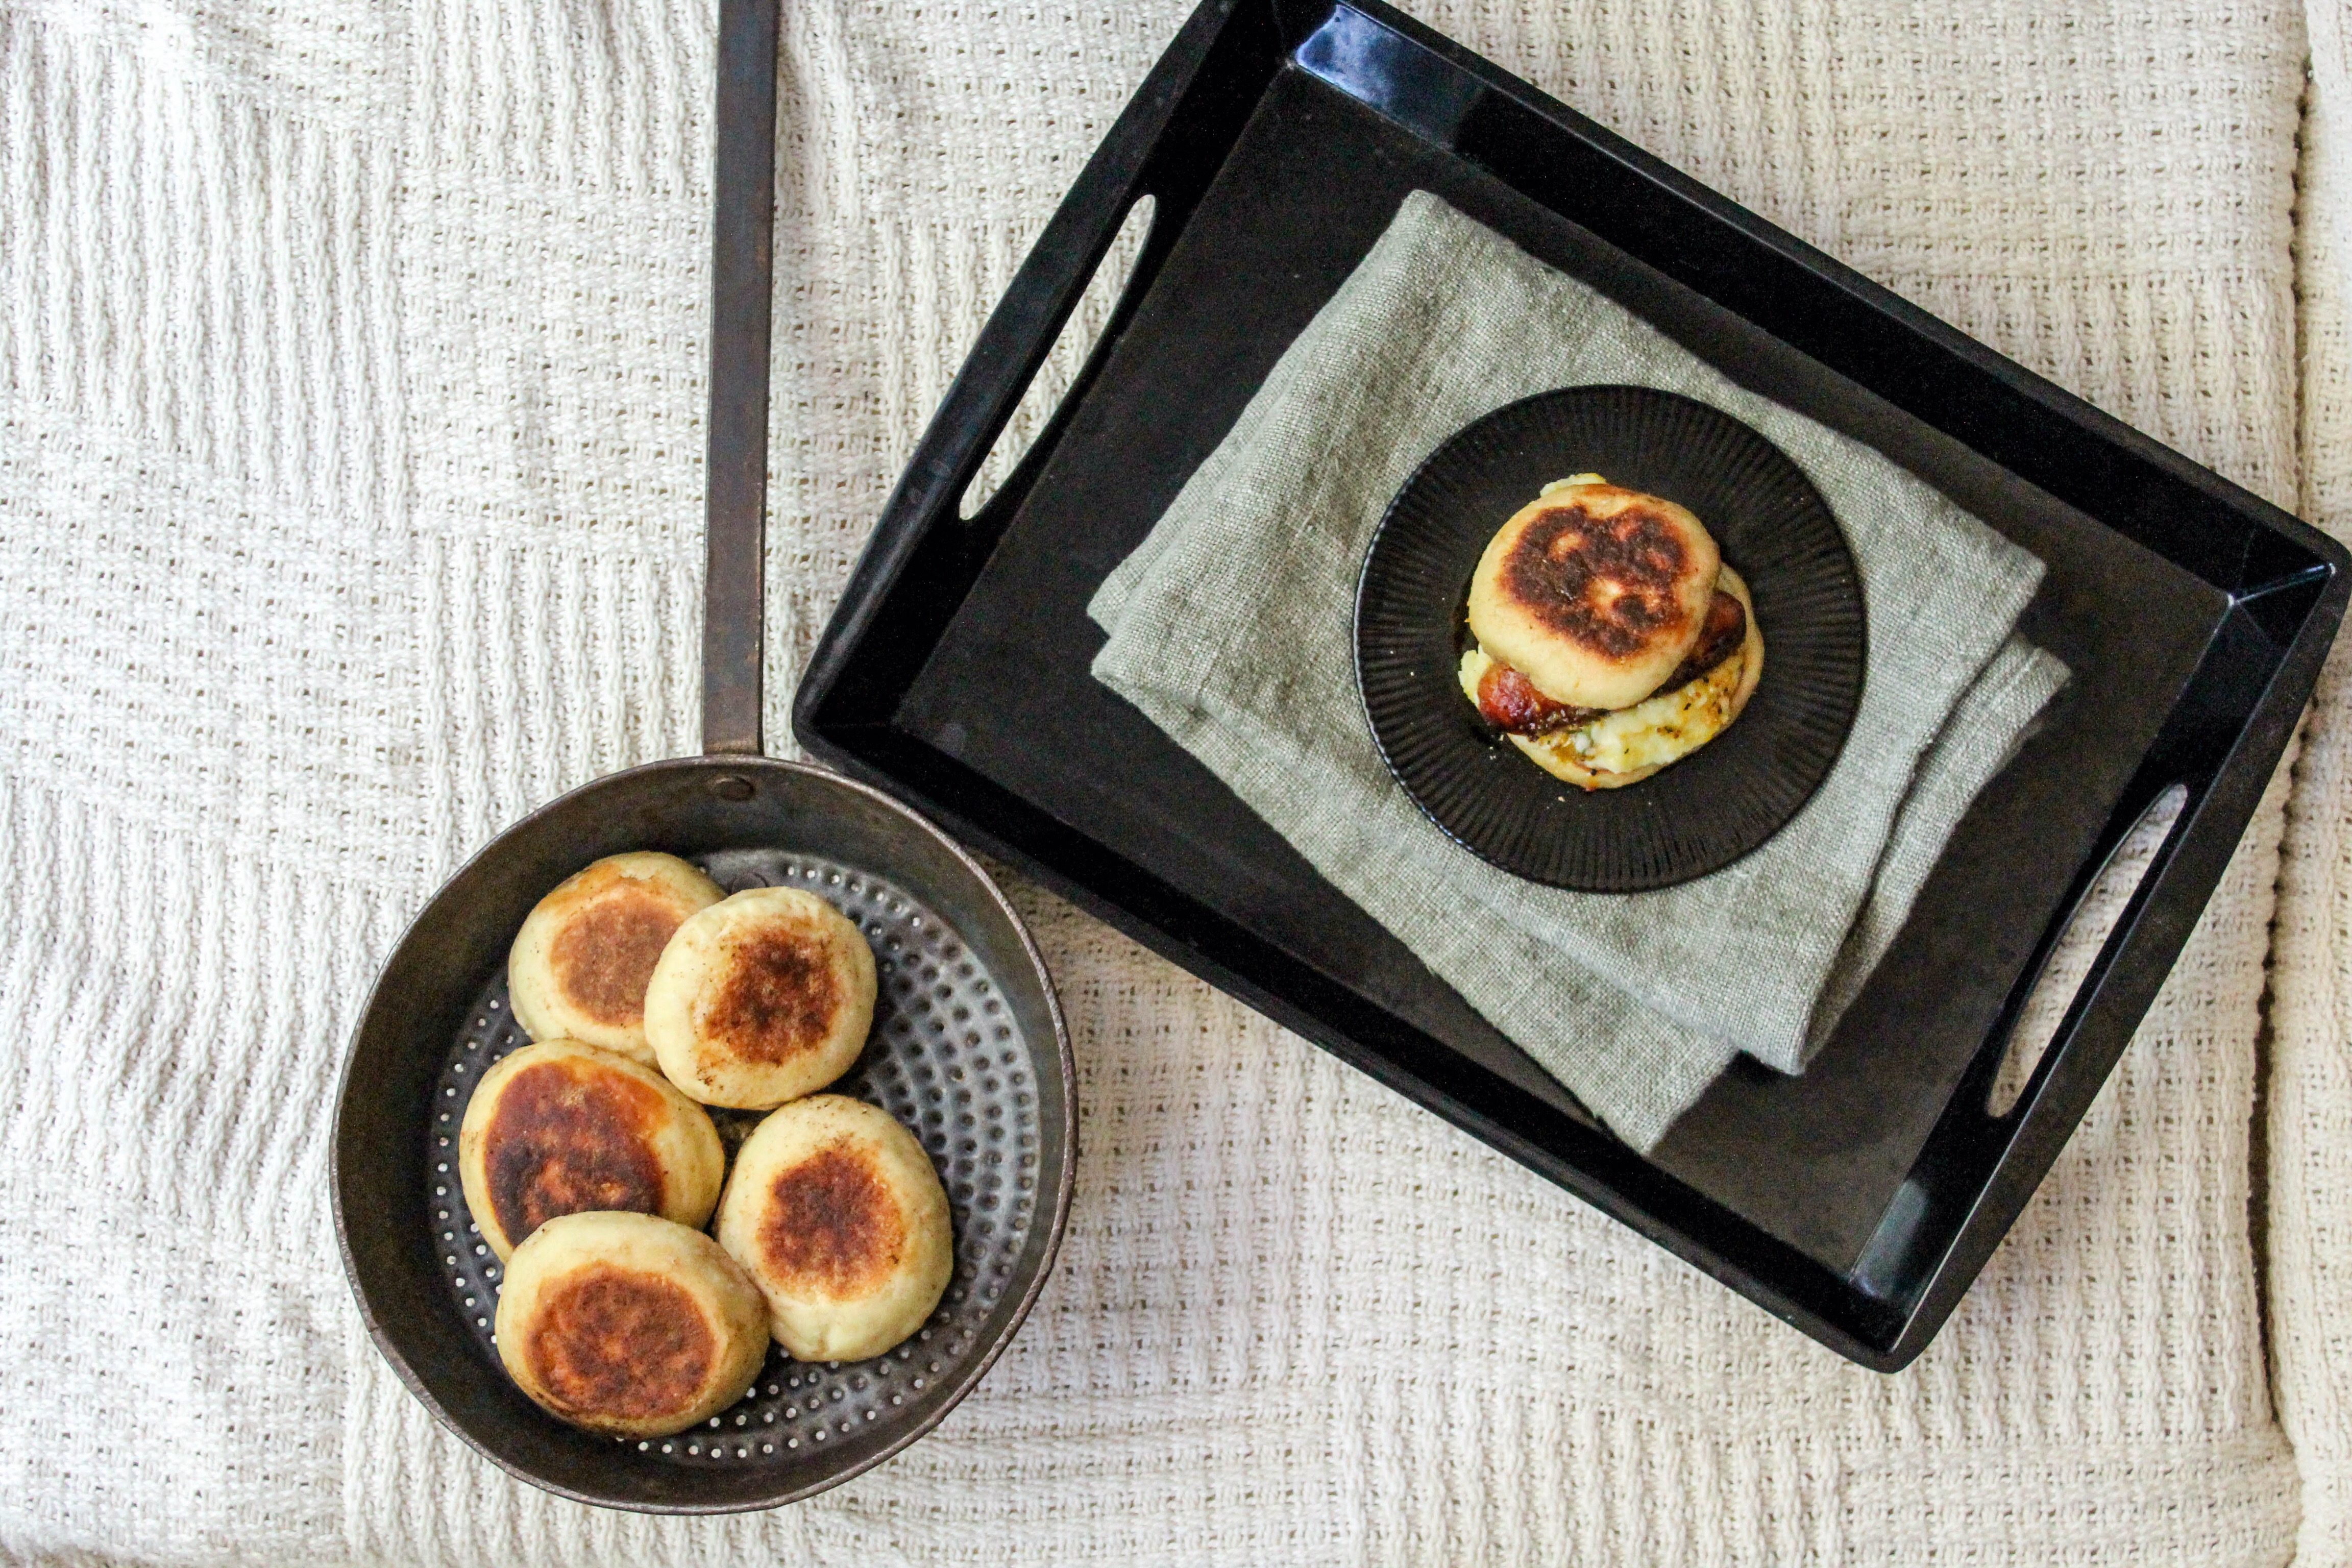
    Sweet or savoury? A thin layer of strawberry jam or silky smooth lemon curd topped with a dollop of cream or simply served with lashings of melted butter on a toasted English muffin. Best served in bed with a piping hot cup of tea. This is the epitome of weekend ‘breakfast in bed’ kind of spoils! While there’s absolutely nothing wrong with buying store bought, which I love doing, but when I stumbled across the recipe on Delicious UK,  I knew I couldn’t pass up the opportunity to try it out for myself! Remember to make the starter a day before the time. For the savoury filled muffin, I made creamy mashed potatoes with roasted pork bangers and made a honey mustard glaze to drizzle over the bangers, roasted for 20 minutes on 200 degrees C until golden brown. Toast the muffins and serve. For the sweet inspired muffins, I poached a few figs in earl grey tea until the flavour has taken to the figs, or simply roast the figs in a balsamic glaze until macerated, them serve with store bought ricotta cheese with some of the liquid from the roasted figs. 
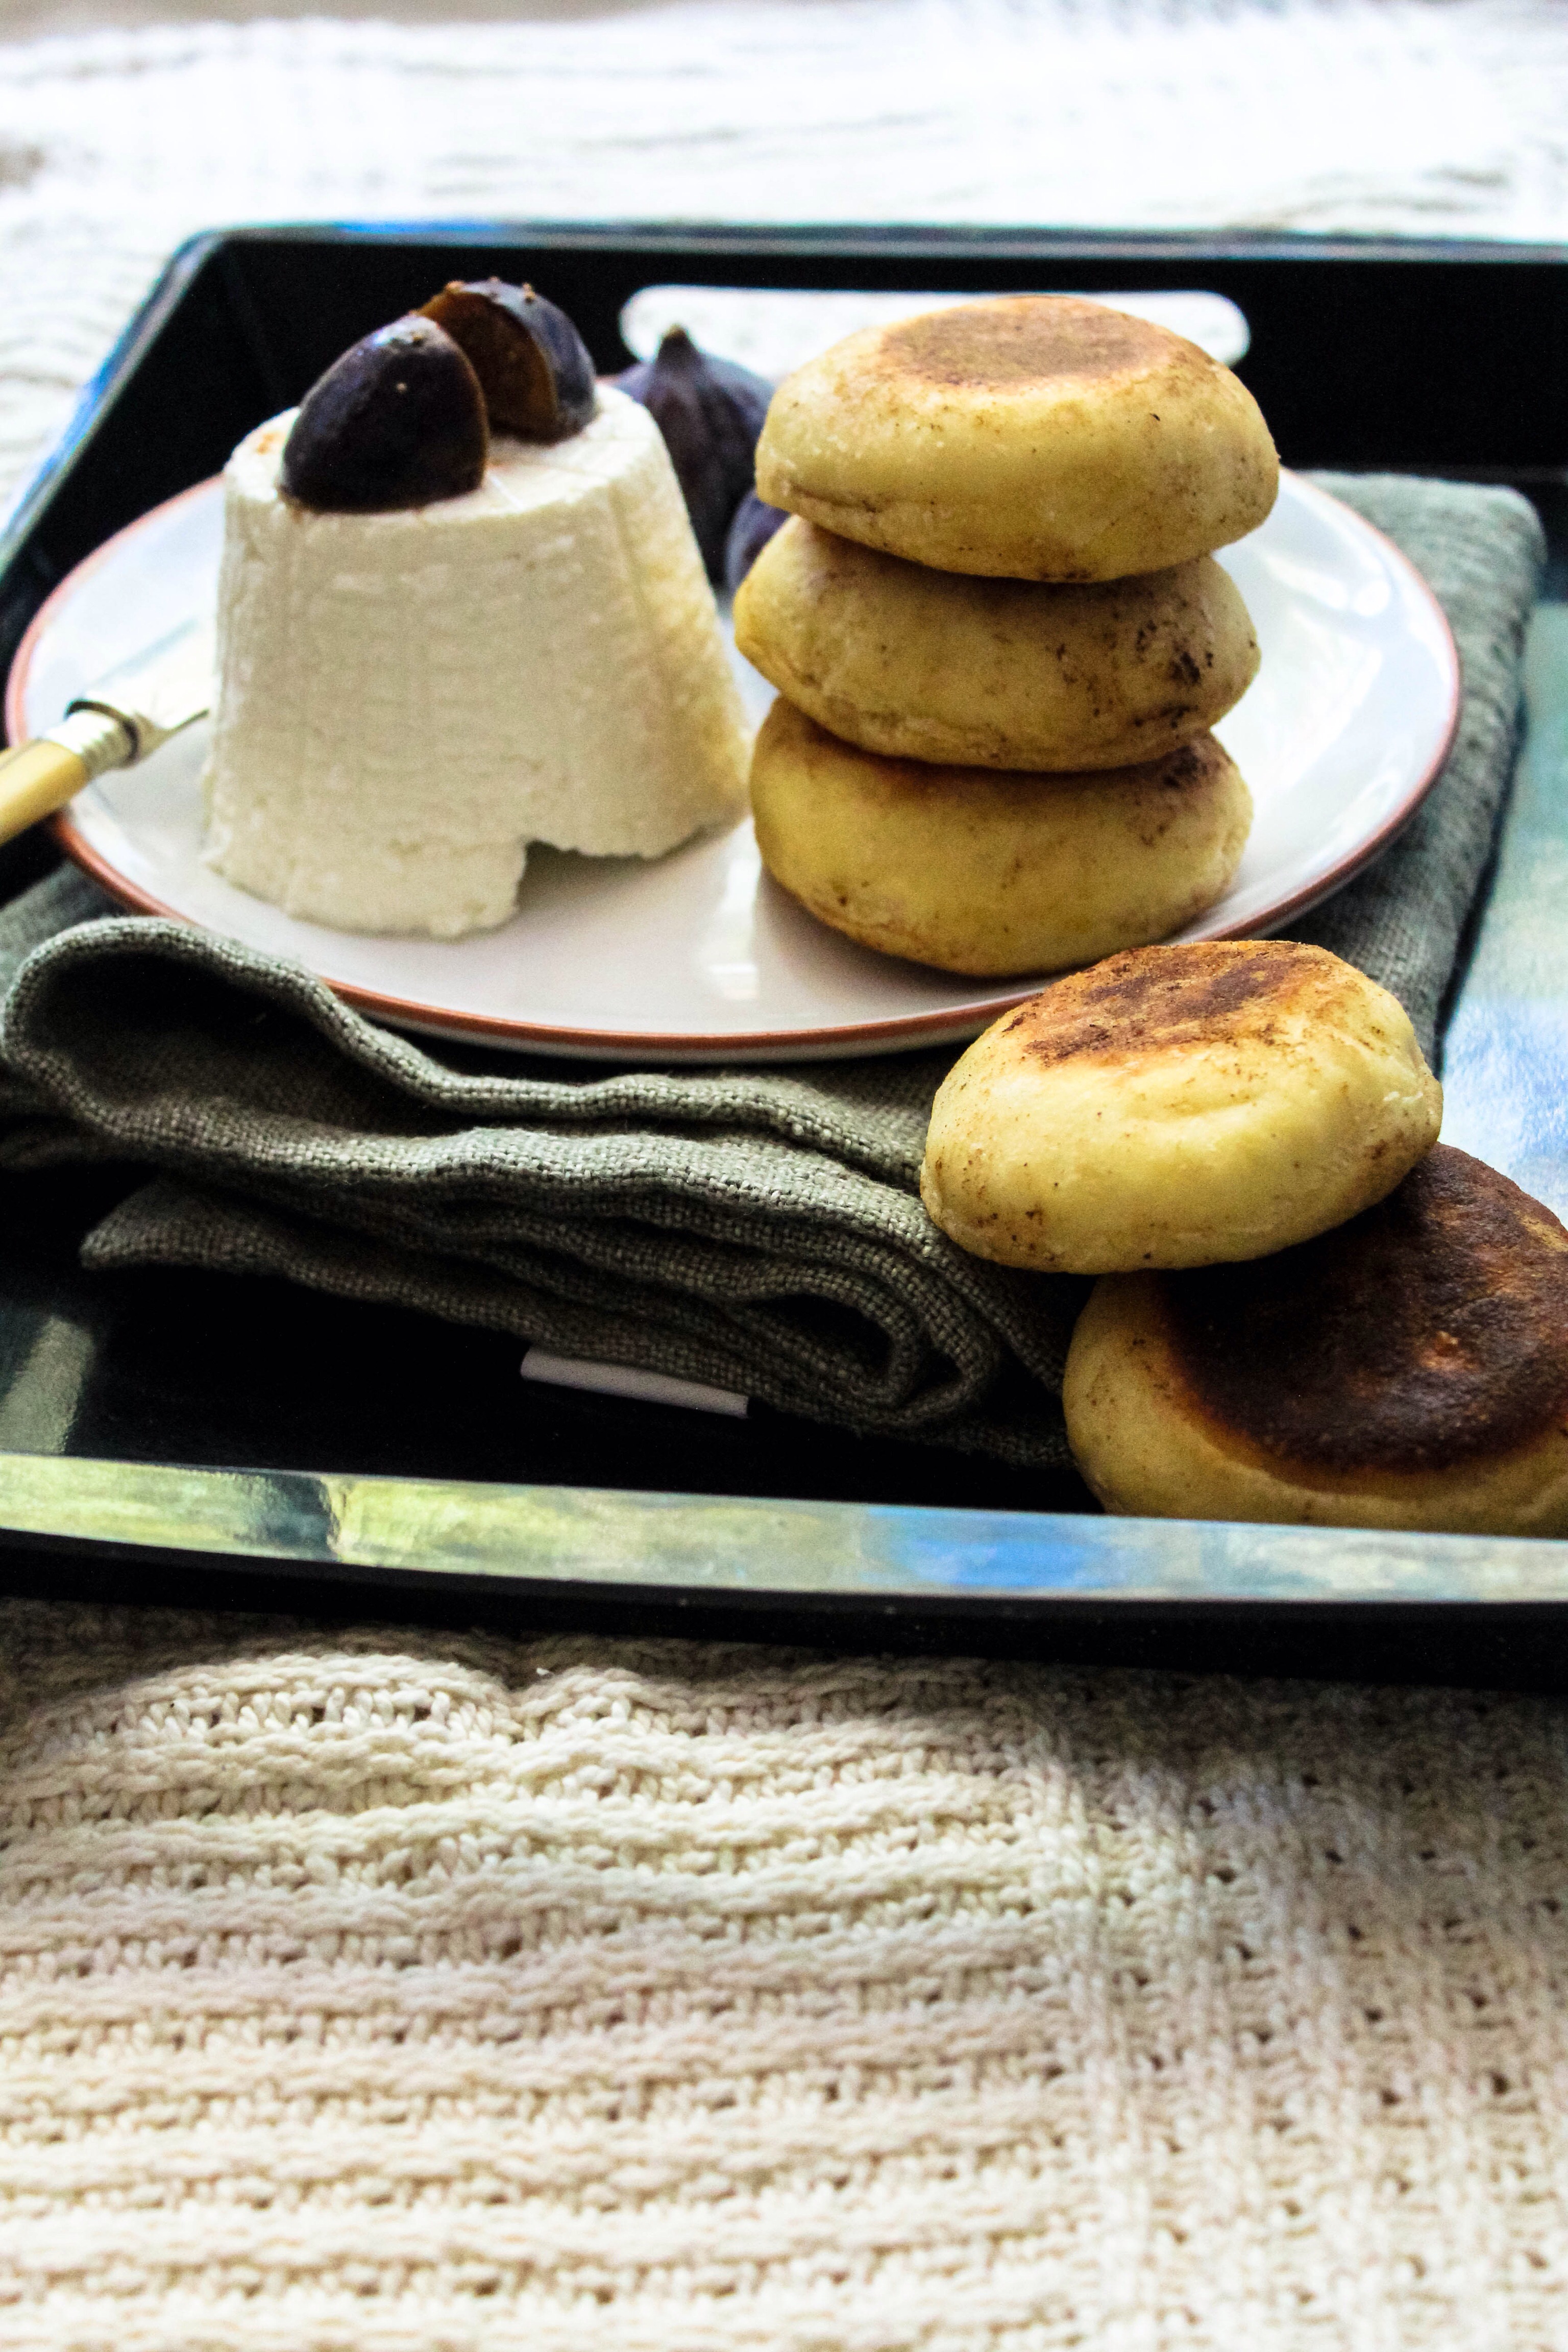
    English muffins: 
    Ingredients

    For the starter

    -50g strong white bread flour 

    -2g dried active yeast

    -50ml milk 
    For the dough

    250-300ml milk 

    8g dried active yeast 

    400g strong white bread flour, plus extra to dust

    1 tsp fine salt

    1 tsp caster sugar

    30g unsalted butter, melted, plus extra to grease

    Vegetable oil for greasing
    Method
    * Make the starter at least 12 hours, or up to 24 hours, in advance. Mix 
the 50g flour and 2g yeast in a large bowl, then stir in the 50ml milk to form a thick paste. Cover with cling film and leave somewhere fairly cool (but not cold) and dark (the mixture will expand a little and bubble up).  

    * For the dough, heat the 250-300ml milk in a pan to just steaming. Leave to cool till lukewarm, then stir in the 8g yeast and set aside. Put the 400g flour in a large mixing bowl with the salt and sugar, then stir in the starter. By the time that’s done, the warm milk should be frothy. Add it to the bowl with the melted butter, then stir to bring it together into a dough. Tip out onto a lightly floured surface and knead for 10-15 minutes until elastic and smooth (or use a stand mixer and dough hook for 8-10 minutes).

    * Transfer to a lightly oiled mixing bowl, cover with a clean tea towel and leave somewhere warm to rise until doubled in size for 1 hour (or leave overnight in the fridge). Once risen, knead the dough again on the work surface to redistribute the air bubbles (also known as knocking back), then roll out using a rolling pin until 2-3cm thick. Use an 8cm round cutter to stamp out 8-10 discs from the dough, re-rolling the dough. Put the discs on baking paper, scatter with a little flour and cover loosely with cling film. Leave to prove (rise) for 25-30 minutes until puffed.

    * Heat a wide, heavy-based frying pan over a medium heat and grease with a little butter. Carefully transfer 3-4 of the muffins into the pan using a broad spatula, turn the heat down to low-medium and cook for 6-7 minutes, making sure they don’t burn on the underside. Once golden on the bottom and the sides are starting to look cooked, carefully flip the muffins and repeat. Transfer to a wire rack  while you cook the rest. Split in half, butter and eat straightaway or cool completely before toasting.


    *If kneading by hand, add 250ml warm milk in step 2, and use as little 
flour on the surface as possible. Too much extra flour will make them hard. If you’re making the dough in a stand mixer, use 300ml milk. The softer the dough, the better. 
Keep an eye on the dough while it’s rising and proving (step 3).If it rises too quickly, make them before the allotted time. 

    You should get 10 muffins out of the dough (step 3). If you find you have to re-roll the dough, the last couple won’t be as uniform as the first batch, but they will still taste as great. 

    For more guidelines you can visit Delicious UK for a great step by step tutorial on how to achieve the perfect English muffin. 
    Happy weekend! x

  • Satsuma and coconut granola 

    Satsuma and coconut granola 

    I have never considered myself to be health obsessed or fit.
    However, as one ages and times change, circumstance dictates otherwise and almost forces one to be health conscious and smart about what we put into our bodies. You might have noticed lately I’ve been eating a little healthier than usual, and for that I feel a little more energetic. With that in mind, I do have my cheats here and there with balance being key, I certainly don’t plan on depriving myself anytime soon. 

    Two weeks ago, I was lucky enough to attend a meet and greet with Jessica Sepel hosted by the awesome Wellness warehouse. Jessica is a renowned nutritionist and health author born in South Africa and later moved to Australia where she pursued her career in nutrition. In the intimate setting of the wellness warehouse café, Jessica shared with us her journey to eating clean to fuel mind and body adequately to keeping cortisol levels at bay for a calmer wellbeing. Having just finished her South African book tour for her second book ‘Living the Healthy Life’. I have a feeling this one is going to be another resounding success. Inspired by her talk, I made one of her super tasty homemade granola recipes which is from her first book, The Healthy Life. 
    Making your own granola at home is the best thing you can do if you’re trying to cut sugar out. Store bought granola is often riddled with tons of refined sugar amongst many other nasty stuff. This recipe is incredibly easy and takes just 20 minutes in overall time. I love the toasty taste of the coconut and nuts together with the fresh zestyness of the satsuma. Possibly one of my favourite granola’s I’ve tasted thus far! Because oranges are not in season just yet, I’ve replaced them with Satsuma citrus, which is a soft citrus and kind of reminds me of a milder tasting naartjie or clementine. I’ve tweaked the recipe a bit here and there, feel free to put your own spin on this one too. 
    Satsuma and coconut granola

    Ingredients
    -140g Almonds, roughly chopped 

    -50g walnuts 

    -50g pistachios 

    -50g sunflower seeds 

    -50g pumpkin seeds 

    -100g rolled oats

    -4 tbsp of dessicated coconut/coconut flakes

    -1 tsp of ground cinnamon 

    -2 tbsp of satsuma/orange zest 

    -2 tbsp of maple syrup/raw honey 

    -75g coconut oil, melted

    -juice of one satsuma/orange 

    -pinch of salt 

    Method

    Preheat oven to 180 degrees C. In a large bowl, mix the oats, nuts, both seeds, cinnamon and salt together with the zest. Melt the coconut oil if solid, until liquid, add the juice of the satsuma and maple syrup, and stir to combine. Add this mixture to your dry ingredients and mix until all ingredients are just combined. On a parchment lined tray, spread the granola evenly then bake for 10 minutes, stir the granola after the first 10 minutes, then bake for another 5-10 minutes until golden. Store in an airtight container. Serve a few dollops of double cream plain yoghurt and fruit. 


    To give you an idea of what more you could use the granola for, you could make a delicious yoghurt parfait as a midday or brekkie snack. Just stack ingredients in a jar or glass and serve topped with mint and berries. 

    And just like that you have your very own homemade granola! 

  • Cranberry, Date and Macadamia granola bars.

    Cranberry, Date and Macadamia granola bars.

    Every week I mix up a batch of granola bars, every week a different recipe, each week a different taste and texture. I’ve never been happy with any recipe I’ve tried until I tried this one. Whilst looking for inspiration for my next post and researching recipes, I had the TV on the food network channel on a really soft yet audible tone. When I noticed Anna Olsen about to make her Granola bar recipe, I stopped searching and adjusted the volume with all eyes on the screen. Her recipe seems very easy and tasty and had me wondering what have I been doing all this time with all these disappointing granola bar recipes! Sunday, I schleped my partner along to a prop and background sourcing haul at the Milnerton Flea market. Feeling quite chuffed with all my treasures I couldn’t wait to play around and shoot something with them. I made the granola bars on less than a few hours sleep and much zeal after my haul. I couldn’t believe how easy and fuss free the recipe was, I toasted the oats and nuts along with a seed mix which consists of pumpkin, linseeds, sunflower and sesame seeds and added to all the ingredients along with the melted coconut oil and warmed honey pressed down firmly in a parchment fitted pan and baked for 15 minutes. Allow to cool completely in the pan before slicing. I cooled in the fridge to set further, to have a more firm and chewey texture you don’t have to do this(I just wanted to be sure that this time when I cut into the bars they won’t fall apart instantly). It was indeed love at first bite, I love the crunch and saltiness of the salted and roasted macadamia nuts and the tartness of the cranberries married with the sweetness of the dates.A match made in heaven. I love how I can control what goes into the bars, as opposed to the mysterious artificial ingredient packed store bought ones. I make these scrummy bars for my partner to take along to work as a midday ‘pick me up’ snack and the bars are great for kids to take along to school for a healthy energy boost. I decided to make a smoothie bowl as a great idea to use the granola bars as part of a full breakfast meal, the quick and easy on the go option might not be for all. I used my trusty NutriBullet to blitz up berries, frozen banana slices, coconut milk and water to thin it down. serve in a bowl or cup with the crushed granola bar pieces. 

    As I type this blog post, my iPad is covered in sticky finger marks from all the constant munching on these glorious granola bars.

    The photos were taken around noon and late afternoon as the sun decided to make a late appearance for the day. I love my new props and background and as you can tell I am still trying to find my own style of shooting and styling. This takes time and patience, I am not the most patient person but I am certainly learning to be…